Using presets in Lightroom to speed up your workflow
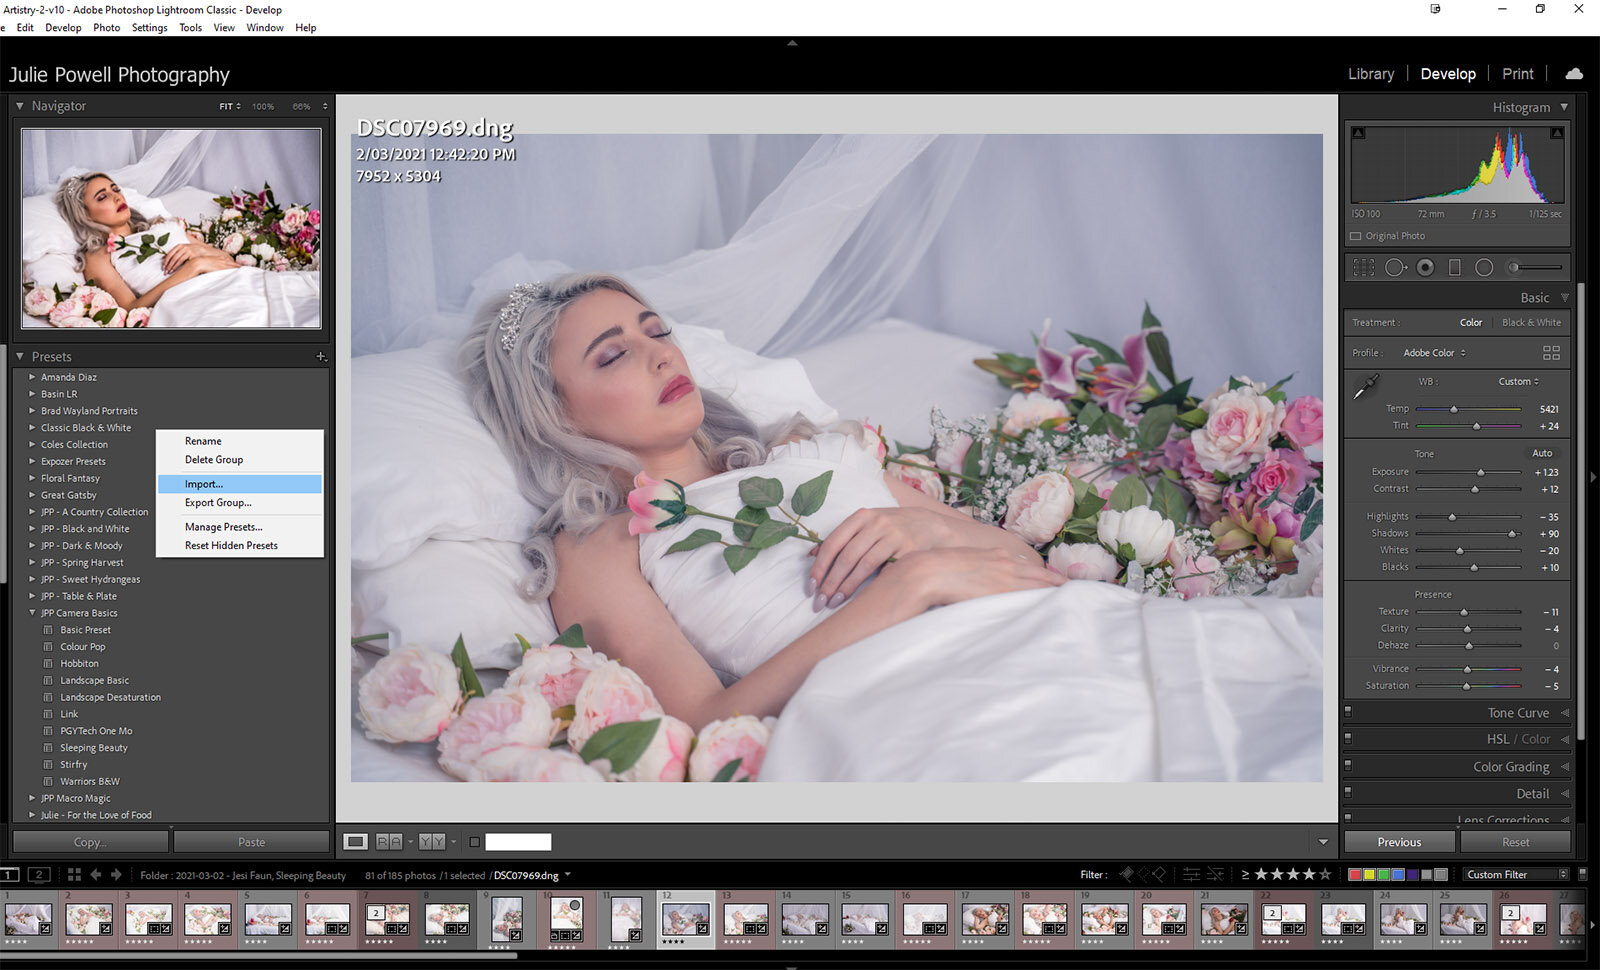
Using presets in Lightroom to speed up your workflow, is a fabulous use of the software. When it comes to editing a bunch of images from a single photoshoot, you can dramatically speed your workflow up by creating your own Preset. They are quite easy to create. You can even make your own collections.
Set your base image
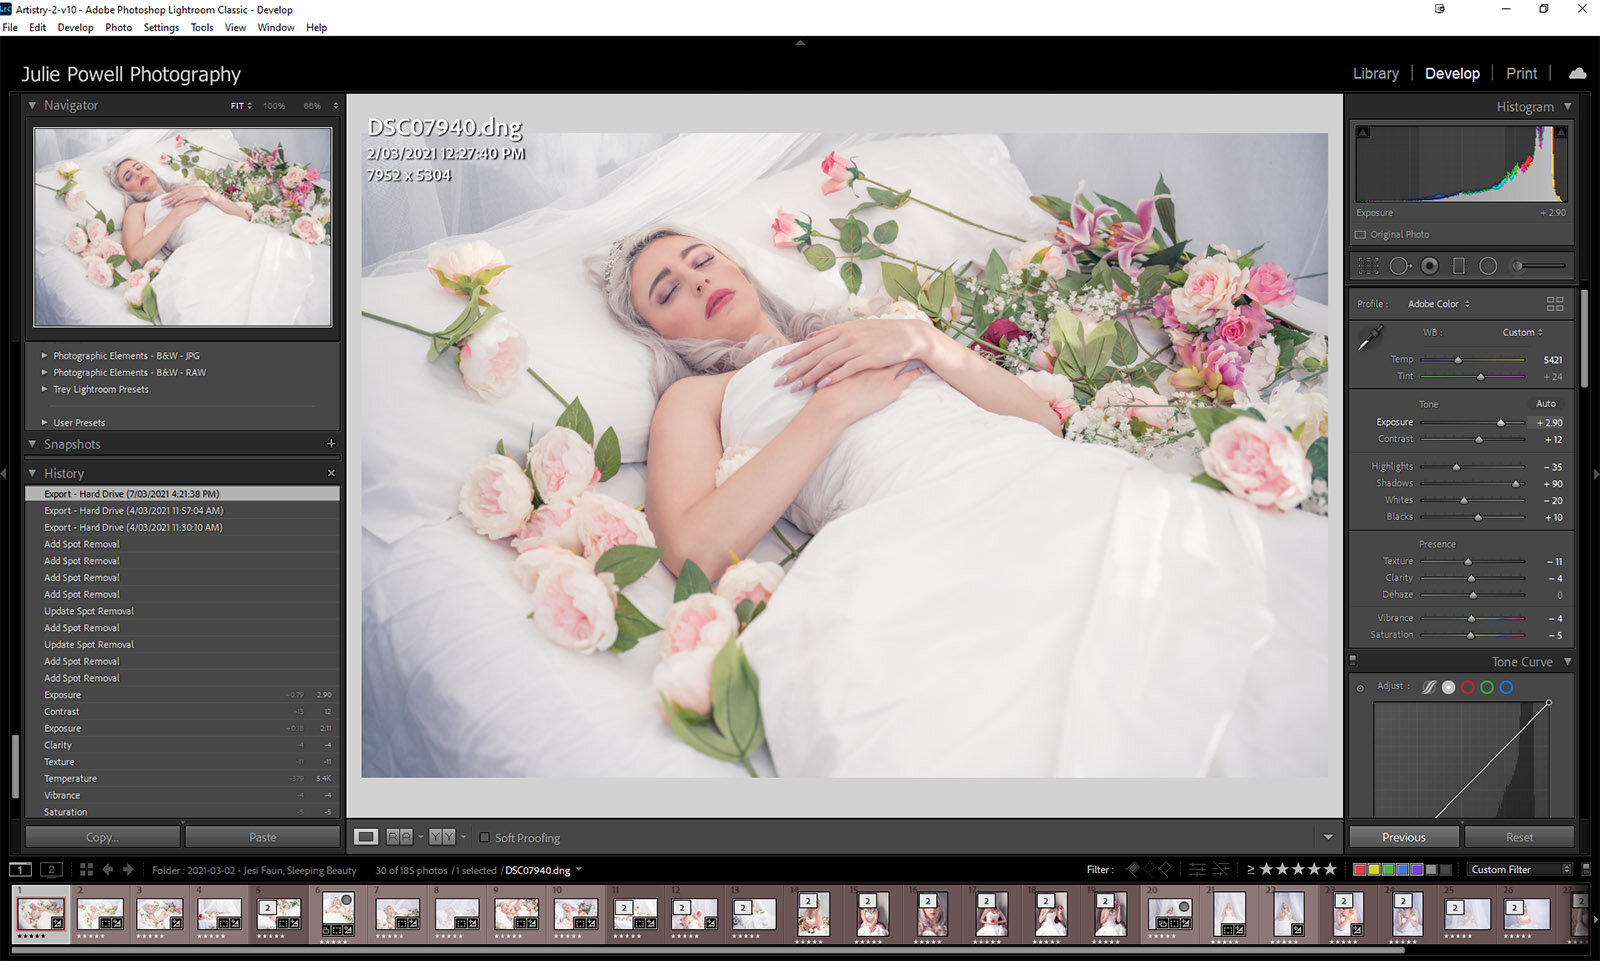
Once you’ve imported your images into Lightroom; selected your favourites, rated, culled or colour-coded (as you prefer). Then pick the first image and make all the adjustments to achieve your desired look.
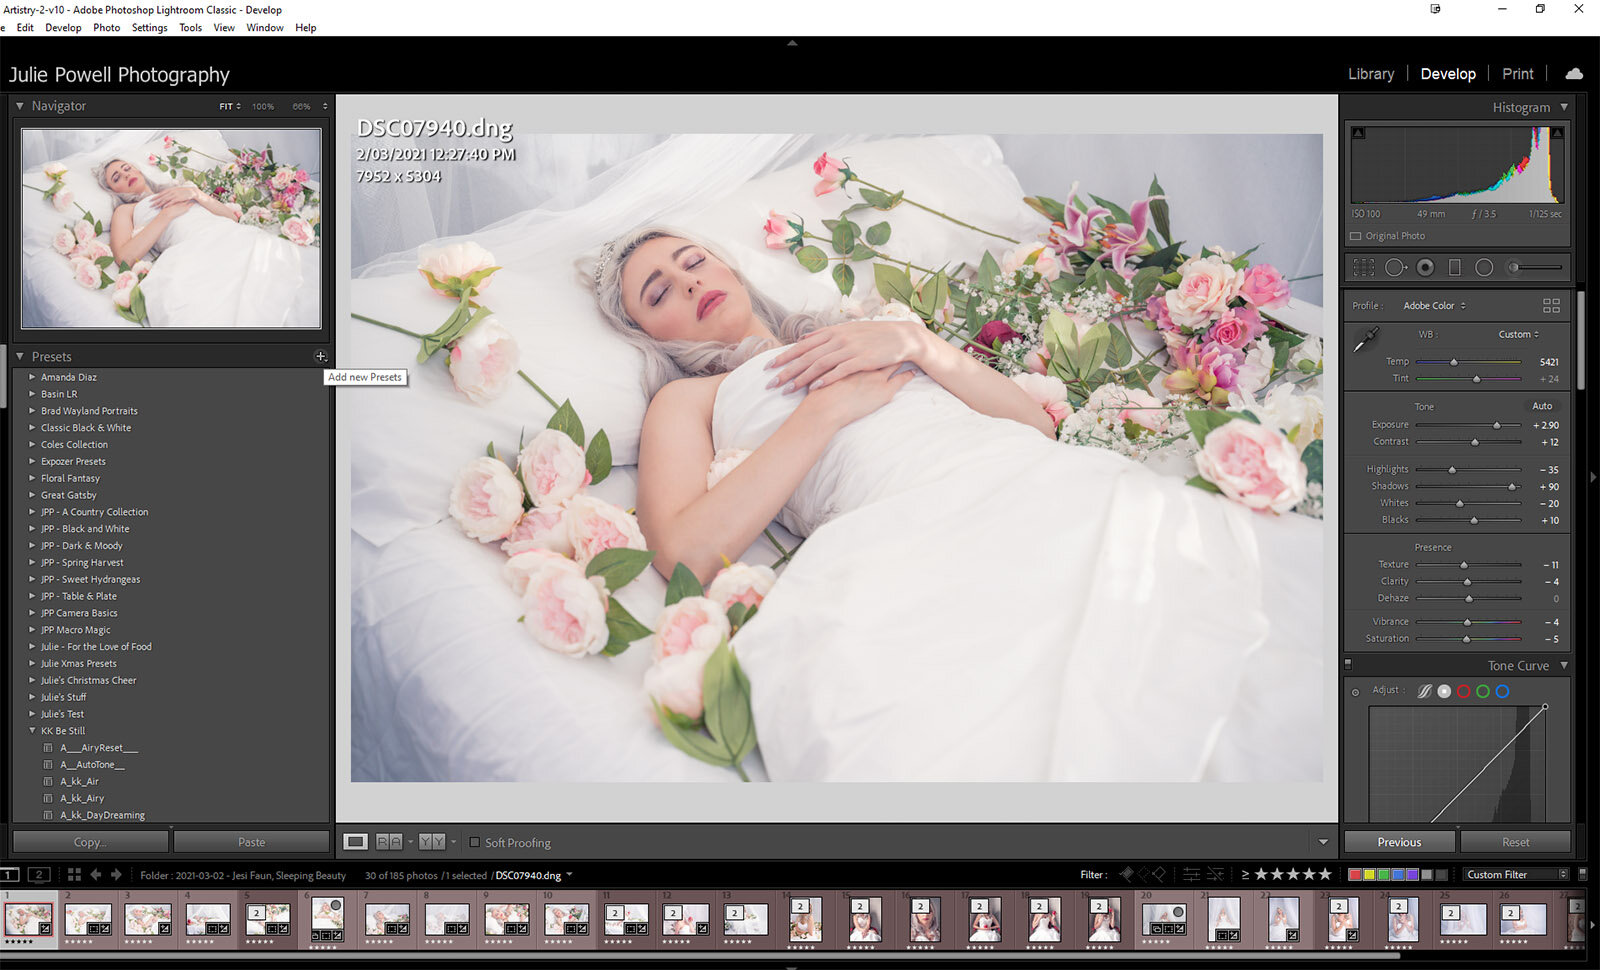
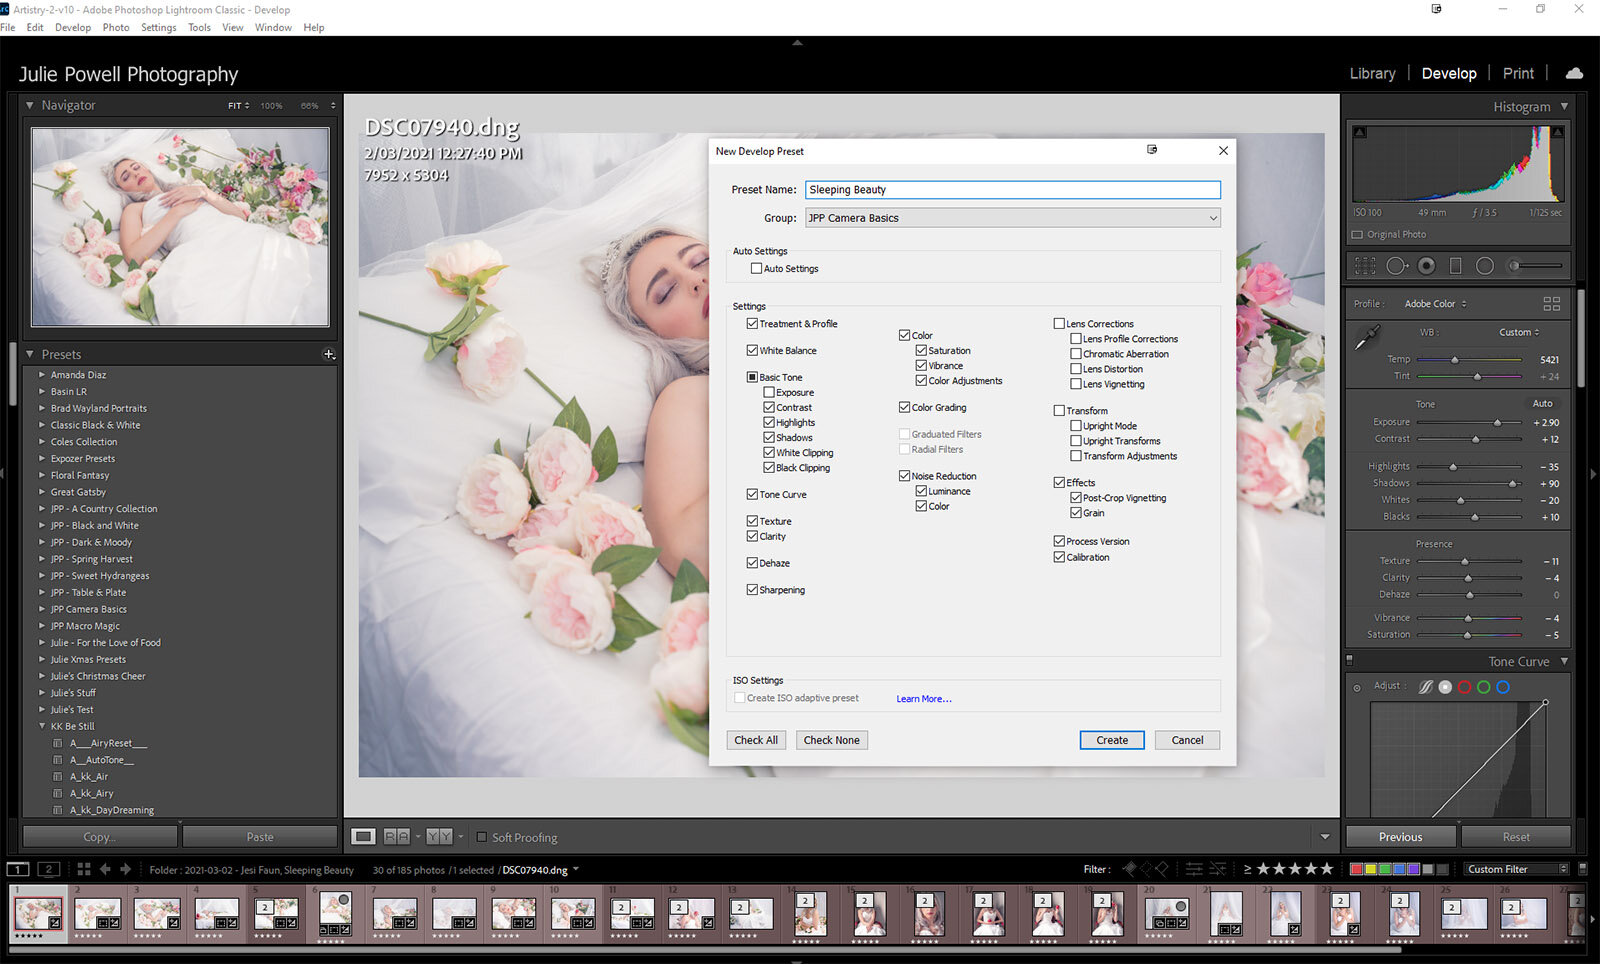
Work with adjustments to your Basic panel like Contrast, Highlights and Shadows, use your Tone Curve, Color Grading, etc. You can then save your preset. Create a folder and start a collection of presets to use at a later time too.
Note that some corrections are local and may move from one image to another, like radial filters on faces. Exposure can also sometimes carry from image to image (even in a studio setting). It is sometimes best to leave them unchecked when saving your preset.
Using your preset in Lightroom
Using the actual preset couldn’t be simpler, select the image from your folder and select your preset. You can then choose to either apply the same preset to all the images in your folder, making minor changes in local adjustments as required.
Sync your settings
Or you can select all the images and batch sync them. Even if you Sync them you still have the Preset you can use on other projects at any time.
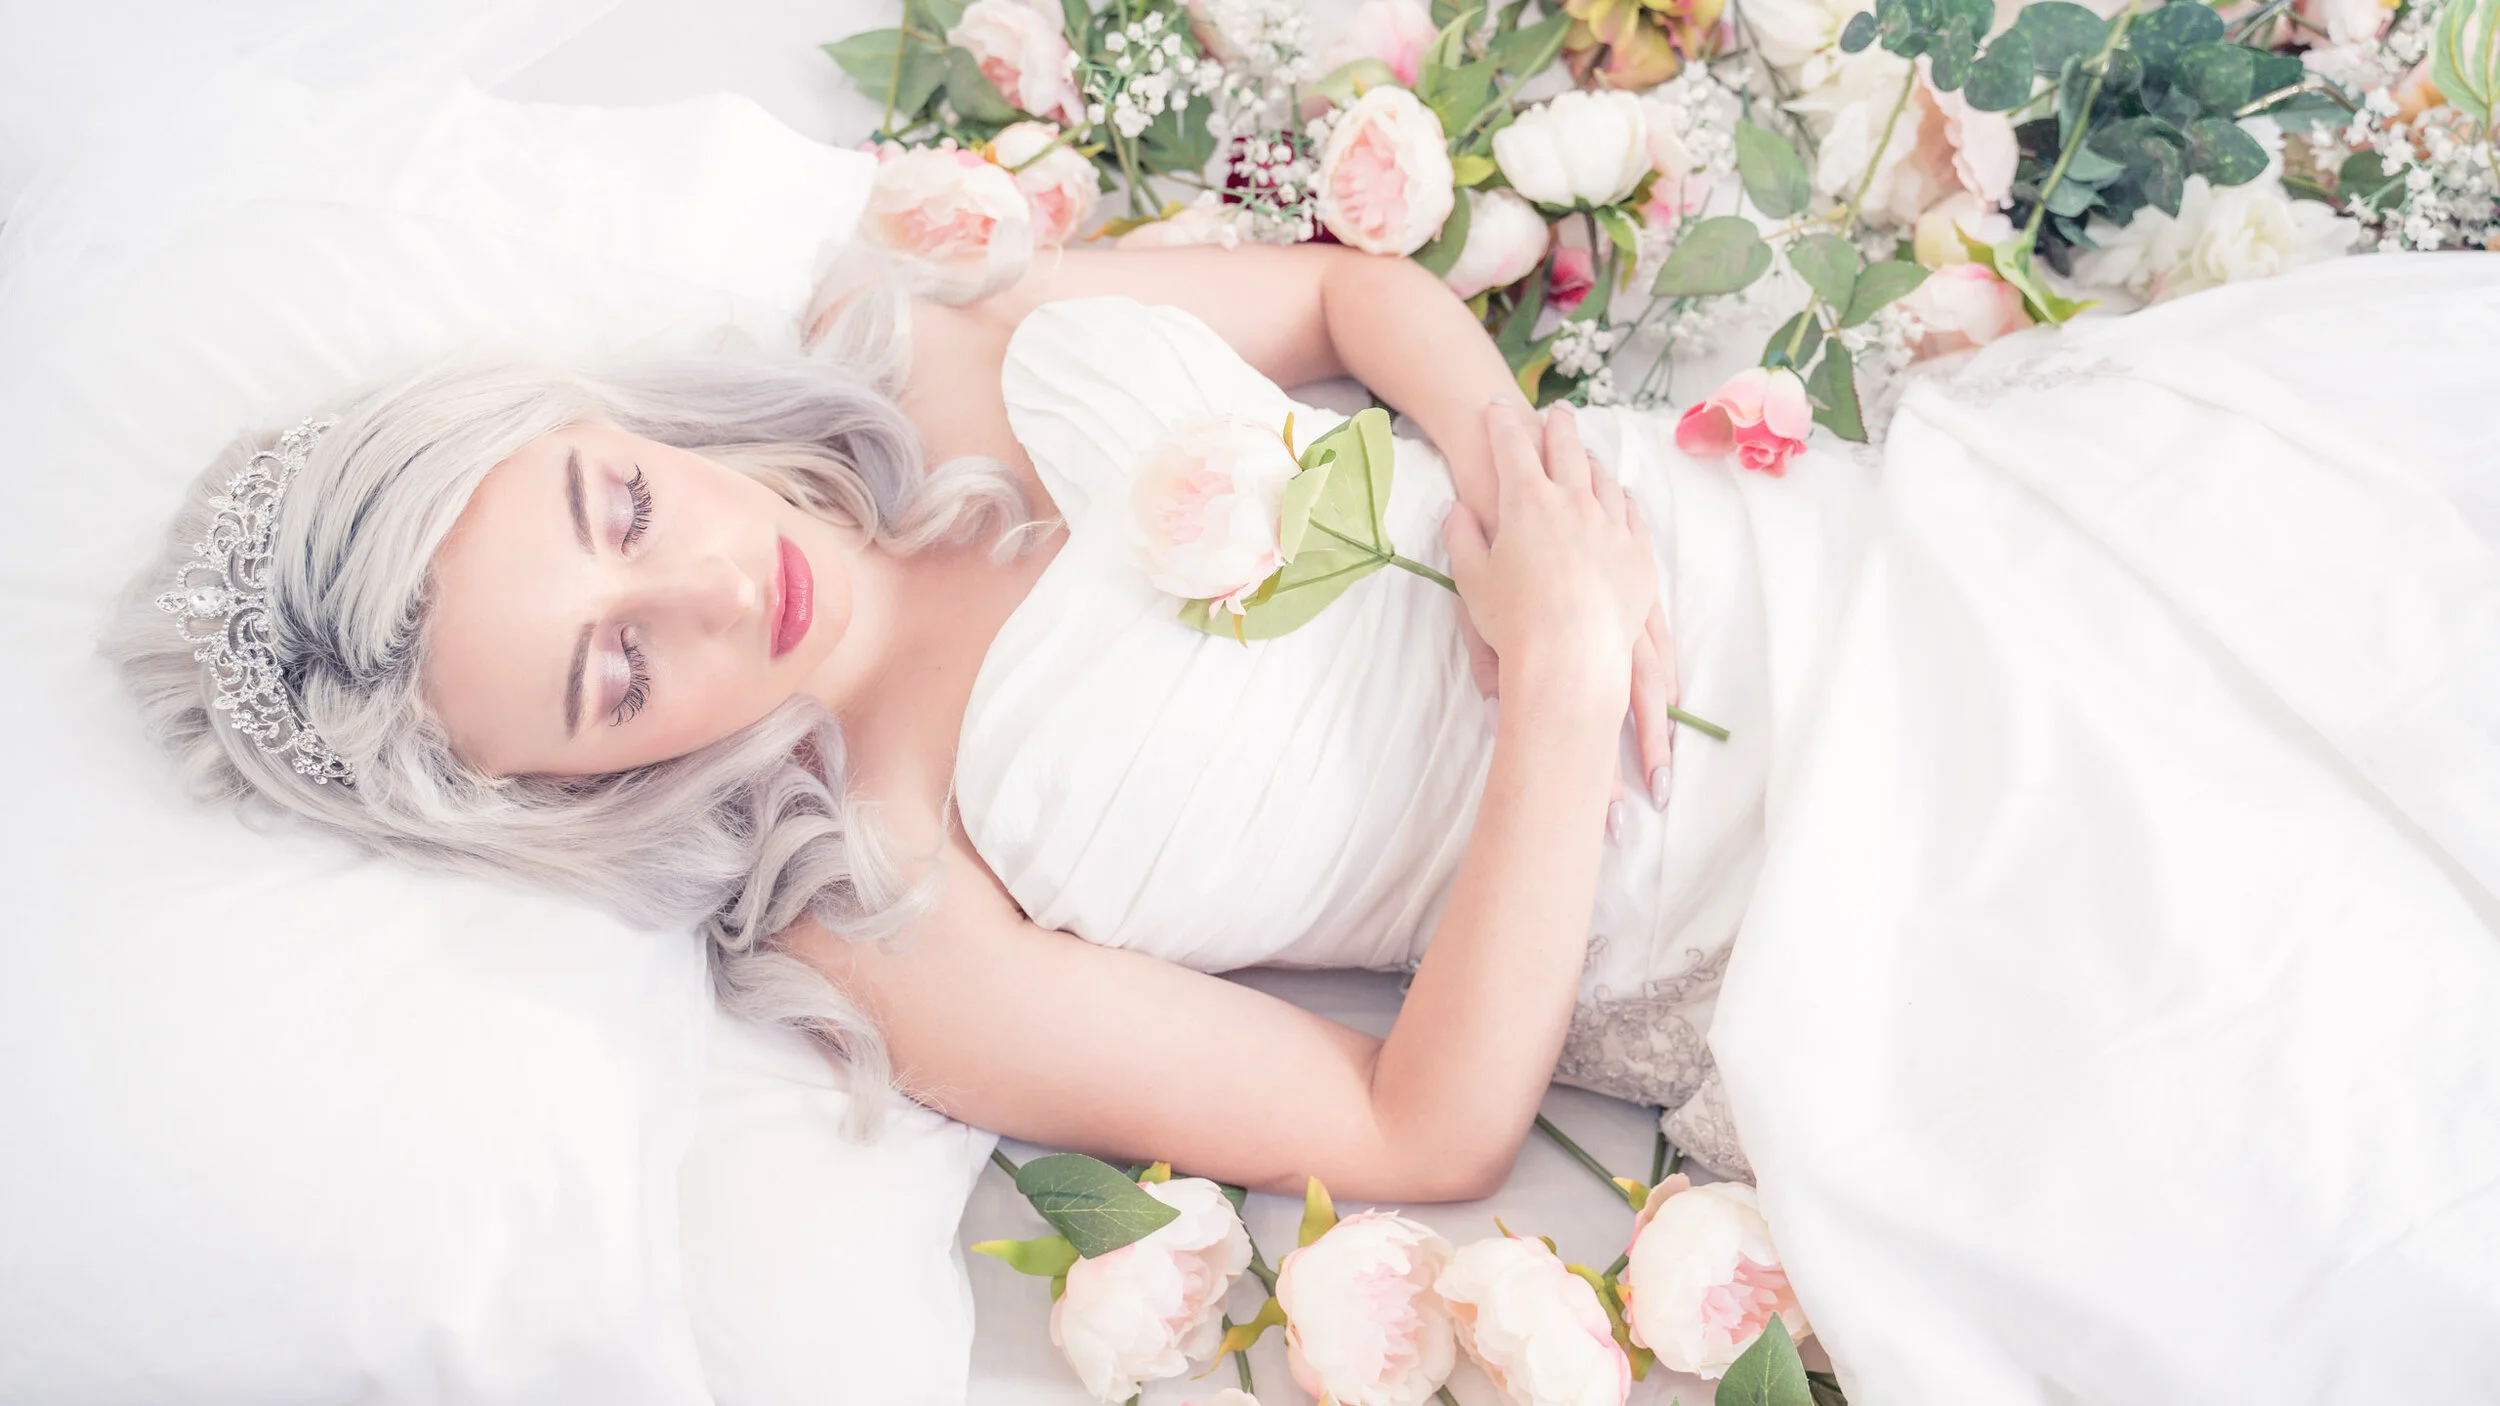
Want to try my Sleeping Beauty preset for yourself? Download here for free, unzip and import into your Presets folder.
Check out the rest of the series here.
Special thanks to my wonderful team on this shoot:
Model – Jesi Faun
Hair and Makeup – Bella Celeste
Assistant – Robyn Varley
