Beautiful easy portraits in DxO Photolab 3
I really like to keep my portraits simple, no over-processing or spending hours on the PC. I try to capture everything in-camera as much as I can. Shooting RAW, I find most images out of the camera are a little flat and they need some processing. But again my aim is always to try and keep it simple. So when I was recently asked to review a copy of DxO PhotoLab 3, I was keen to put it through its paces.
Importing images
This was such a breeze, in the PhotoLibrary folder I searched my PC for the images I wanted to edit, that’s it. No waiting for it to load, jump straight in — LOVE THAT. This is an older photo, but it still picked up my old Nikon D7100 and 50mm prime lens profiles and loaded them into the optics module.
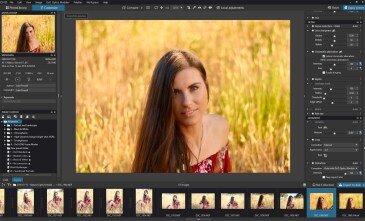
I then went to the Essential Tools under the Customize Tab and did a basic RAW white balance edit. The exposure was OK, so I left that. I did boost the contrast a touch, but I dropped the Mircocontrast, as it made my models face all blotchy. Microcontrast is great for landscapes and still life, but NOT for portraits.
DxO Smart Lighting
You will find this in the Essentials panel and it is very helpful. Change to Spot Weighted and it automatically detects a face. I then changed the mode to Strong and the Intercity about 75. This brought out the light on my models face much better, as it had been in a bit of shade. A great easy fix for portraits, it left the background pretty much as it was originally exposed. Compare the before and after below.
The Repair tool
Using the Repair tool to fix a few skin imperfections. The Shift or Alt keys (on a PC) and the mouse scroll wheel, you can adjust the actual size of the brush. Adjusting the opacity you can also make fine lines and wrinkles less noticeable. Toggling on and off the Show Masks you can see and move an adjustment point if necessary.
HSL panel
The HSL panel is fabulous for adjusting the colors in the image, but also for smoothing out skin tones. Selecting the correct tone for the majority of the face (dropping saturation is a great way to make sure the whole face is selected). Then sliding the markers around to make sure all of the face areas are selected. You can, of course, adjust the Saturation and Luminance, but the Uniformity slider is brilliant for leveling out skin tones.
Cropping and exporting
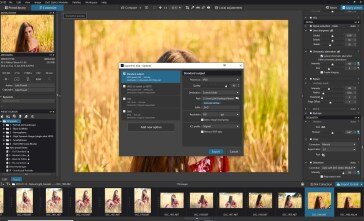
From here it is just a matter of cropping and then exporting it. Remember to use advanced settings if you wish to change the suffix of the image. I also took this opportunity to save as a preset (JP Sunkissed Portraits) so I could apply to other images in the folder.
Below is the before and after edit final image. You can see a little bit more pop into the background field, with a much better light on my model’s face. It has a nice smooth all over skin tone. I can say that I am pretty happy with the finished result and I am sure with a bit of practice this can be hone down to a very simple process. I was rather pleased with the outcome from DxO PhotoLab3.
Read original article on Photofocus.com


