How I got the photo: The Gambler
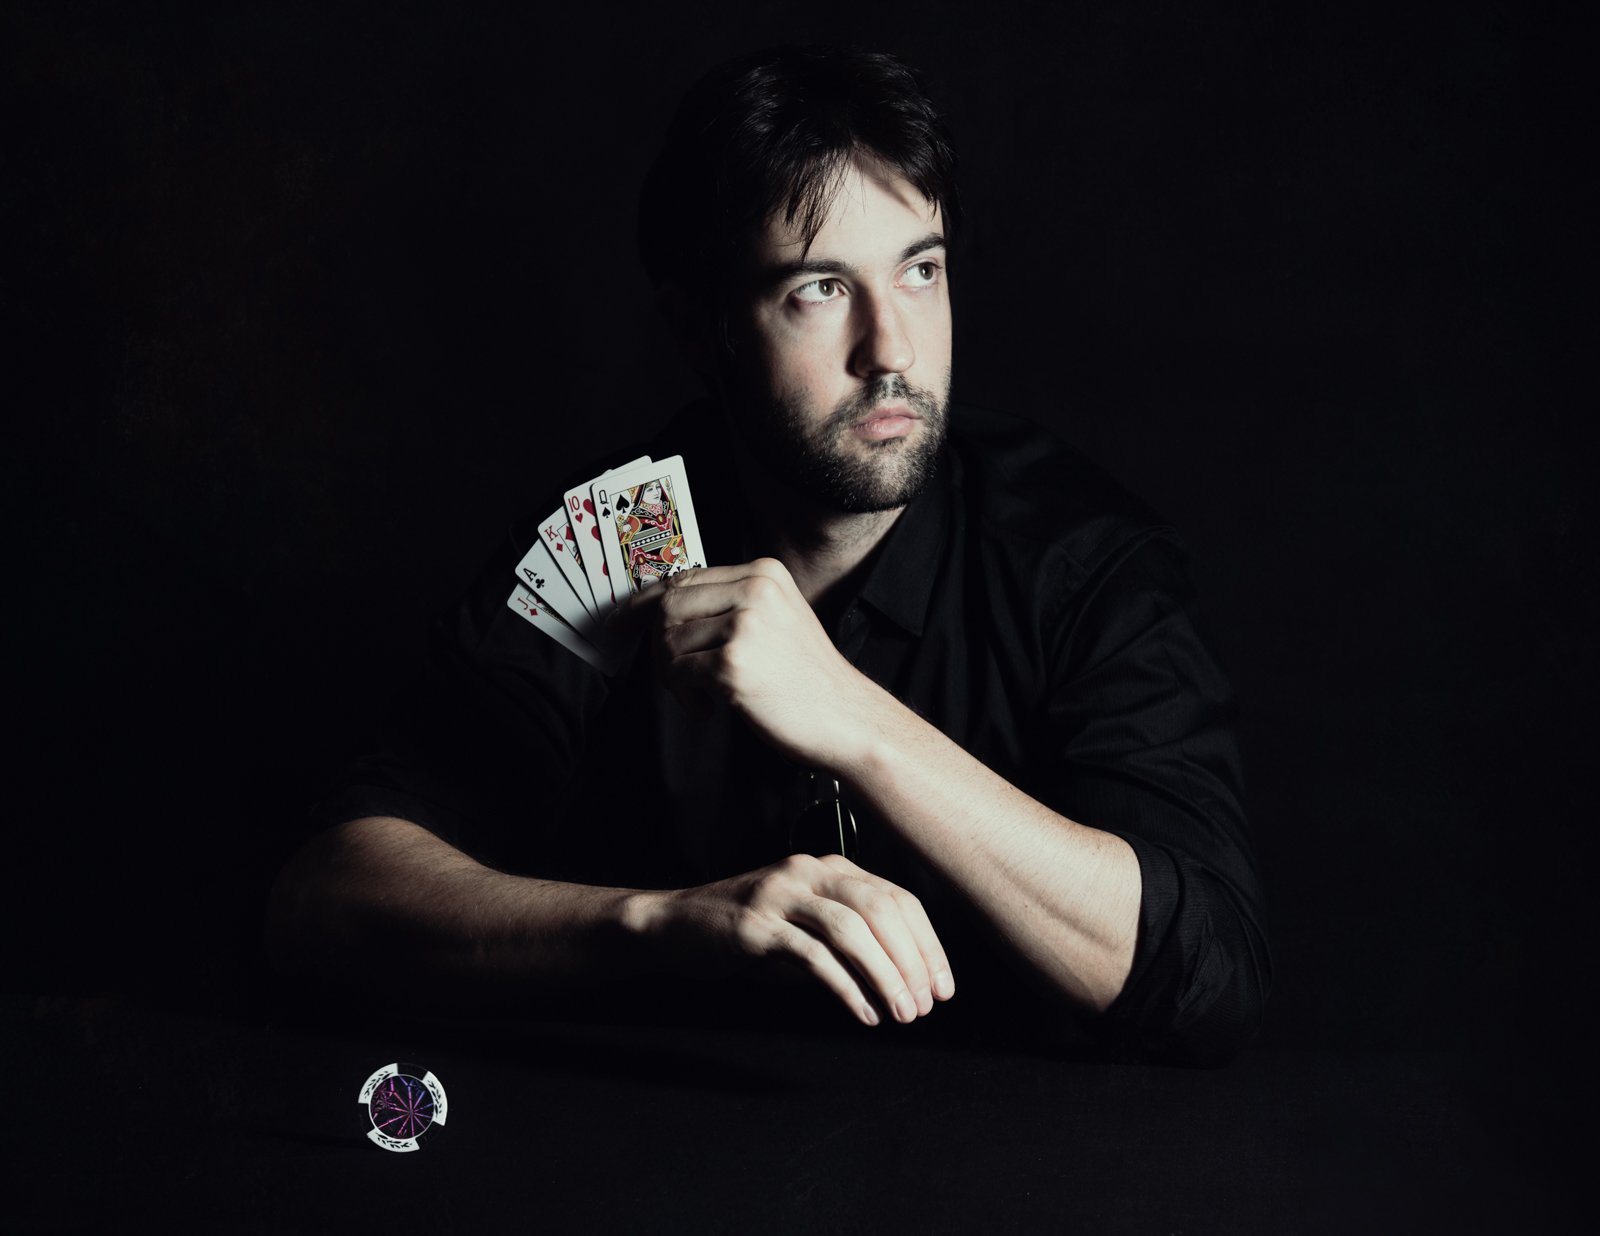
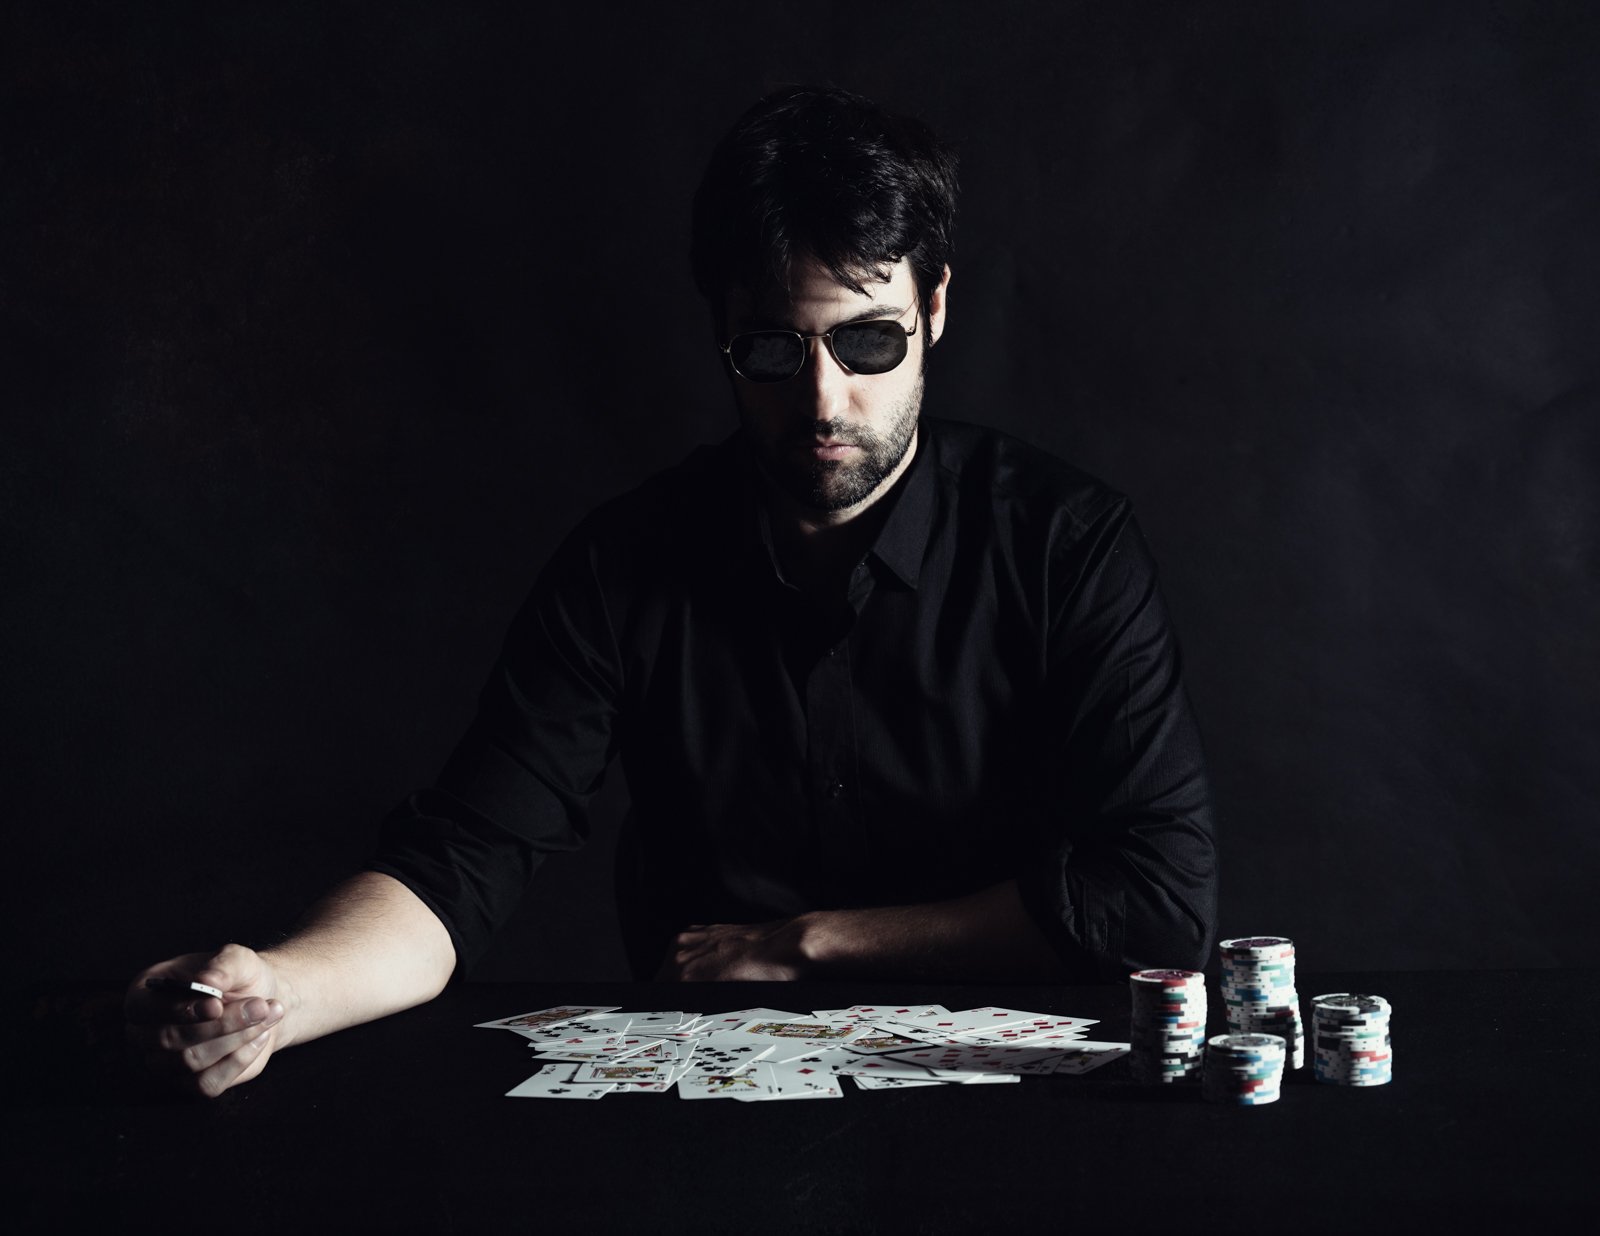
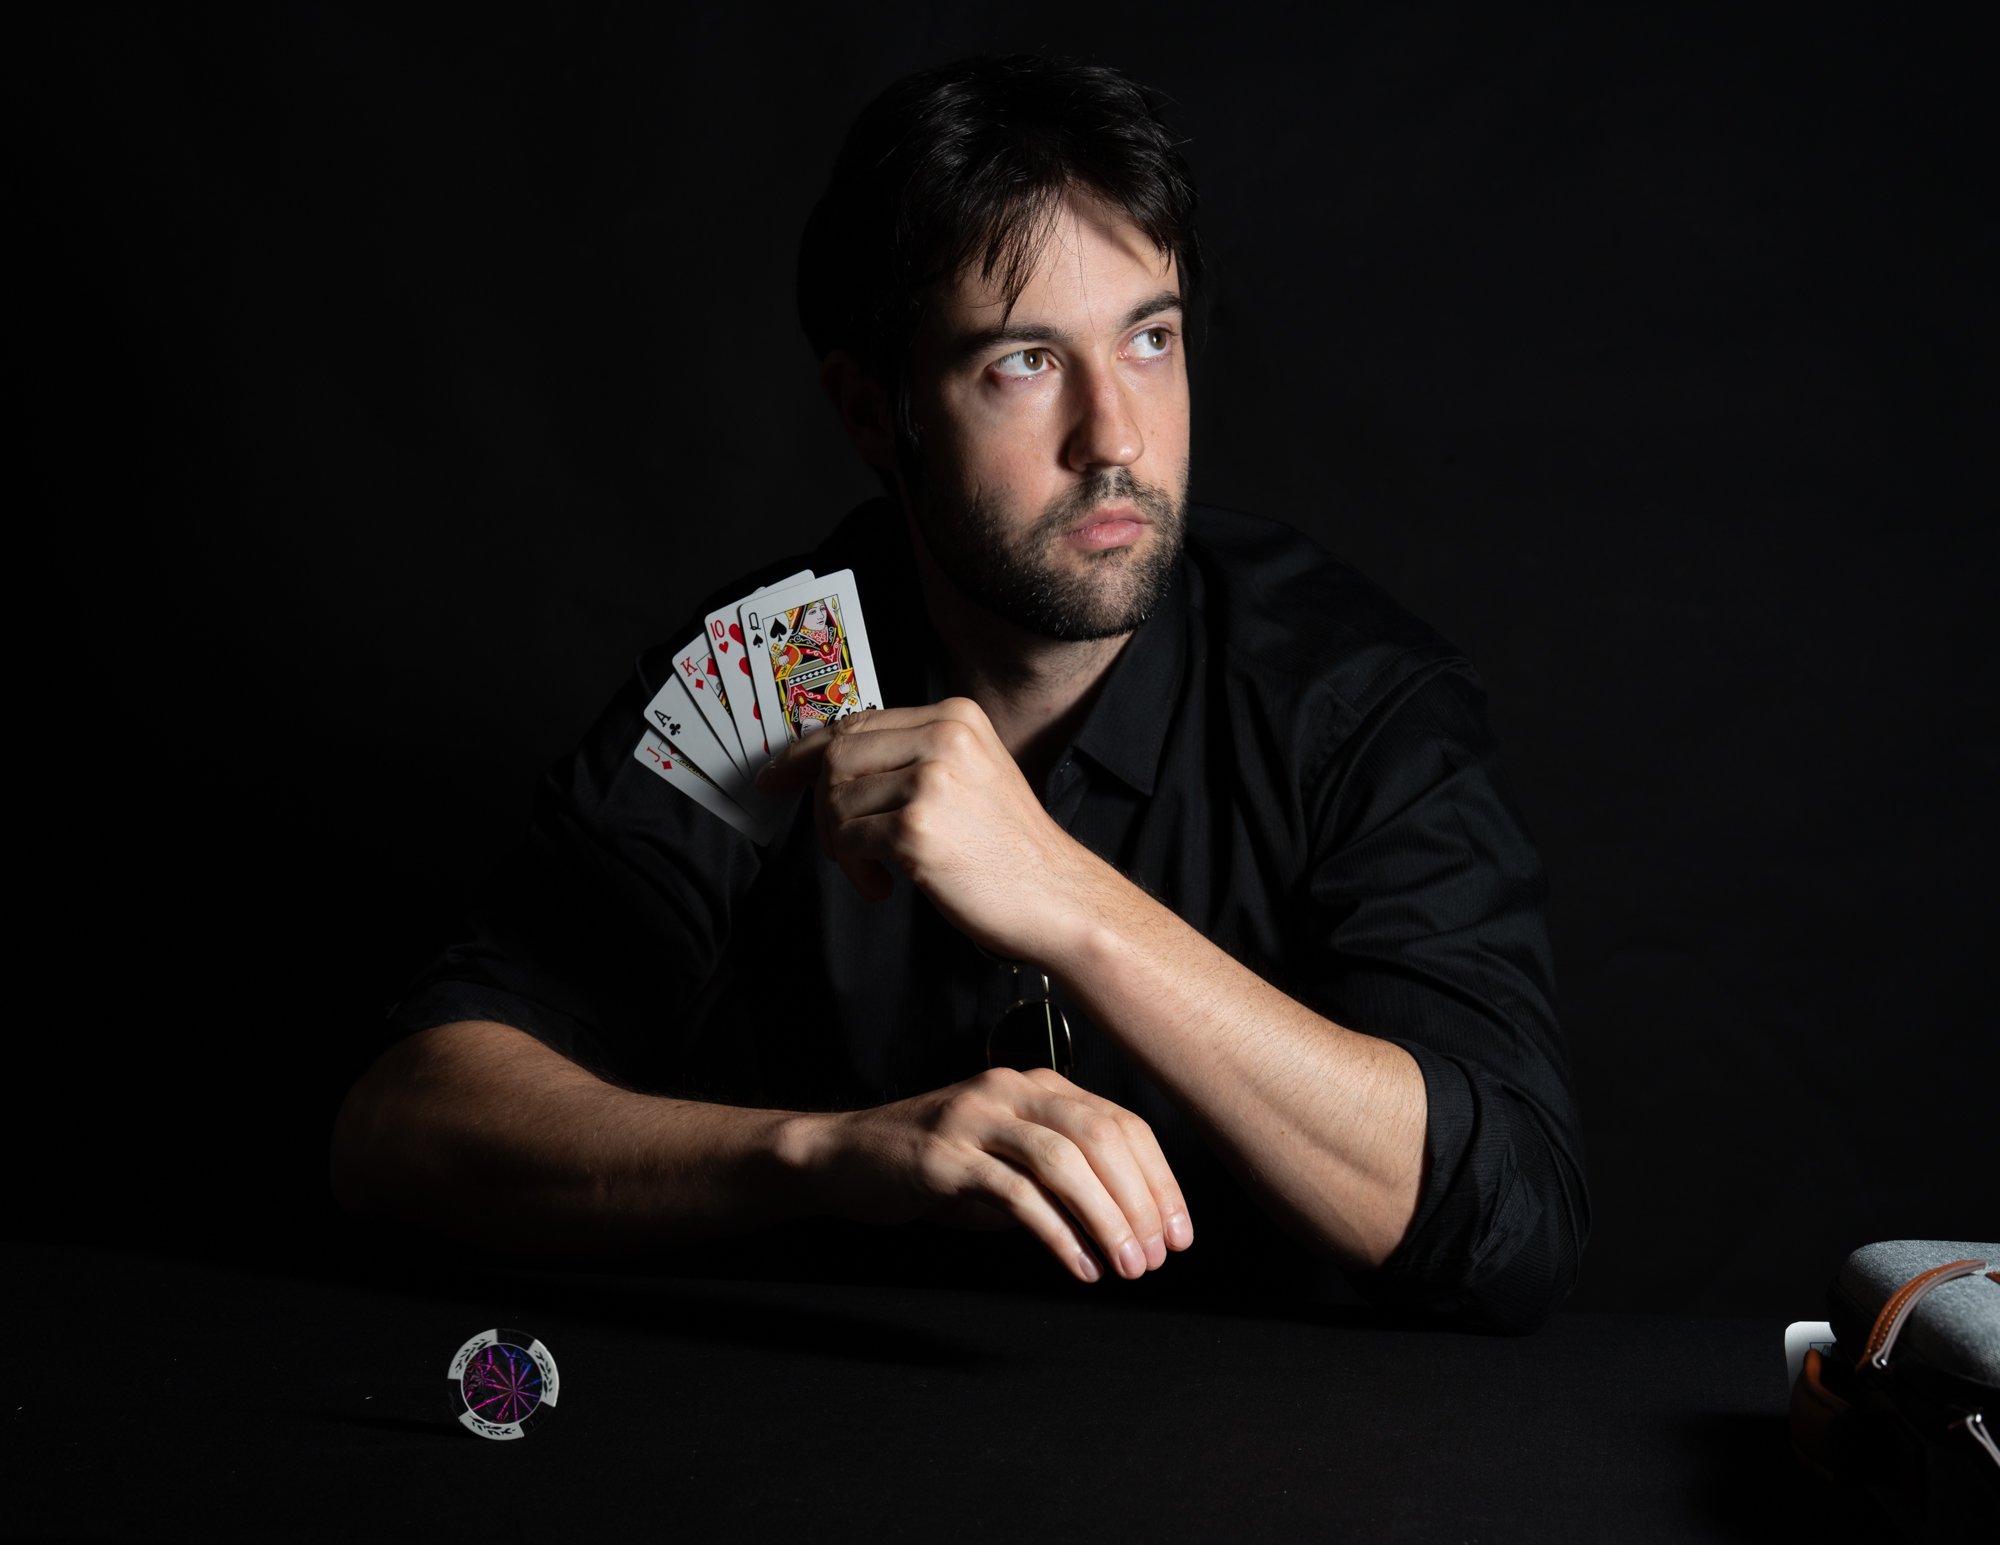
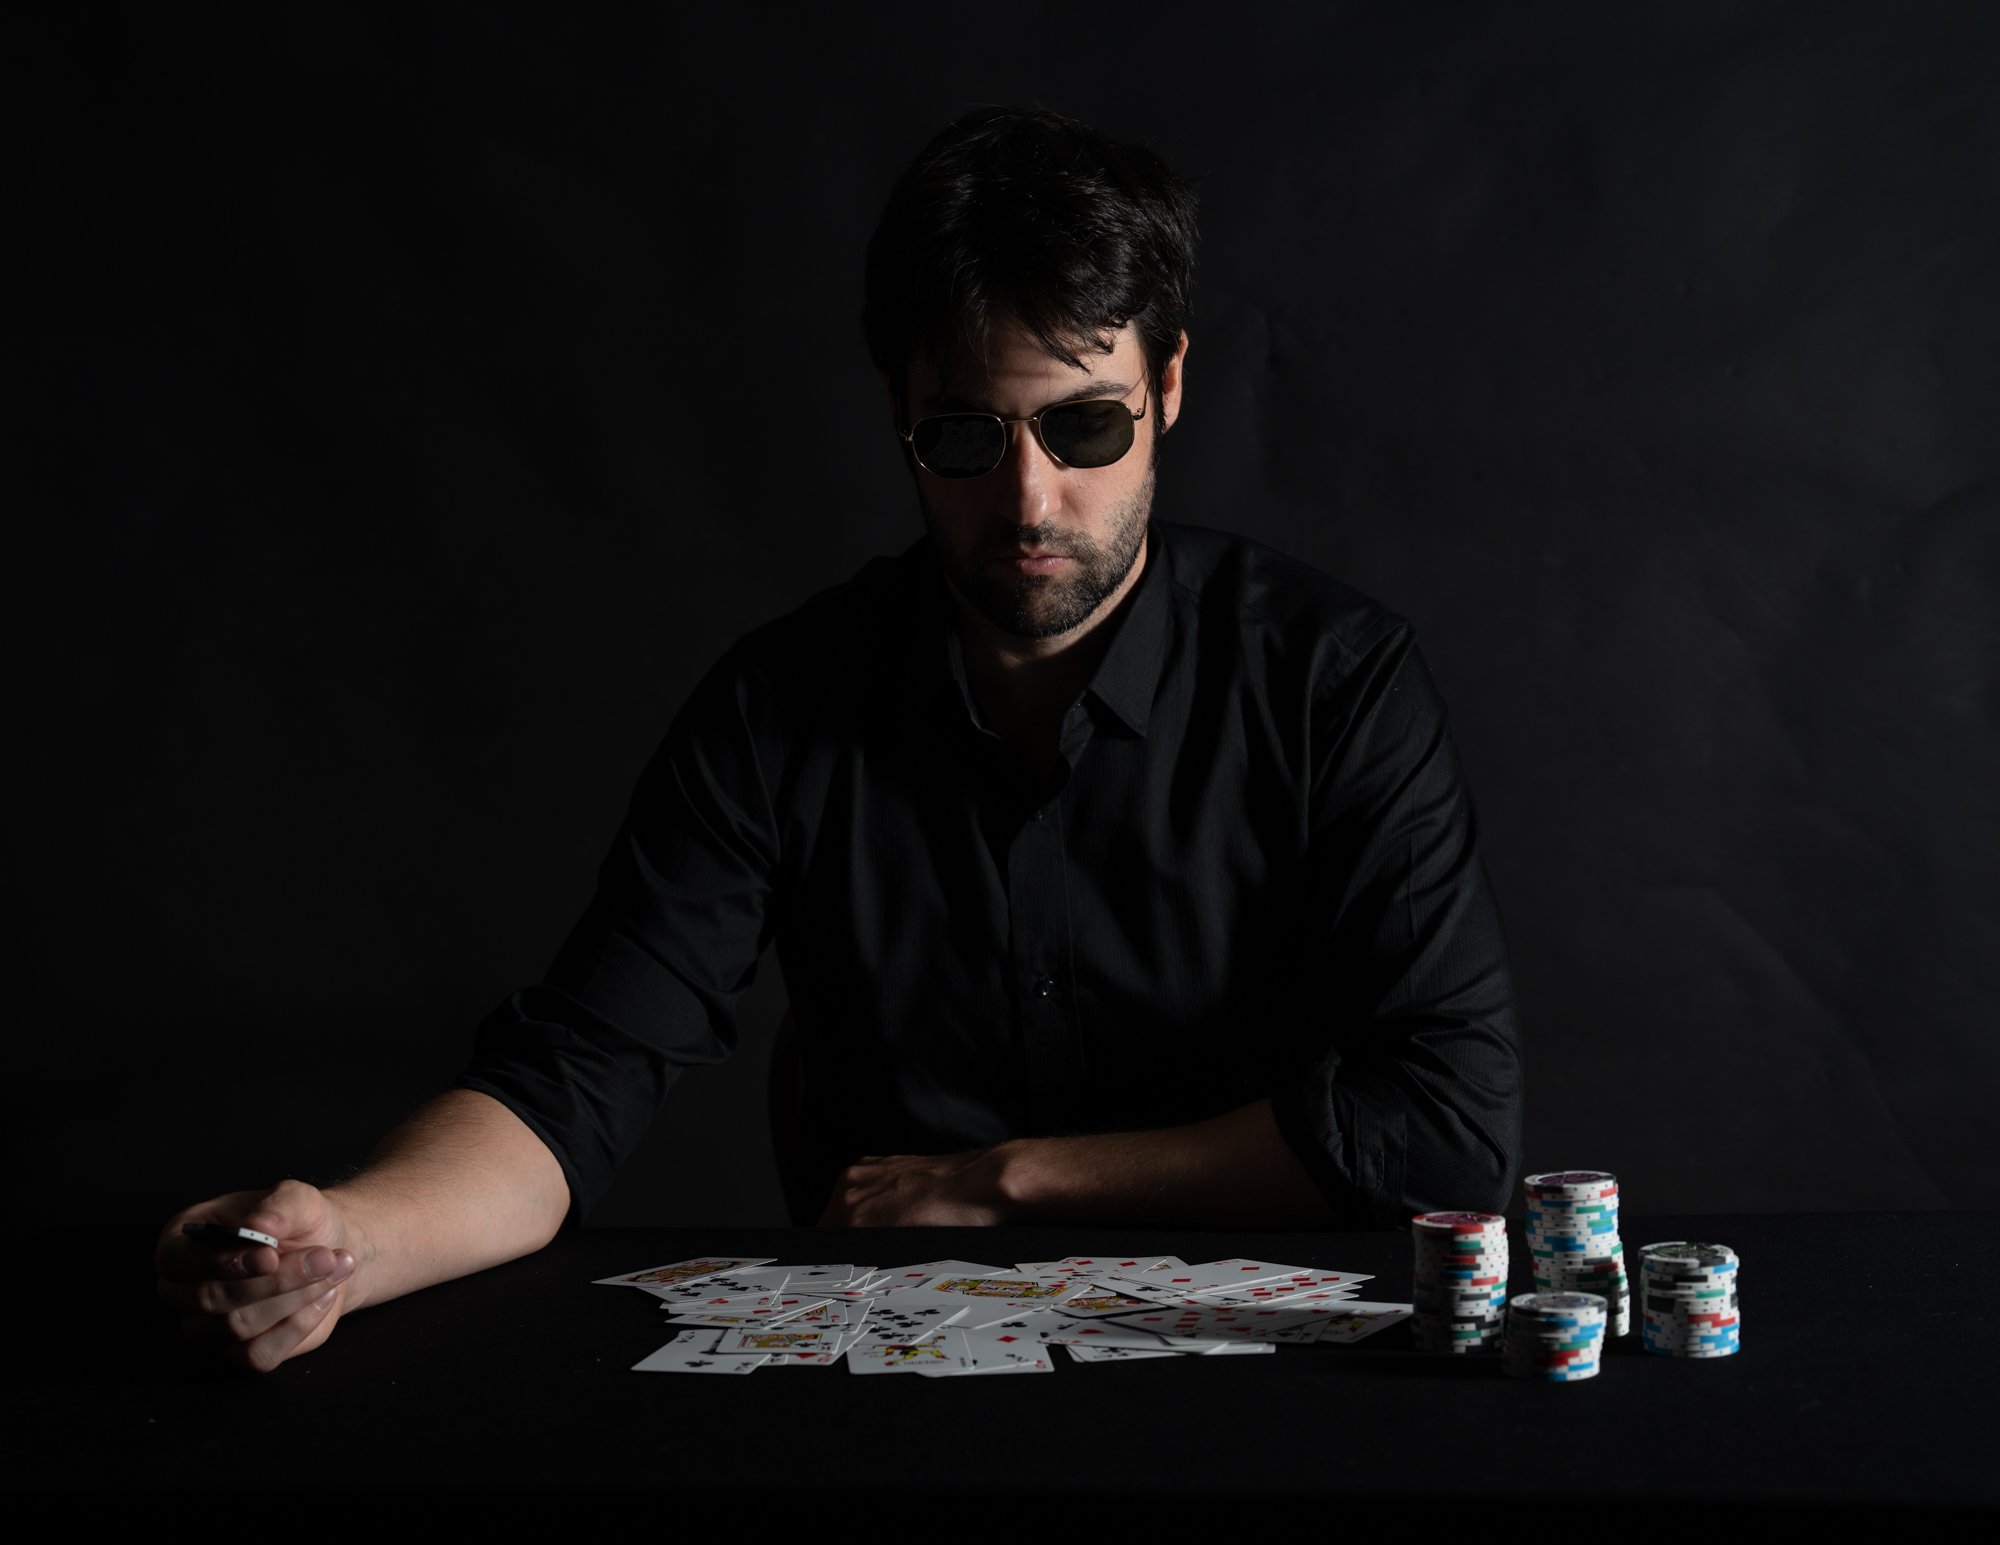
I recently did a cool little photoshoot in the studio with model David Kennedy. I wanted to explore some dark and moody images with a Gambler theme. We had cards, dice, poker chips and a 20W Hobolite LED light setup on the table. Not exactly trick photography. But knowledge of lighting and capturing action shots was very helpful, as well as some Photoshop skills. Here’s how I got the photos for this series.
Behind the scenes with Hobolite on the table
Staging the scene
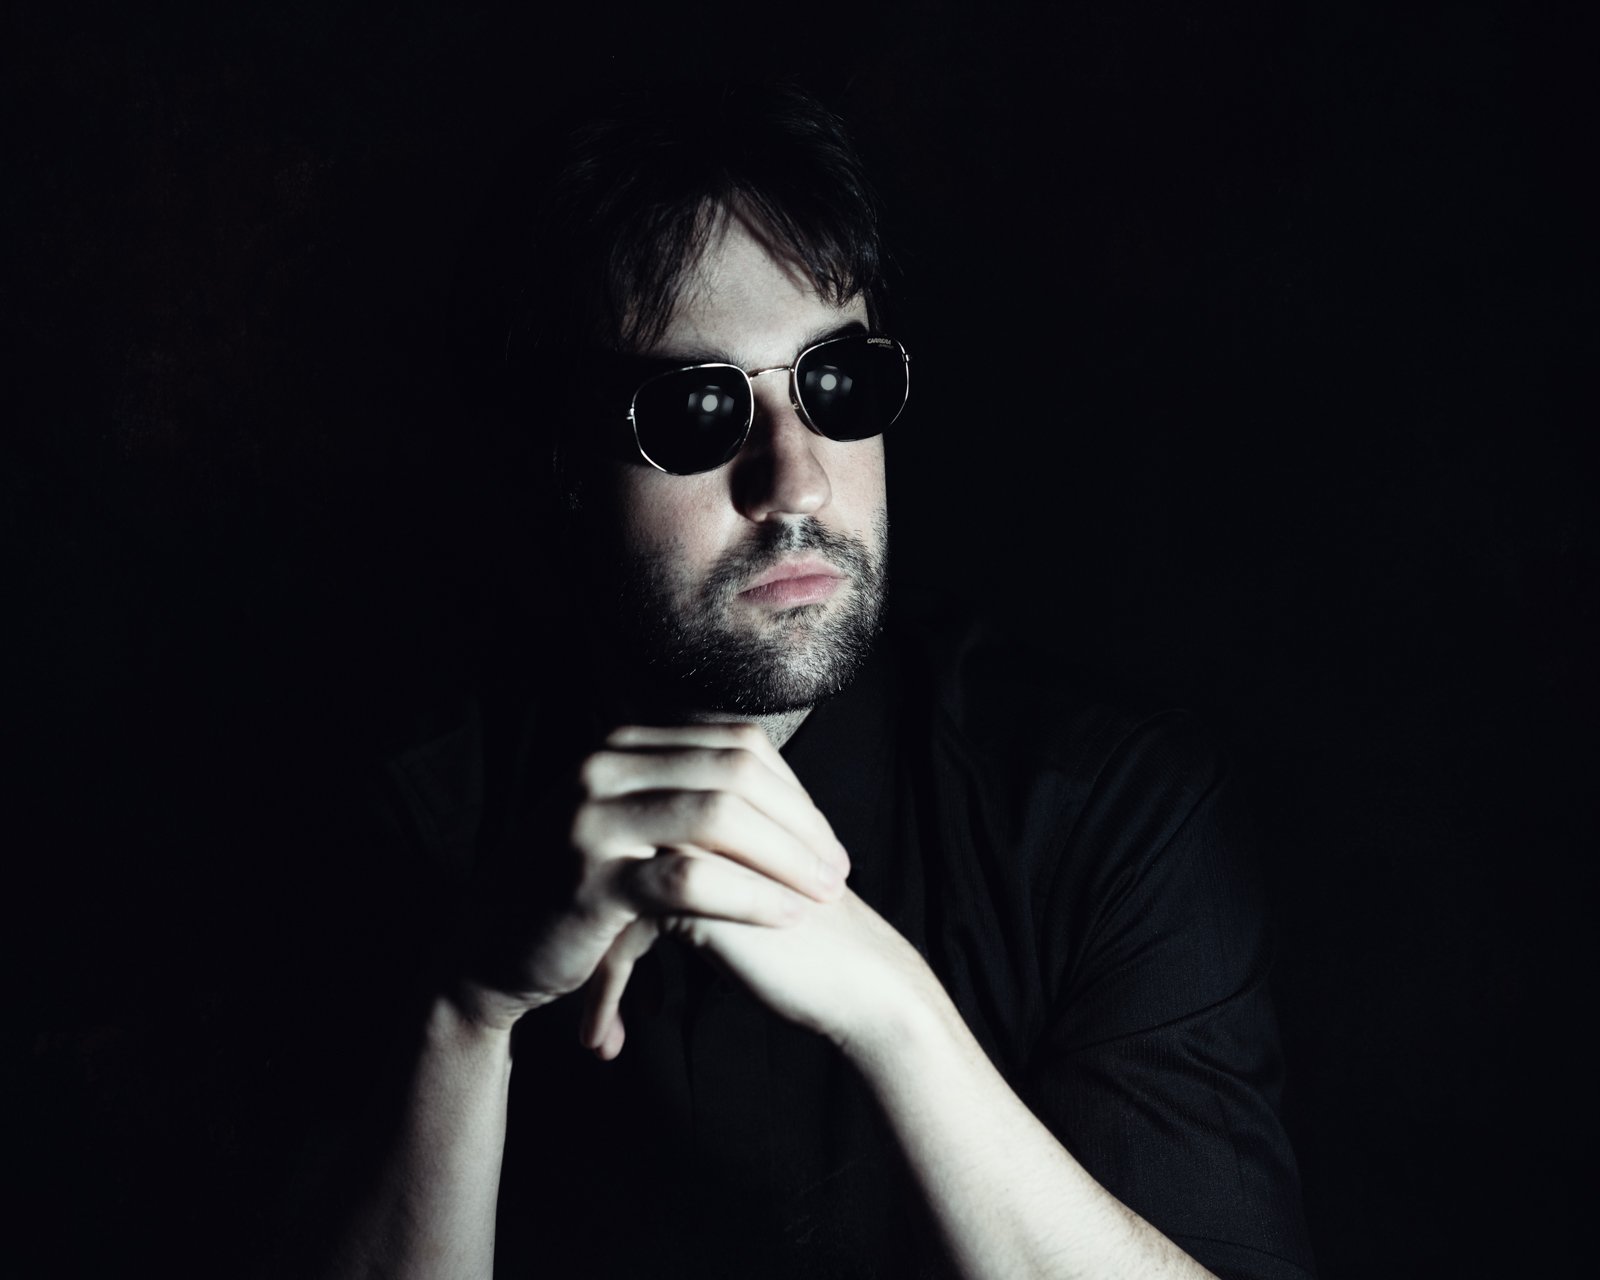
I really wanted to keep this shoot simple and budget-friendly. I used my black paper seamless backdrop and a table with black fabric over it (which I often use for still-life and light painting, etc.). My model wore a black shirt and we found a cool pair of reflective sunglasses. I had a deck of playing cards, raided the games for some dice, I had poke chips from years ago. I grabbed some matches from the kitchen and we were good to go.
How I got the photo: The Burning Card
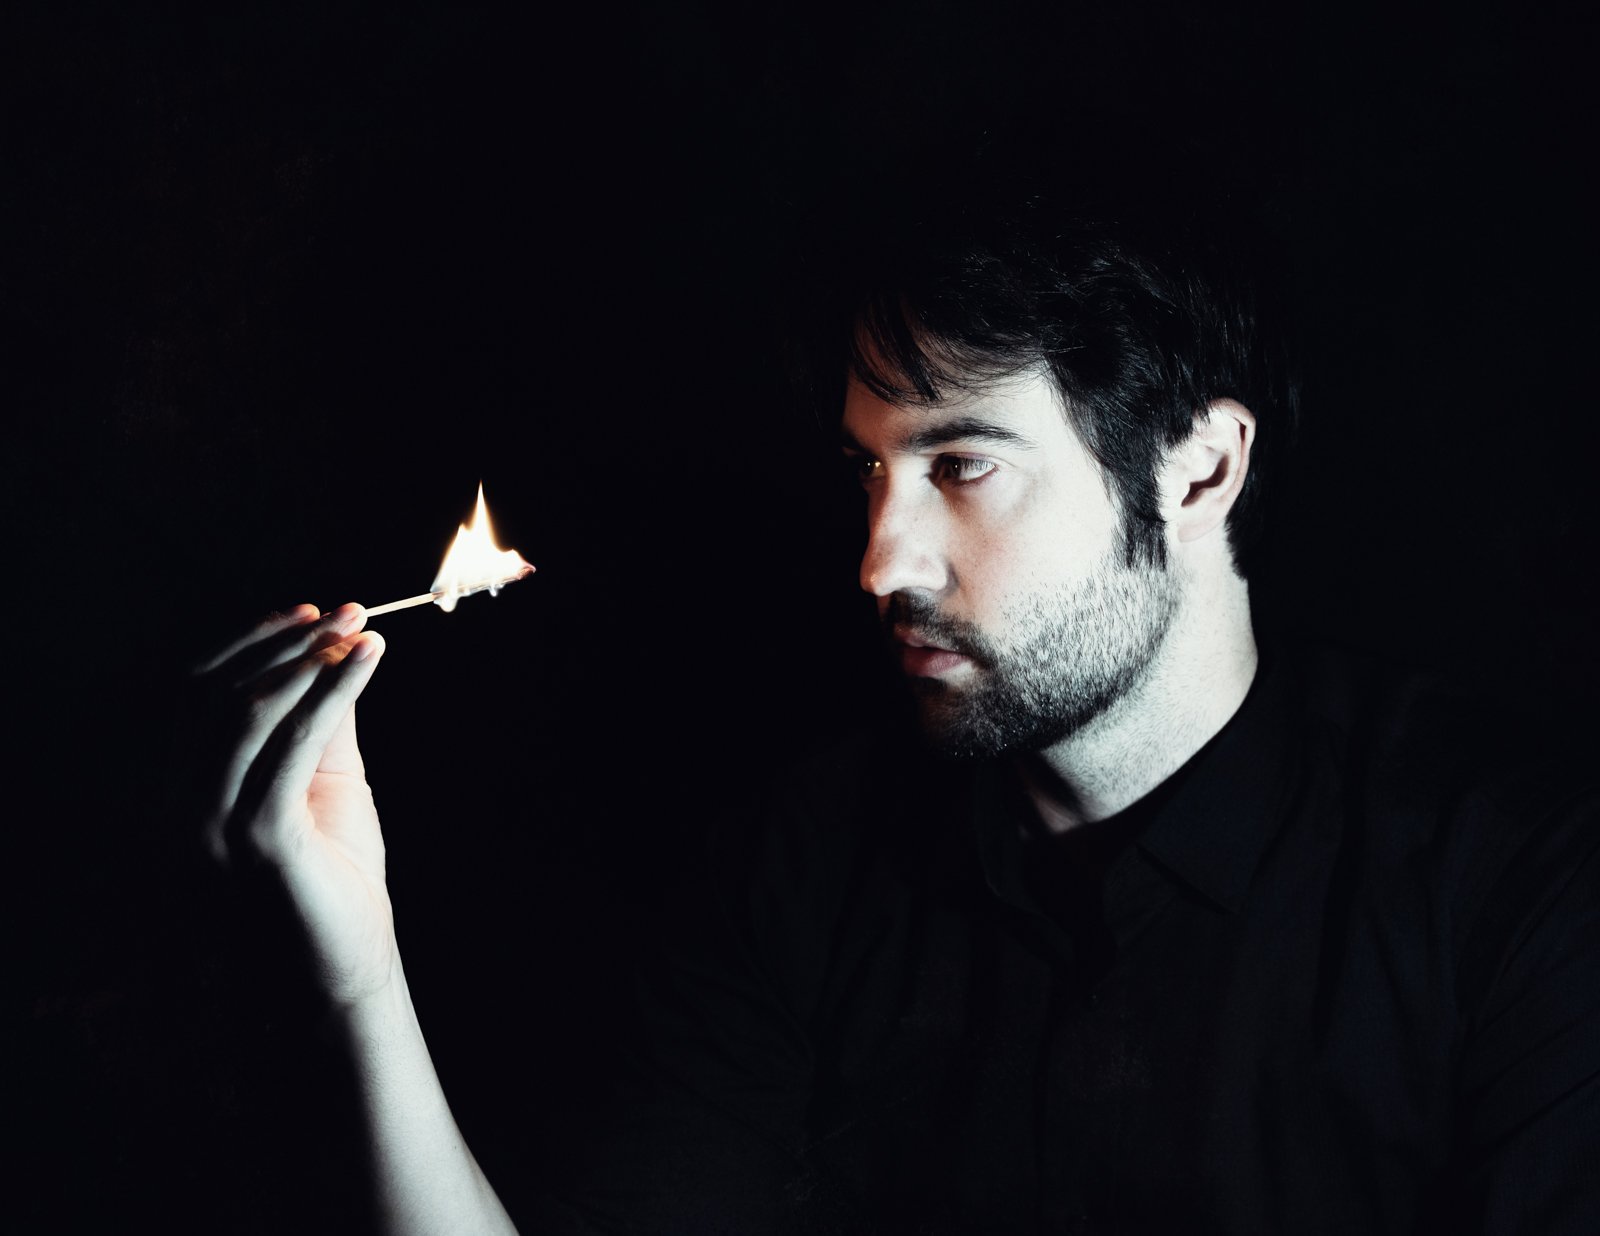
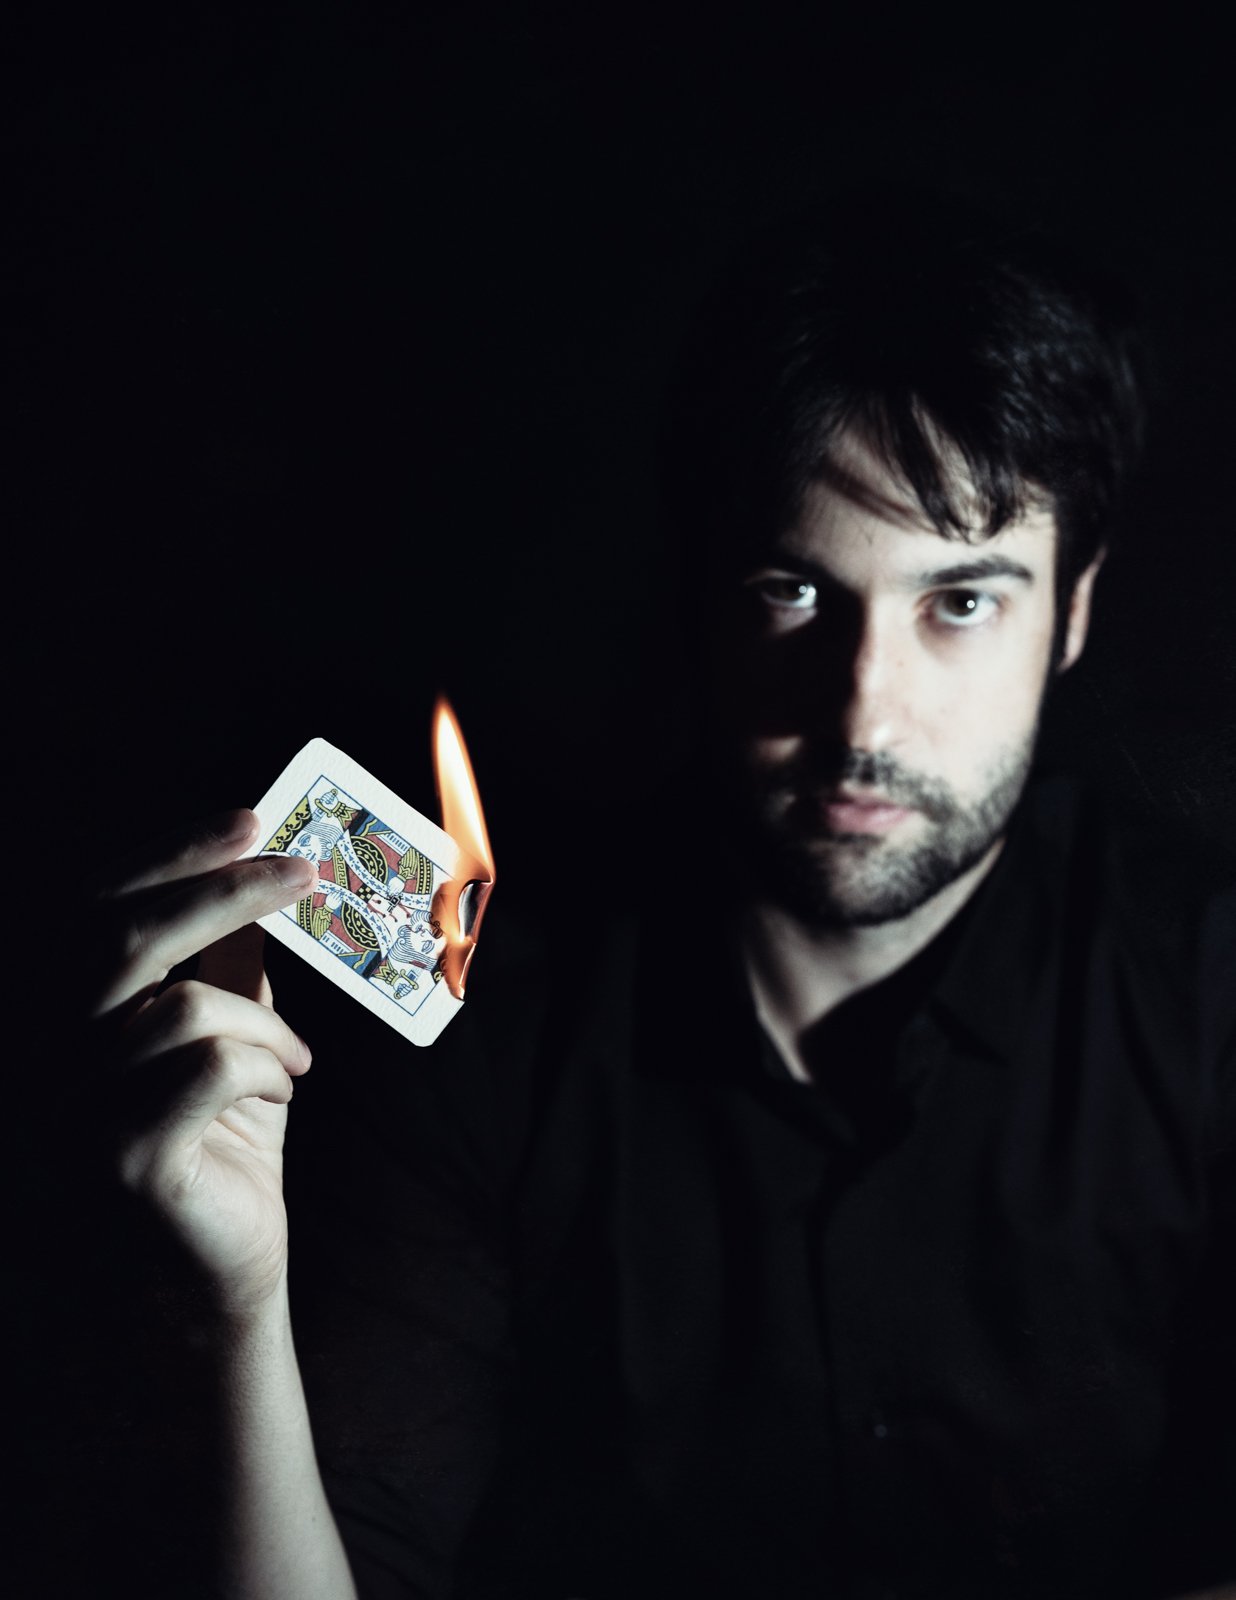
The other thing I did was scan in one of the playing cards and then print it on watercolour paper to set it on fire. I didn’t want to burn the actual playing card because a. I’d lose a few cards; b. They are coated and that stuff burns toxic fumes when burnt…yuck! The printed paper was far less toxic and was quite a slow burn. Still, we had a bucket of water on standby, just in case.
I set up the 20W Hobolite LED Light on its little stand on the tabletop and for most of the shoot. That was my only light source, on full power at 5600K.
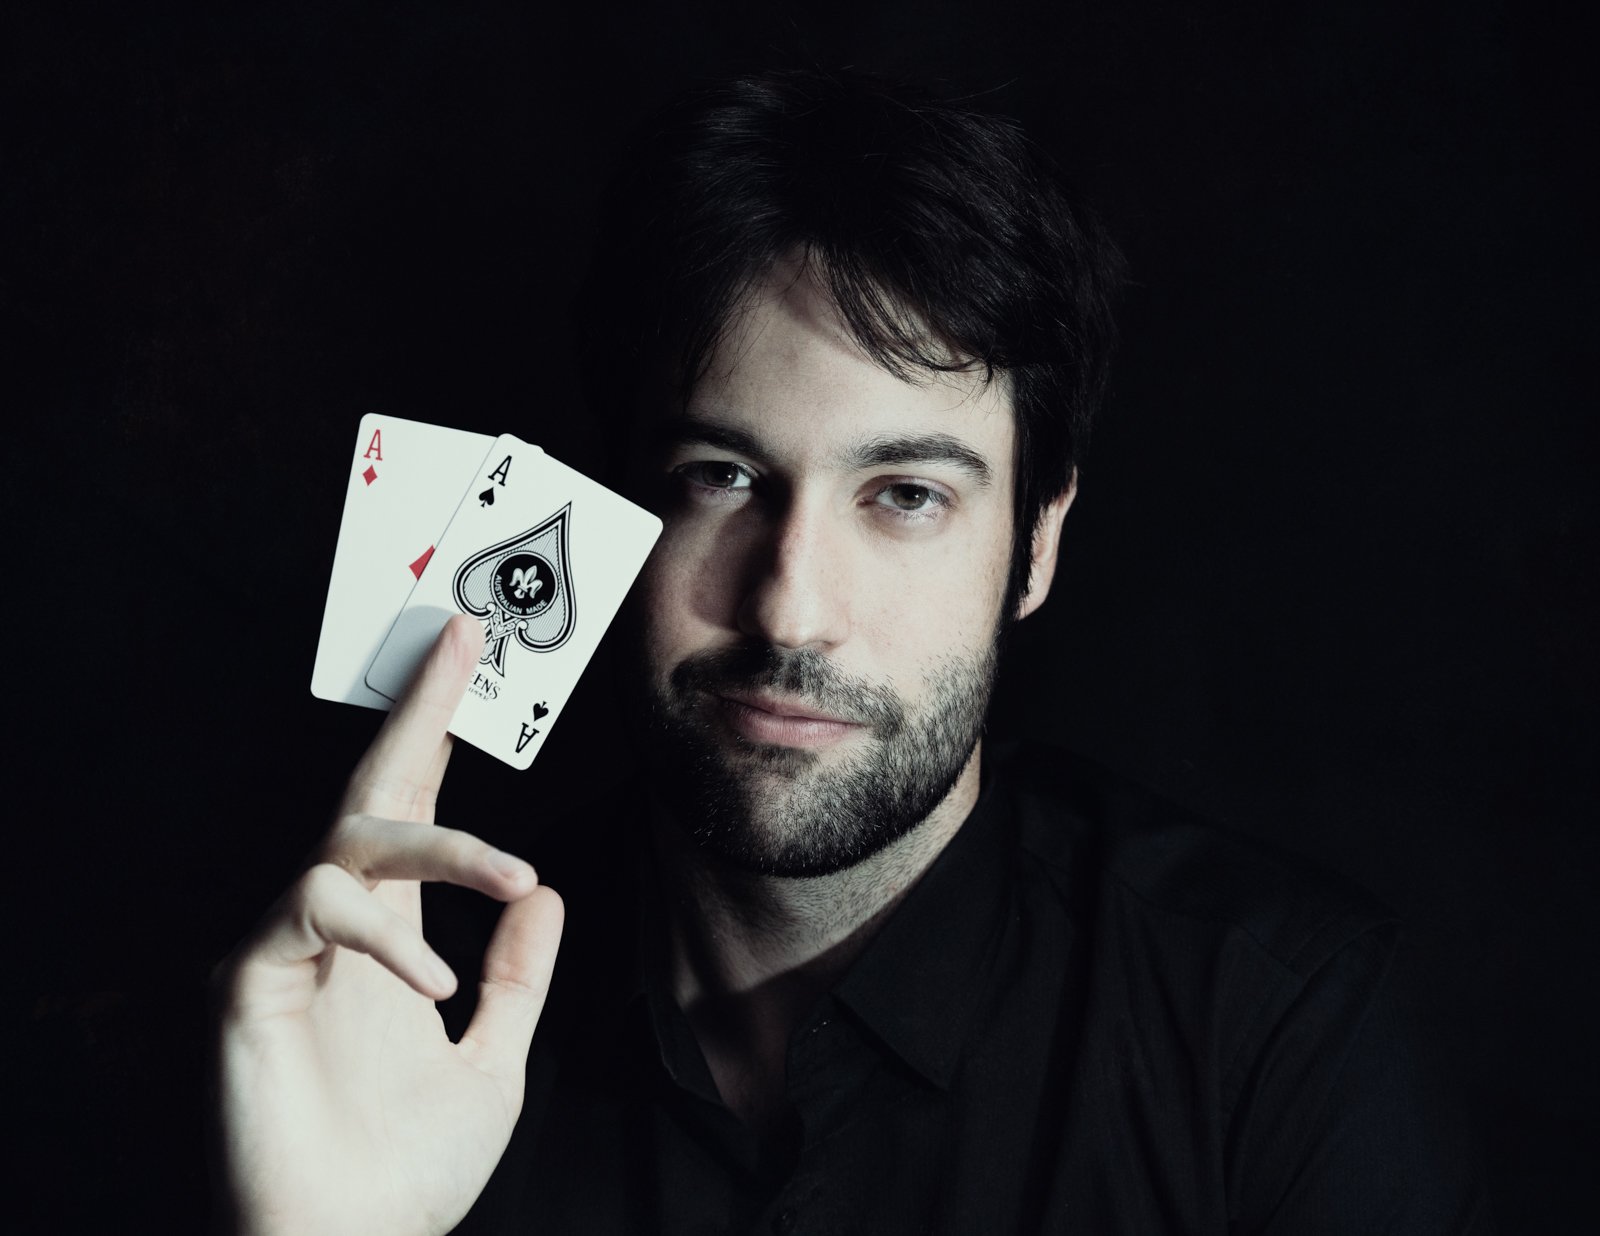
As the light is only 20W, I ended up setting my ISO to 640 which adds a slight grain. Adding to the grungey look I was after. I was using my Sony A7RV and Sony 50mm lens at roughly f/2.8. This aperture did present some challenges with Depth of Field. Did I have the model in shot of the item in his hands? I could have focus stacked. I often chose either the dice or the cards and left my model out of focus. This added to the overall feel of the shoot (well in my opinion). This wasn’t always the case, but it did make for some interesting images.
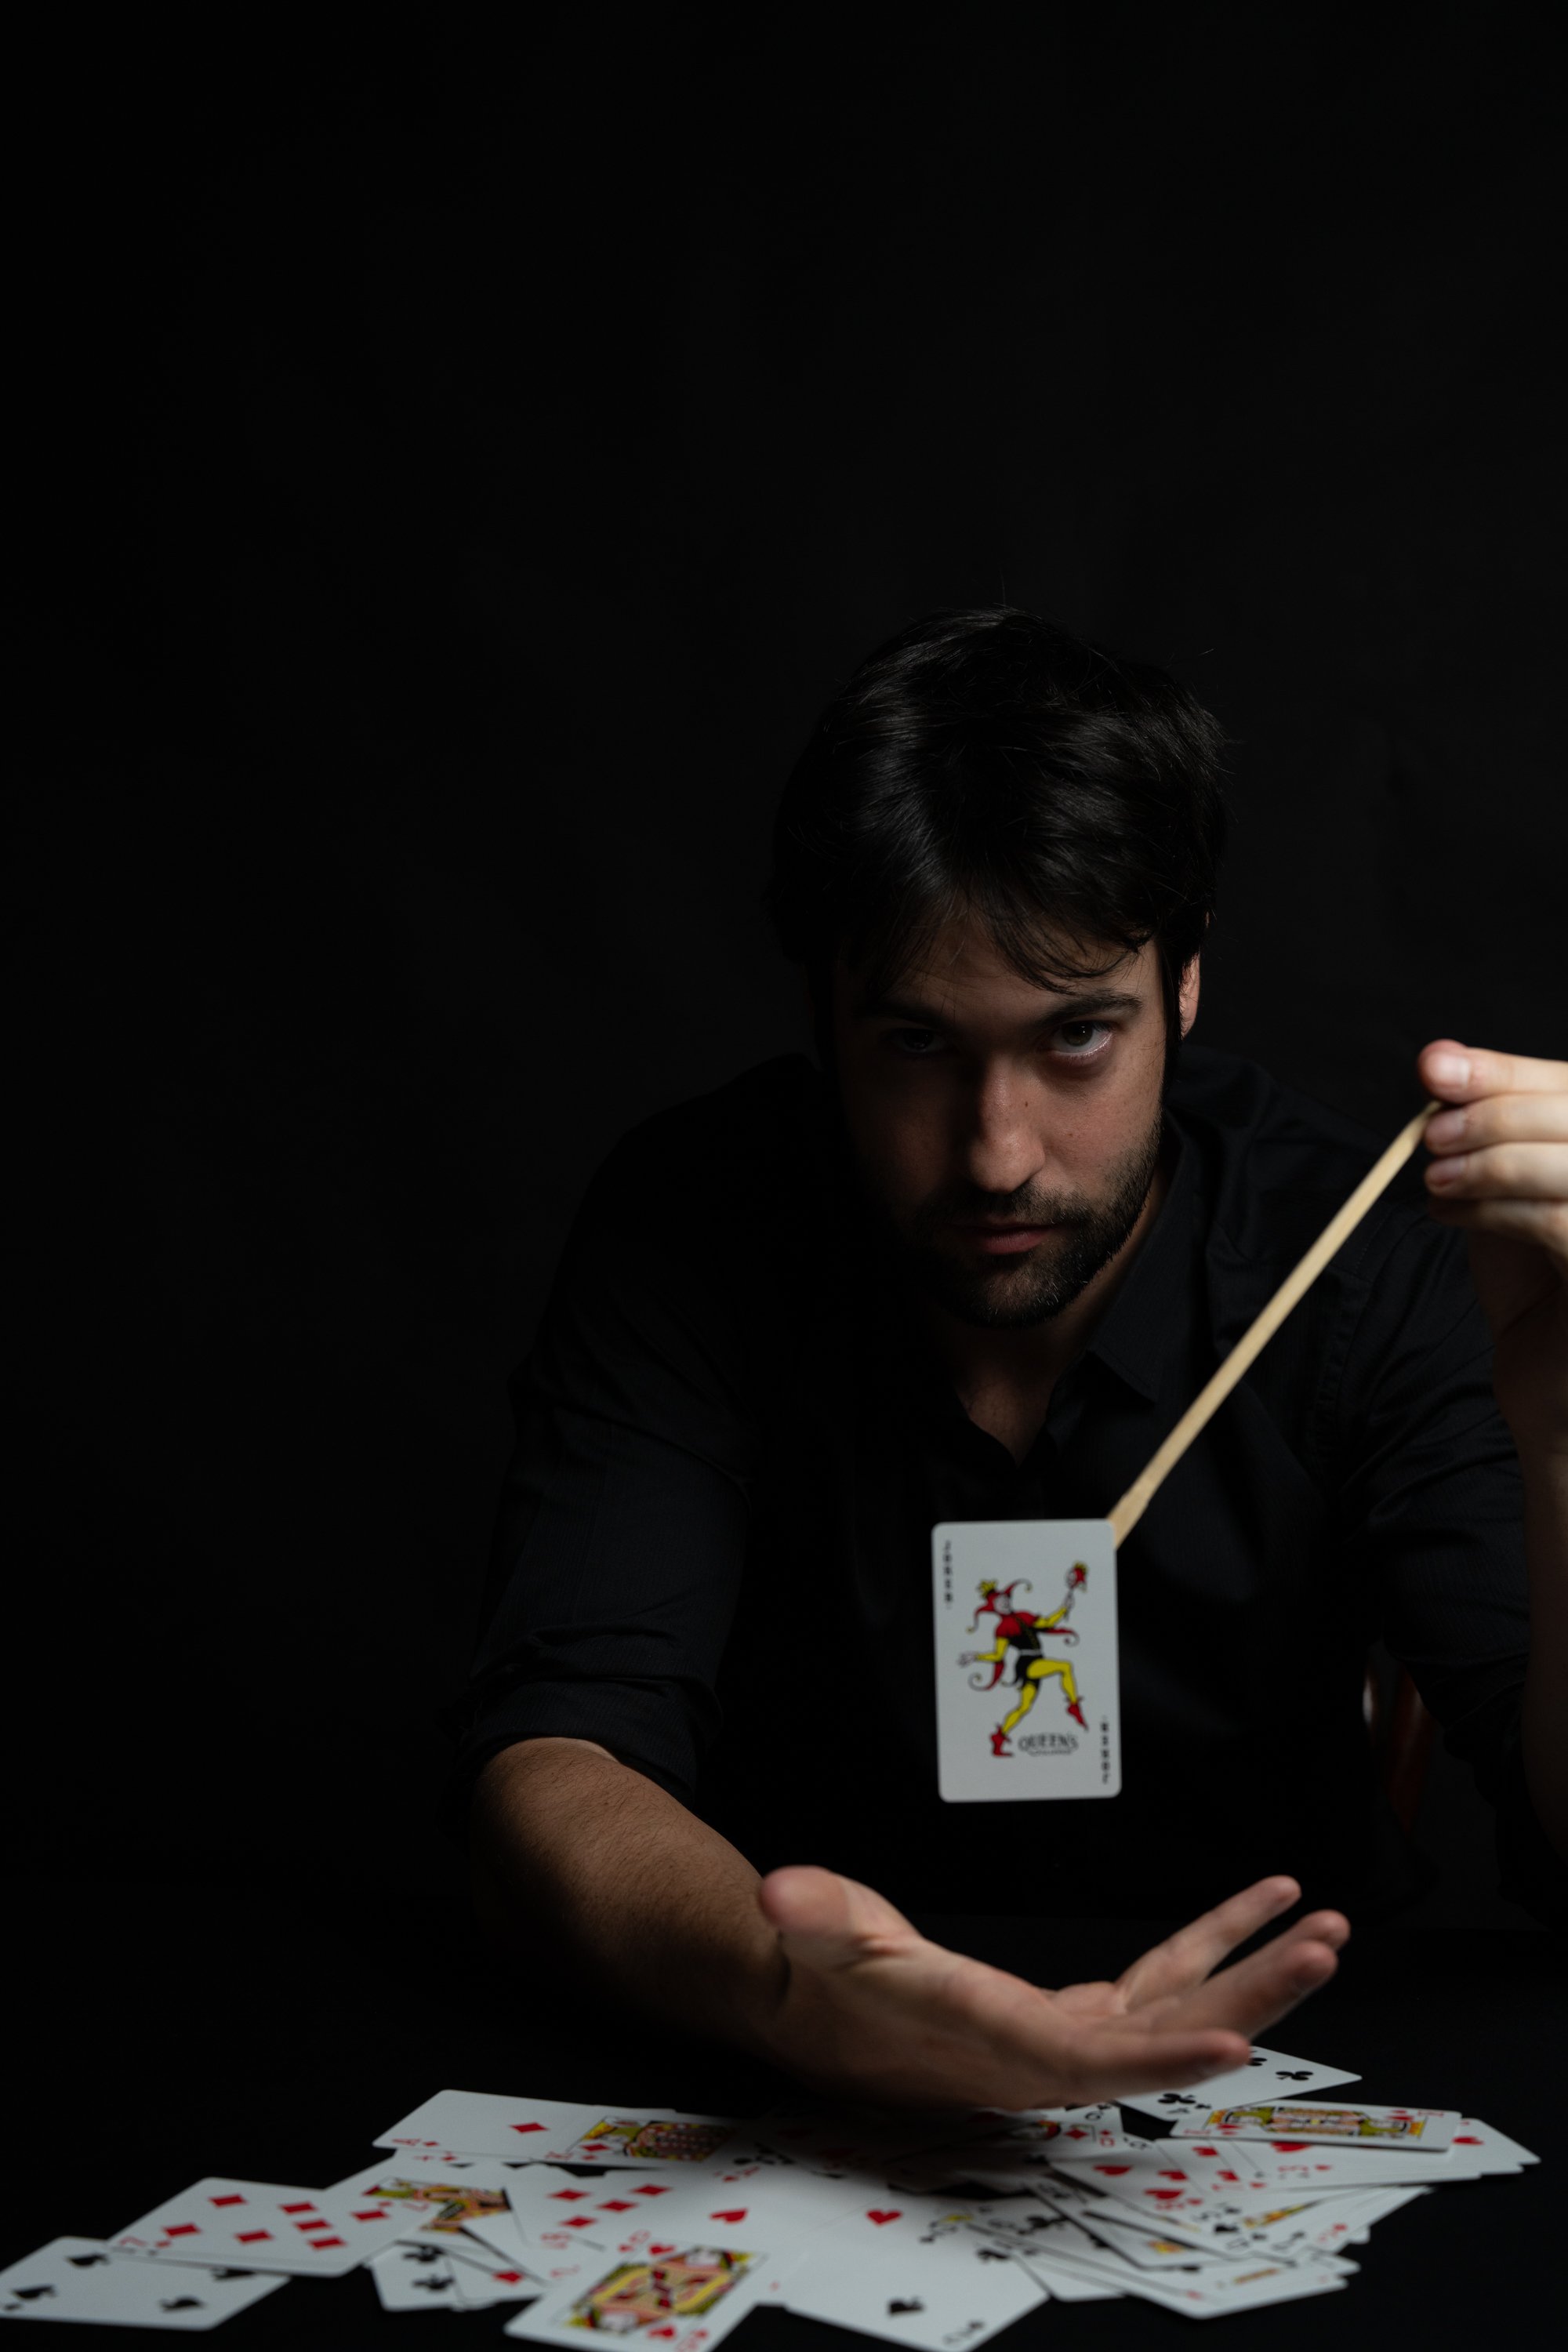
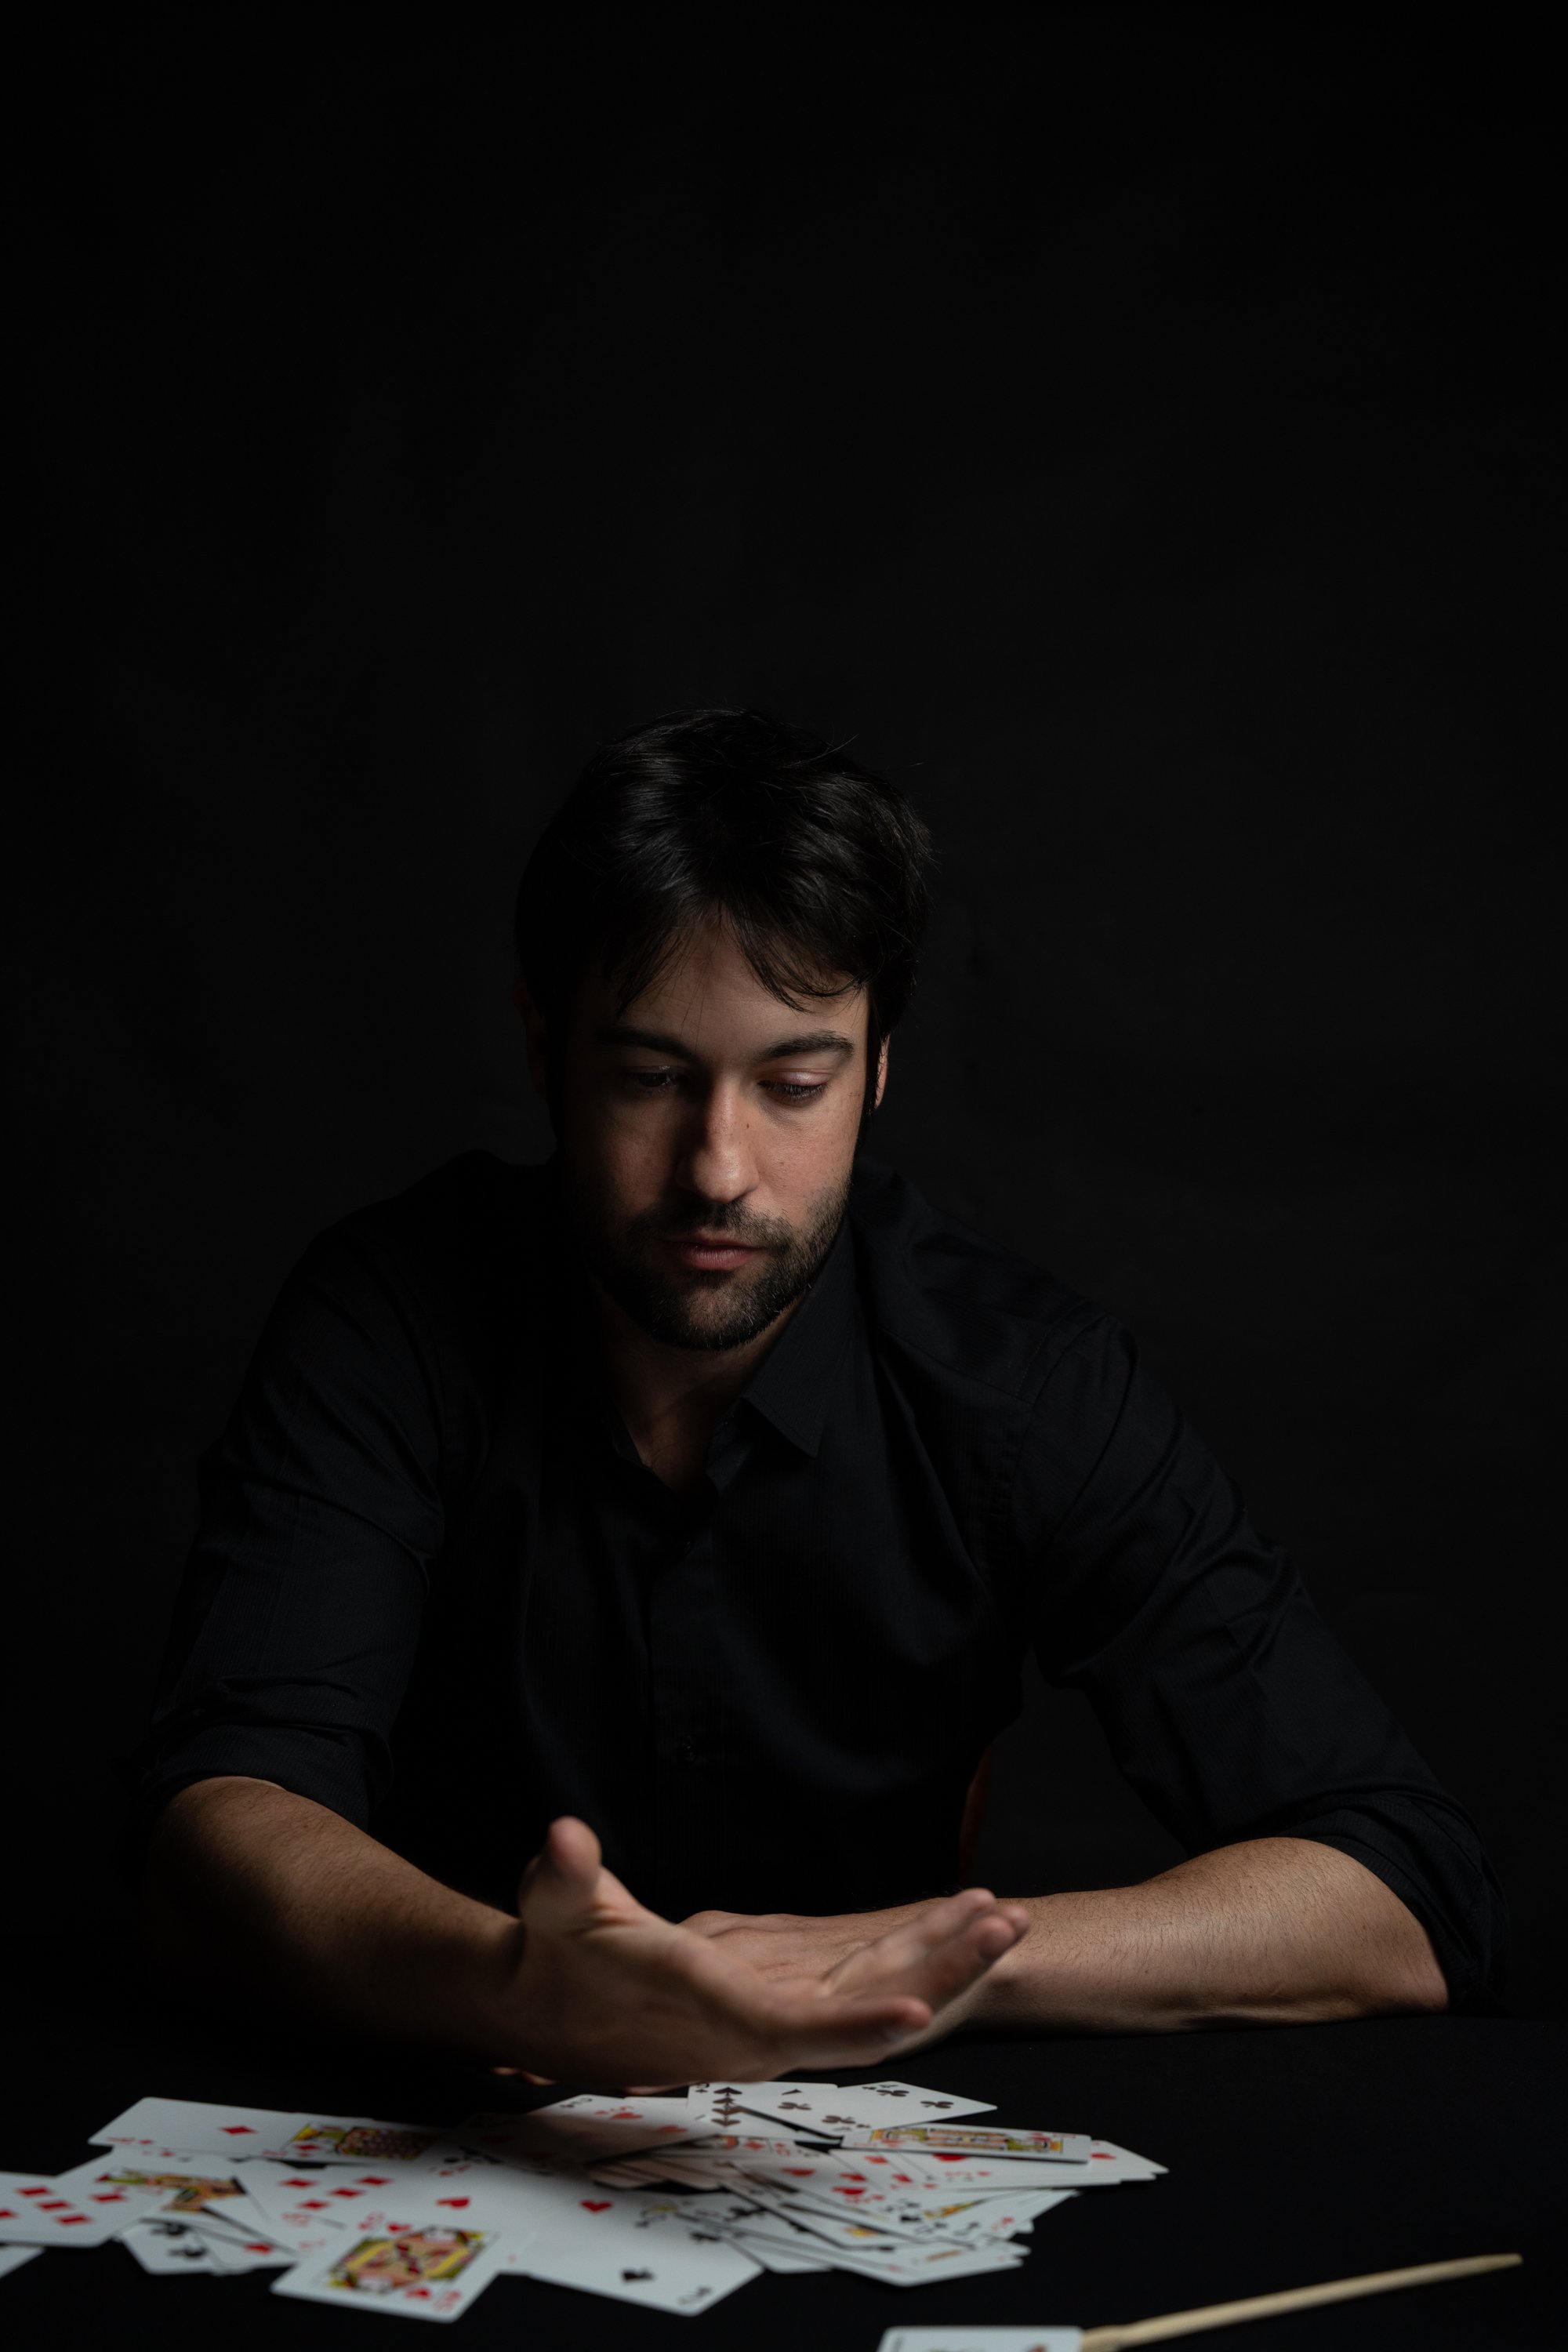
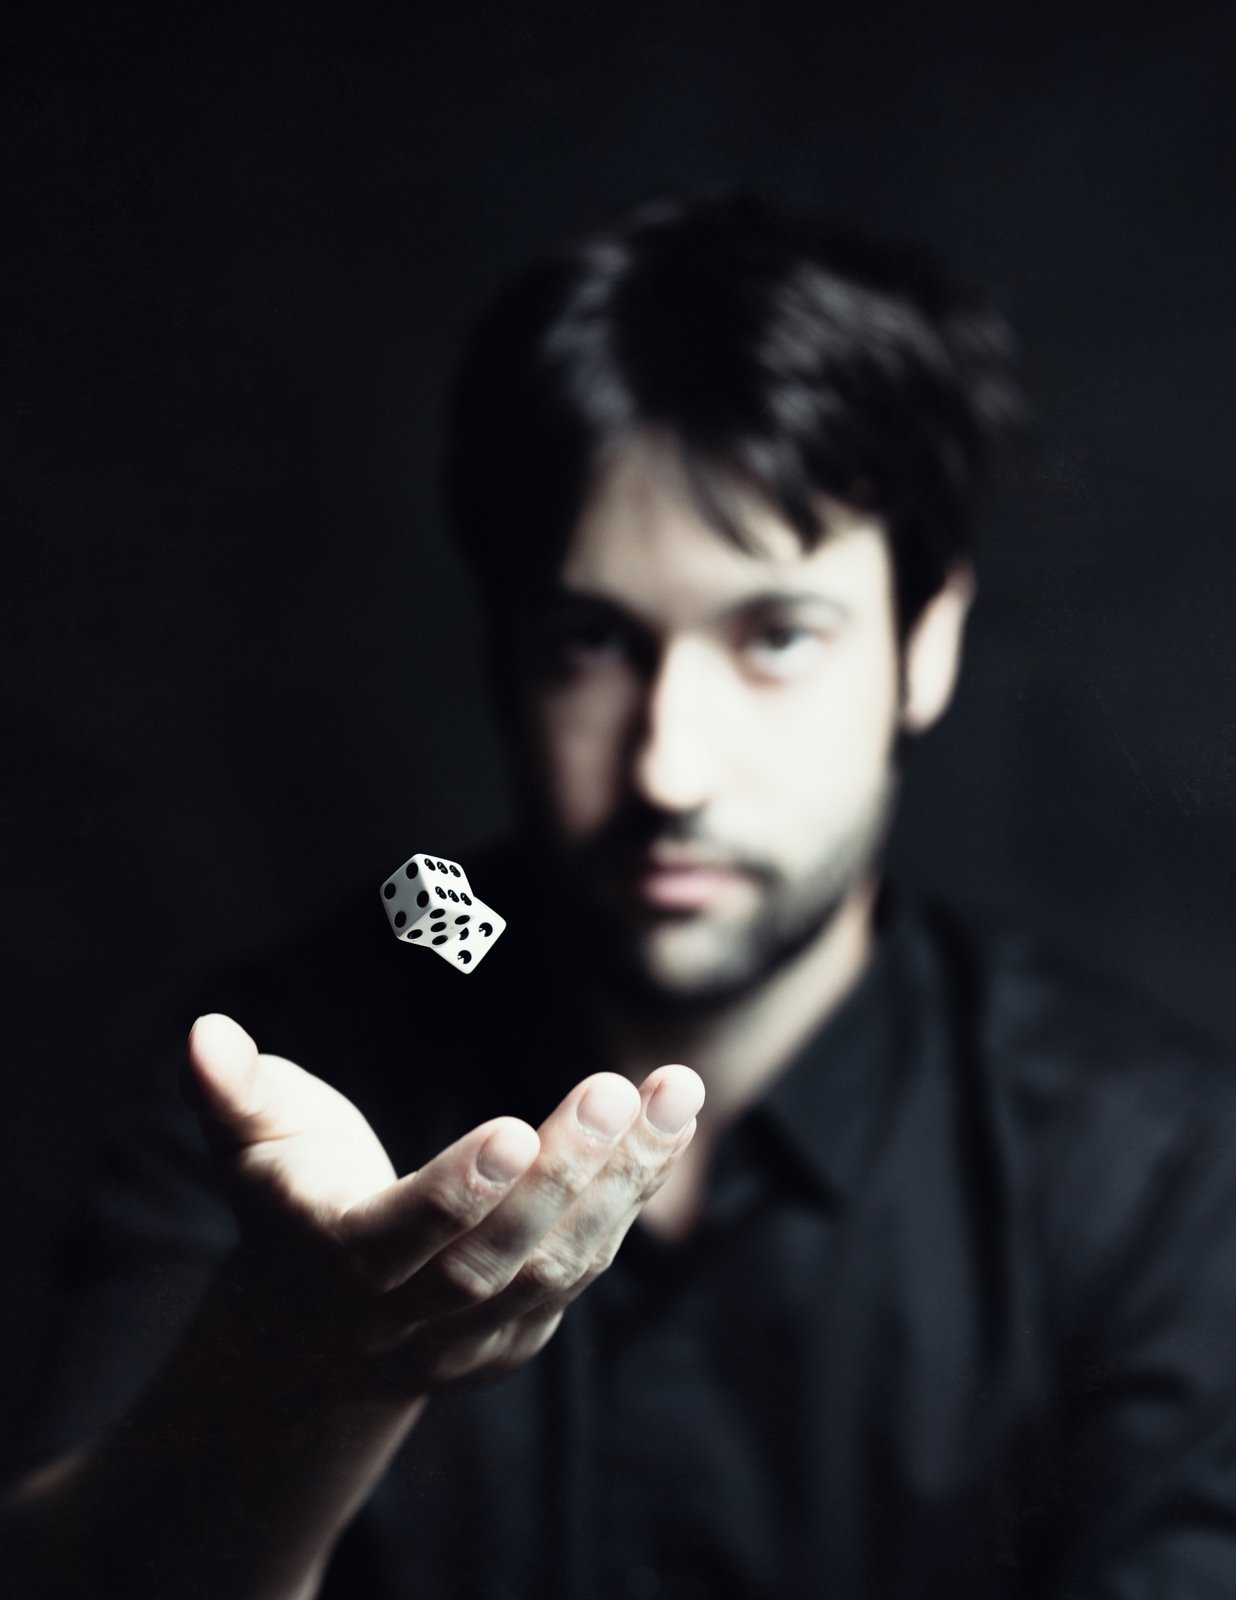
Most of it came down to timing. David threw the dice or the cards or rolled the poker chips and captured it in a single shot. Yes, it took a few takes! The match and the burning cards were lit in the studio. We did burn a few to get just the right amount of flame, without burning David’s fingers. Plus we had that bucket of water for safety measures, right by David’s feet.
How I got the photo: Adding a little Photoshop magic
The only real Photoshop I used was with the levitating Joker, which took a few photos. We stuck a card to a chopstick to place in the right place and then photoshopped the chopstick out. The rest was all basic editing. We had a few images with some cool reflections in the sunglasses as well. From the Hobolite itself, the dice, the cards etc.
You can check out the behind-the-scenes video for the whole shoot here on YouTube.
Final images
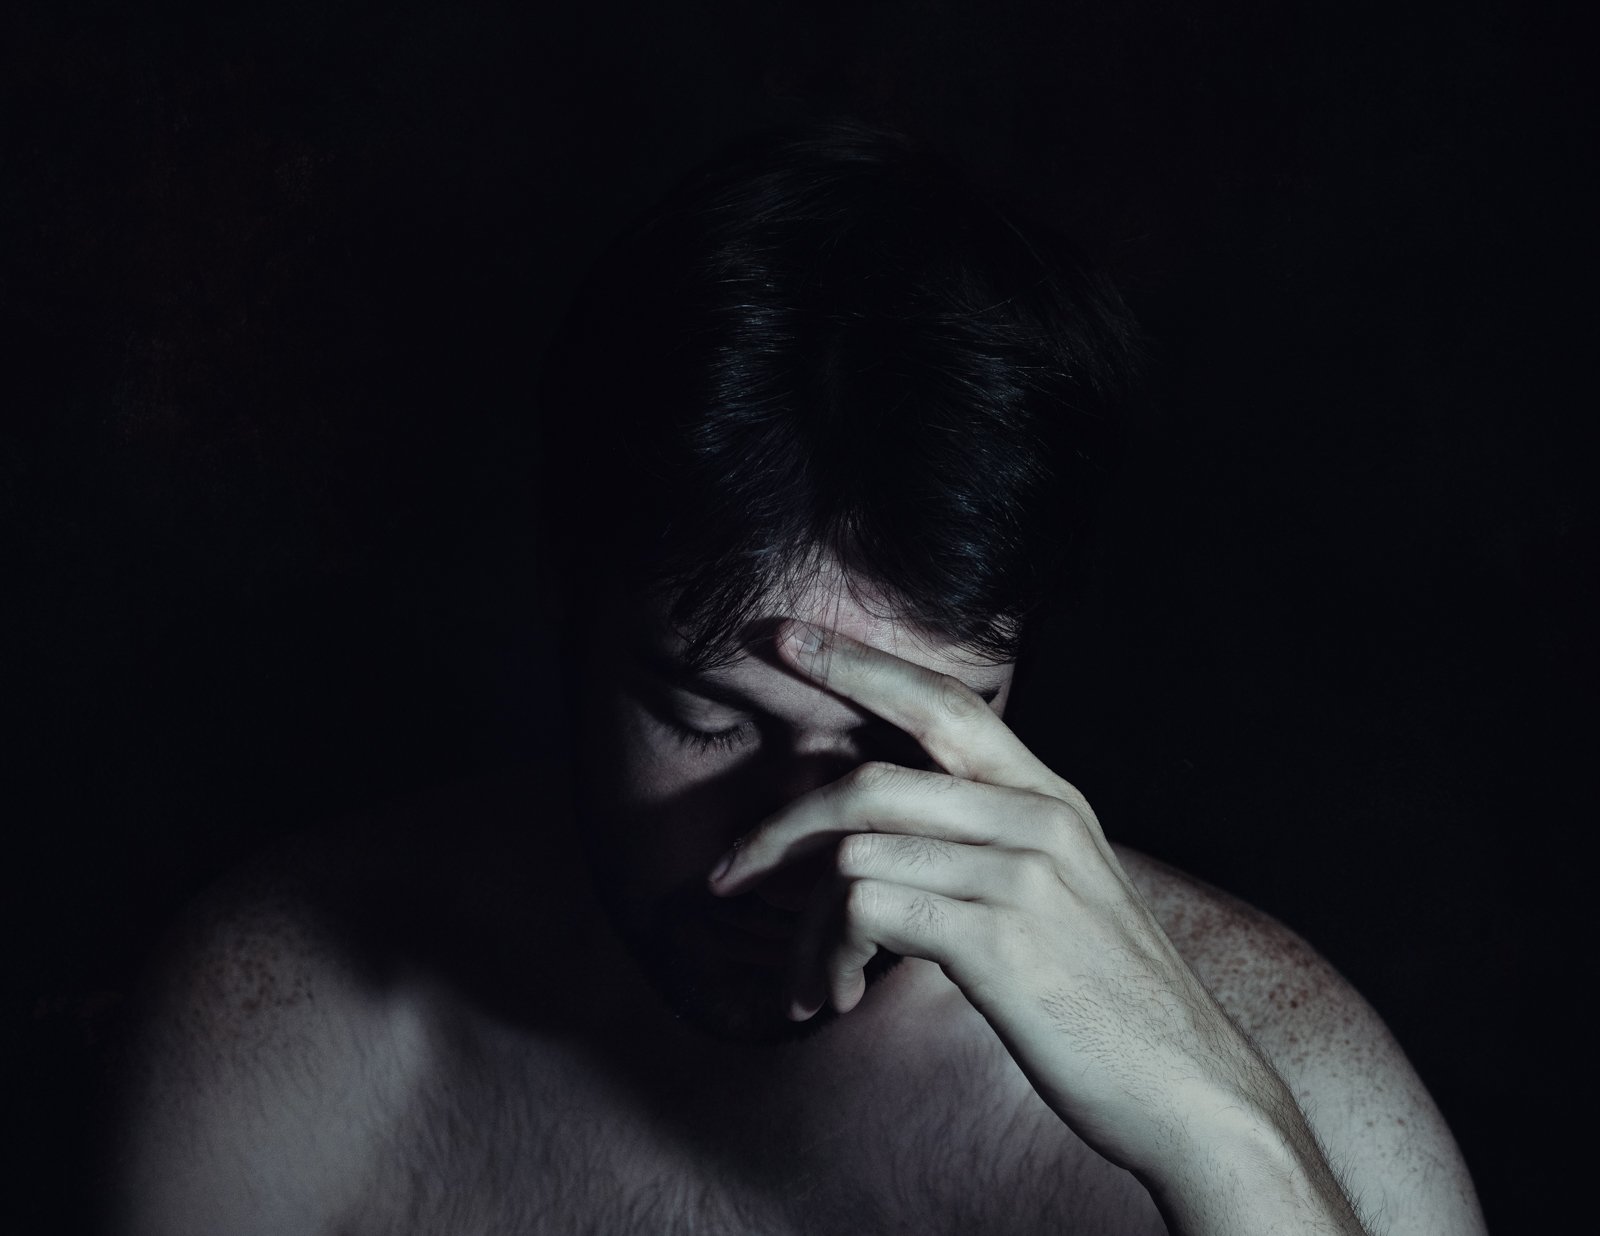
Here are a few more of the images in this series: After many attempts at throwing the dice, I ended up setting up a Godox AD200Pro and Strip box. Then we could properly freeze the action. Apart from that, the 20W Hobolite was fantastic for the matches and burning cards and general headshots.


