Colour grading with Luminar Neo
Colour grading is the process of adjusting and manipulating the colours in your photographs to achieve a certain look or mood. It can enhance the overall feel of your image and help you convey your message more effectively. One of the most popular software for colour grading your photos is Luminar Neo. In this blog post, we'll look at different ways to colour grade your photos in Luminar Neo and some tips and tricks to help you achieve the perfect look.
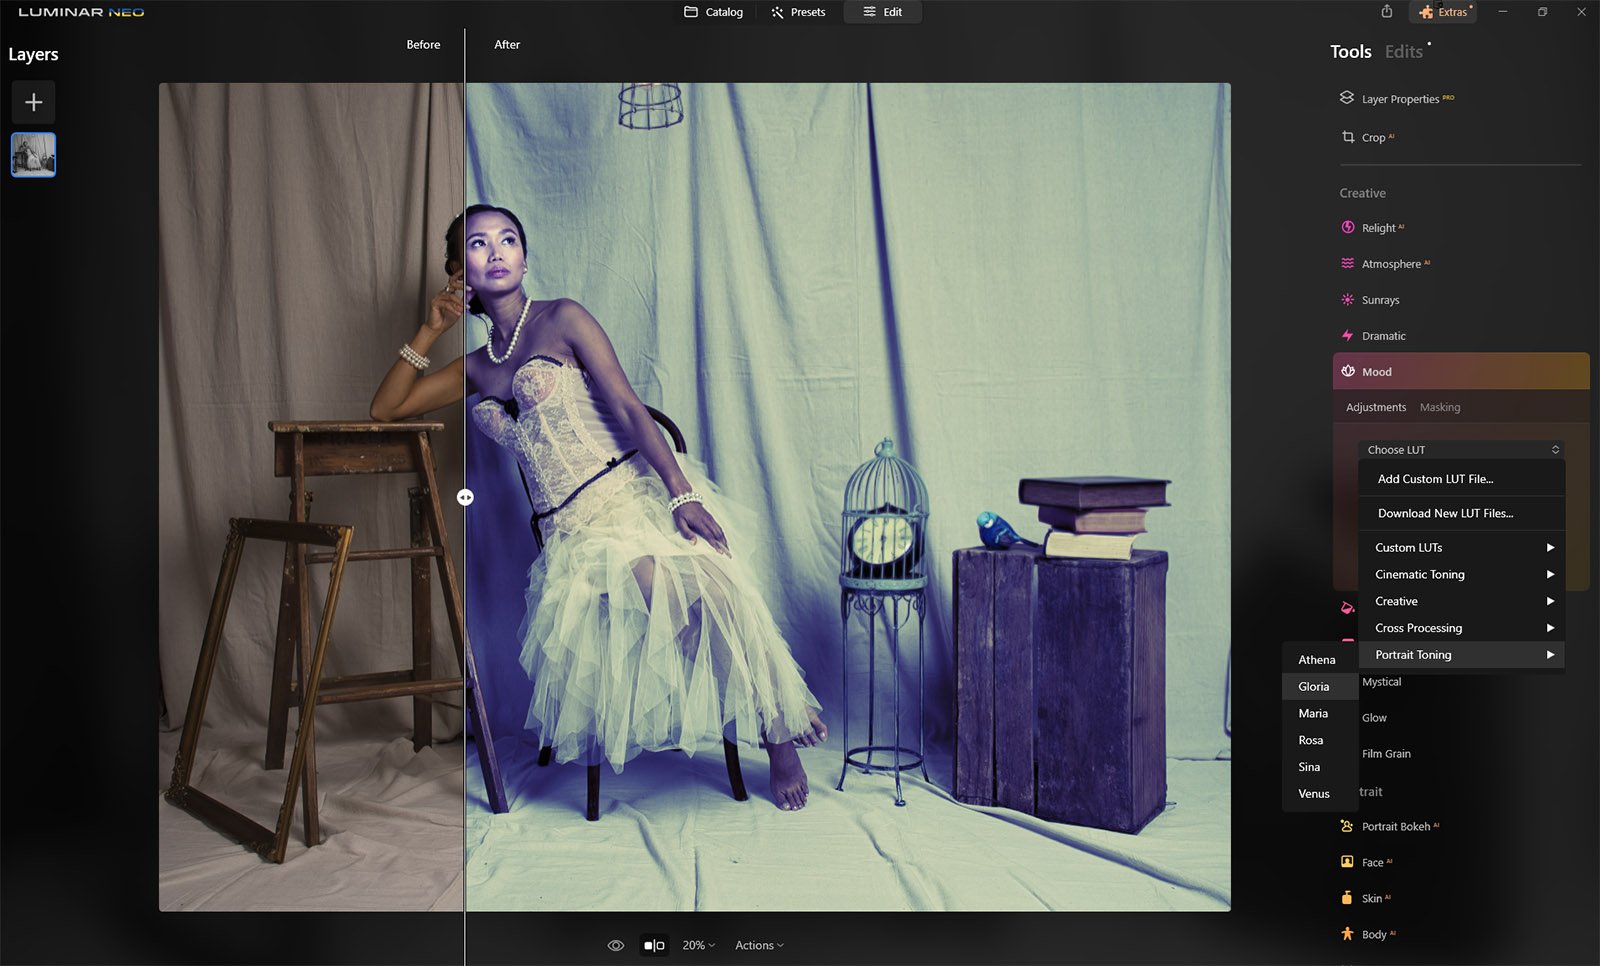
Before and after in Luminar Neo
Let's start at the beginning
Step 1: The first step is to import your image into Luminar Neo. You can do this by clicking on the "Import" button and selecting your image from your computer.
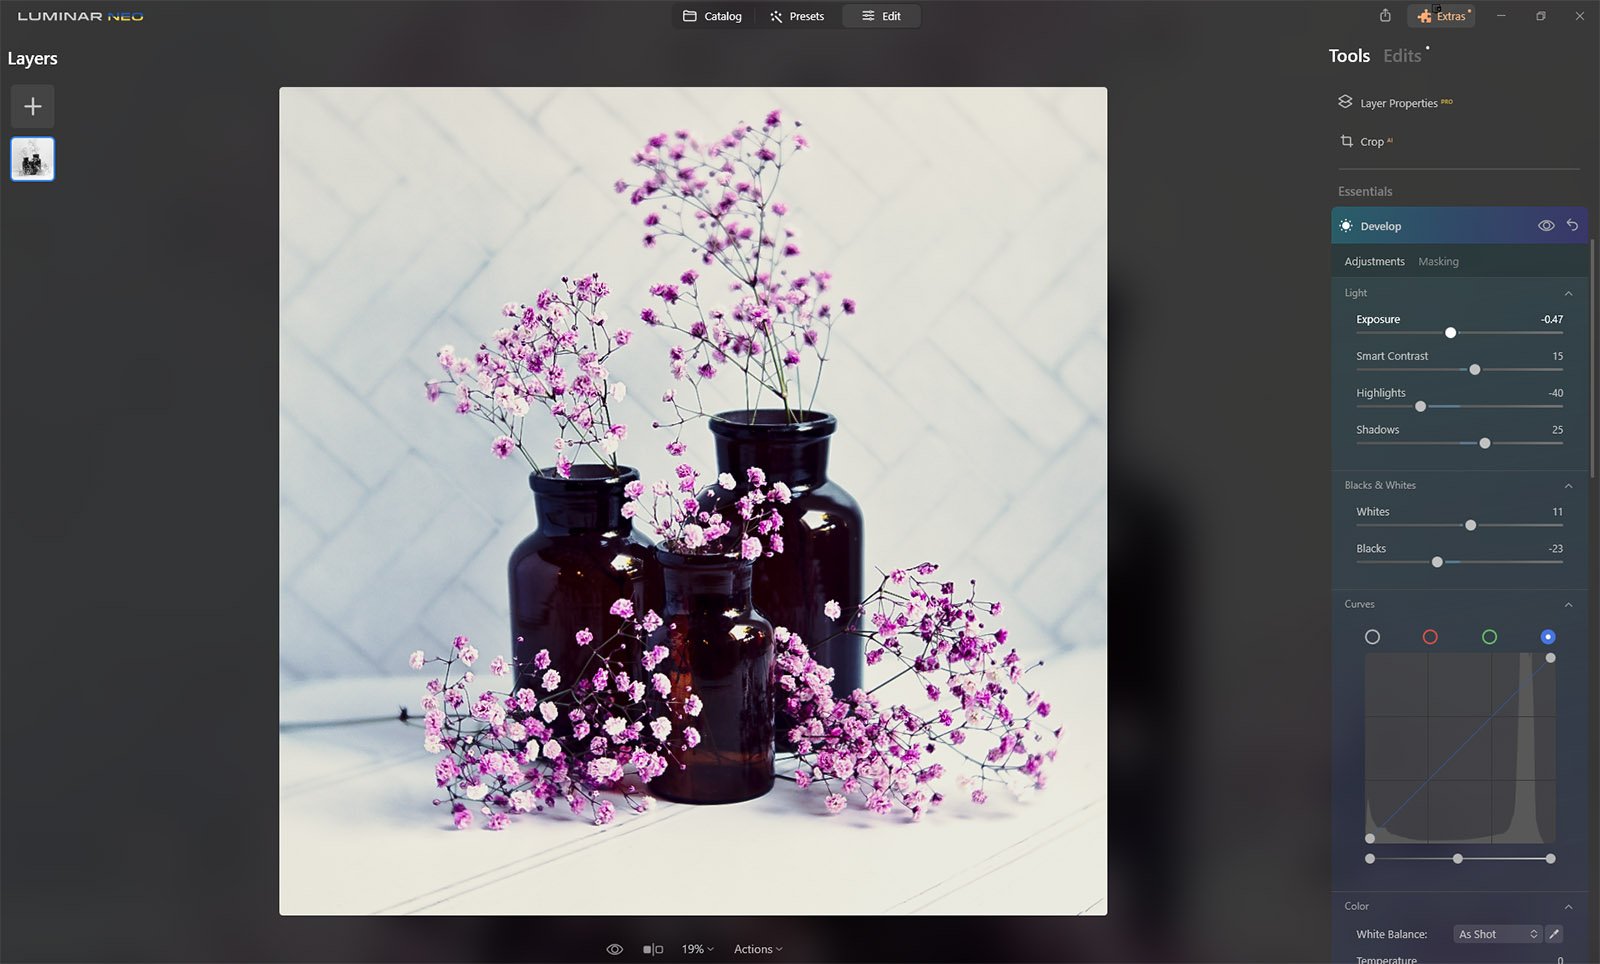
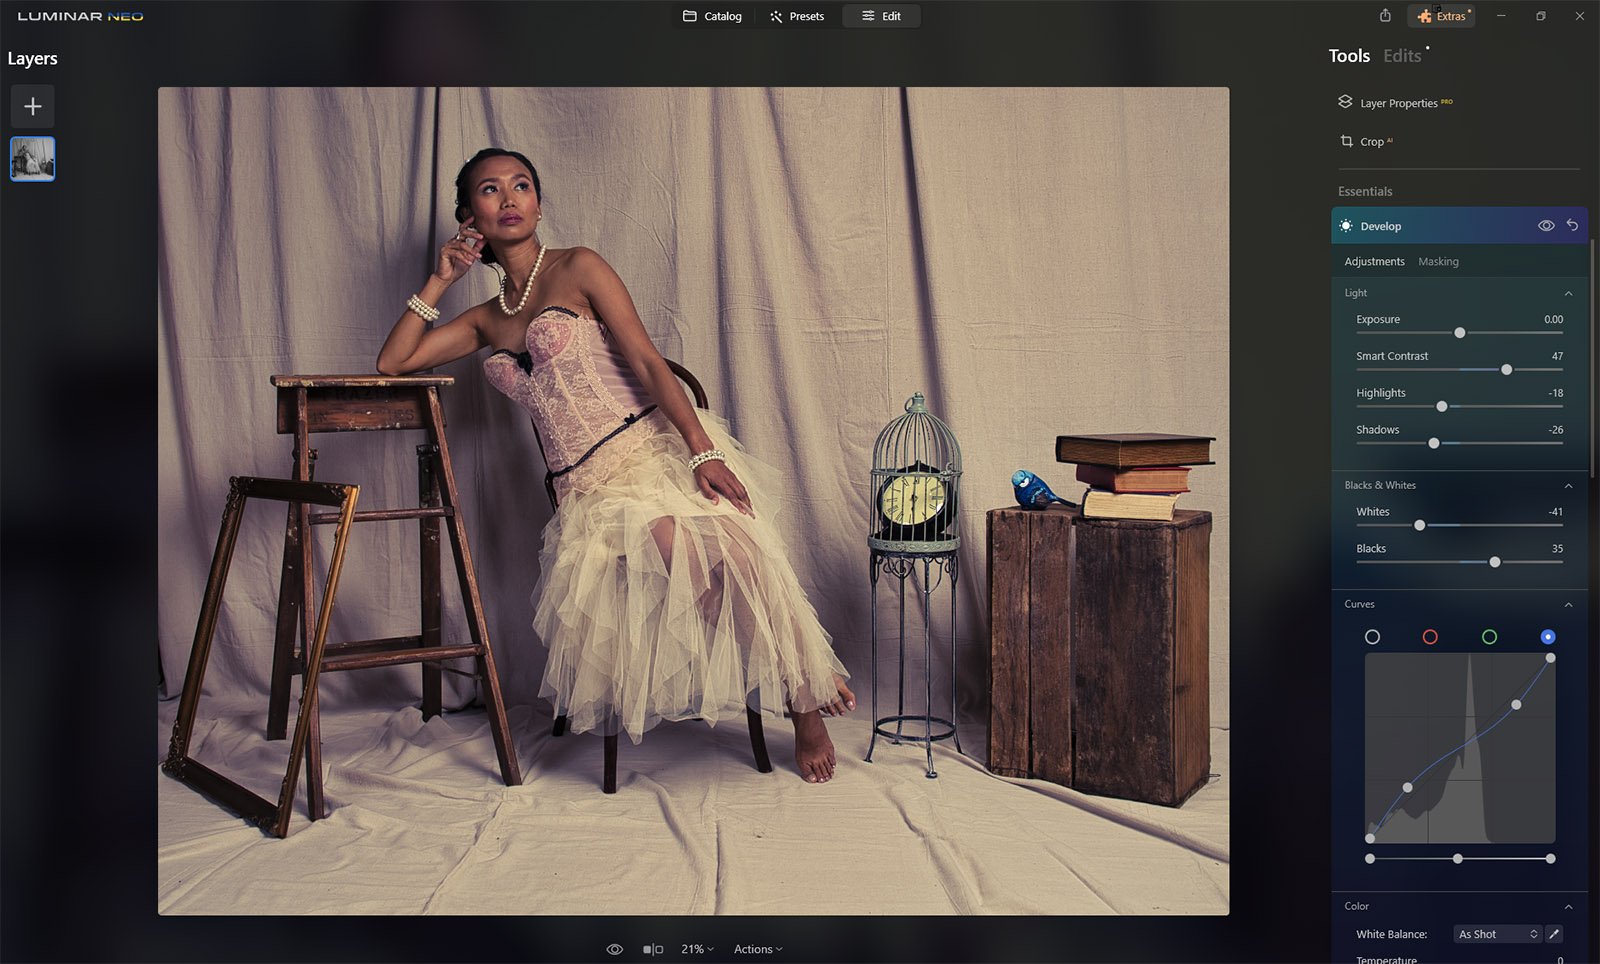
Step 2: Before you start color grading, it's important to adjust the exposure of your image. This will ensure that the colors are accurately represented in your photograph. A great place to start in Luminar Neo is the Enchance AI. You can adjust the exposure in Luminar Neo by using the "Exposure" slider, you will find this and other sliders like Highlights, Smart Contrast and more in the Develop Panel. These sliders allow you to adjust the brightness, contrast, and highlights of your image.
Step 3: Any other editing you require to your image, such as cropping etc should be applied before you start your color grading. It really is the final step in your editing process.
Start with your basic edits
Choose Your Color Grading Tool
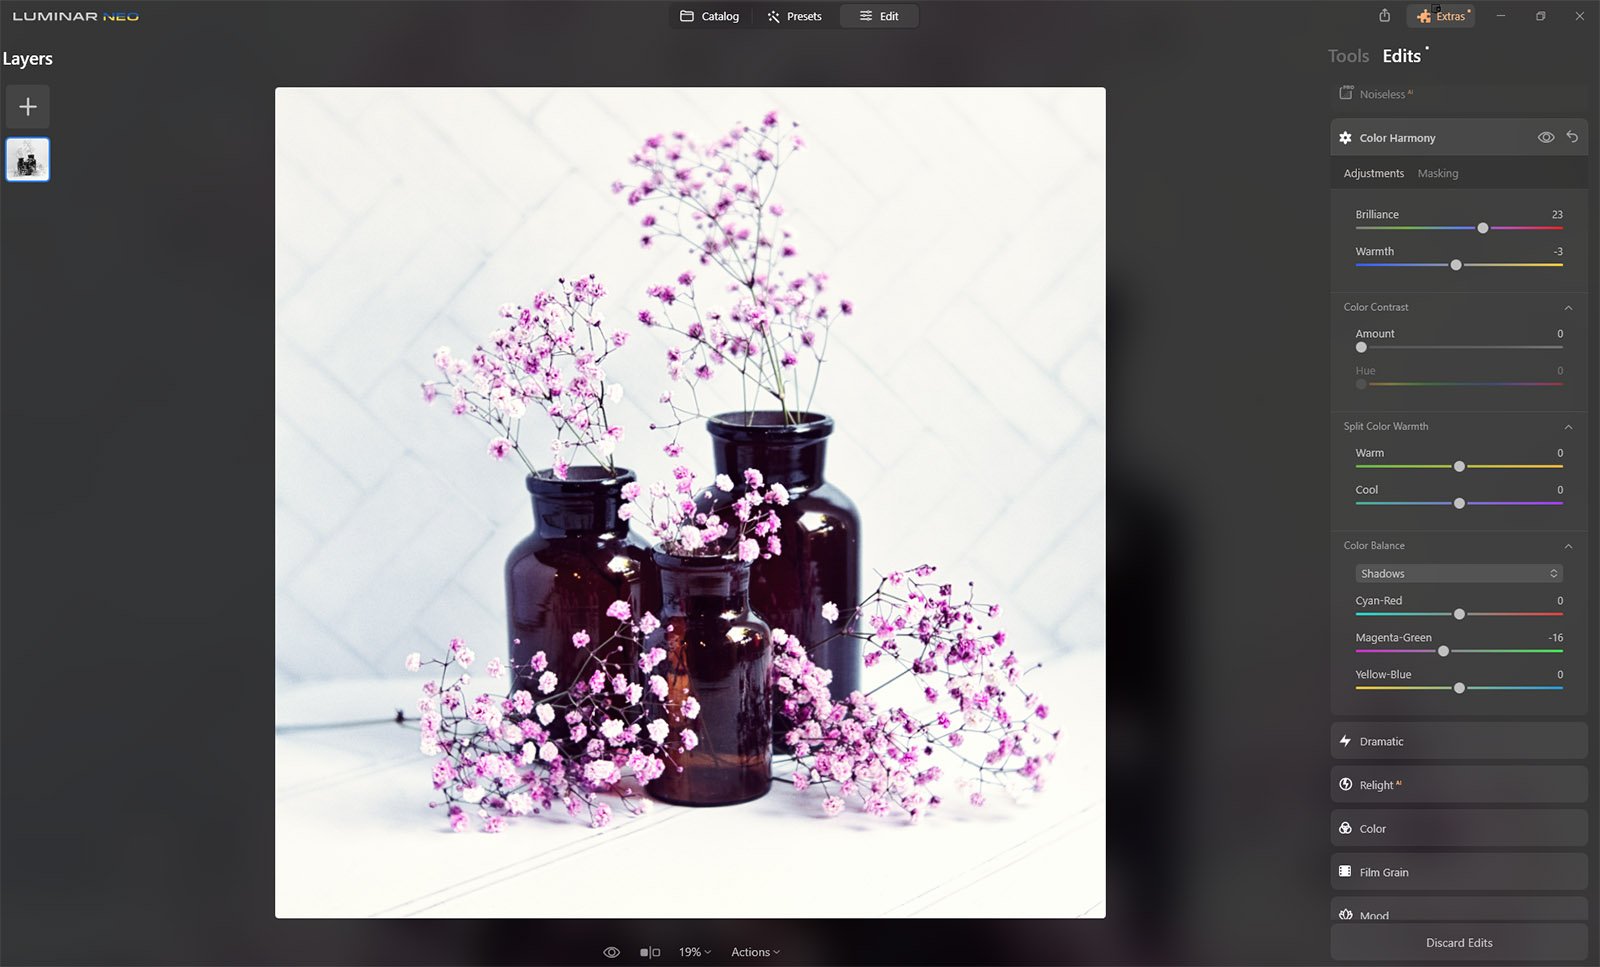
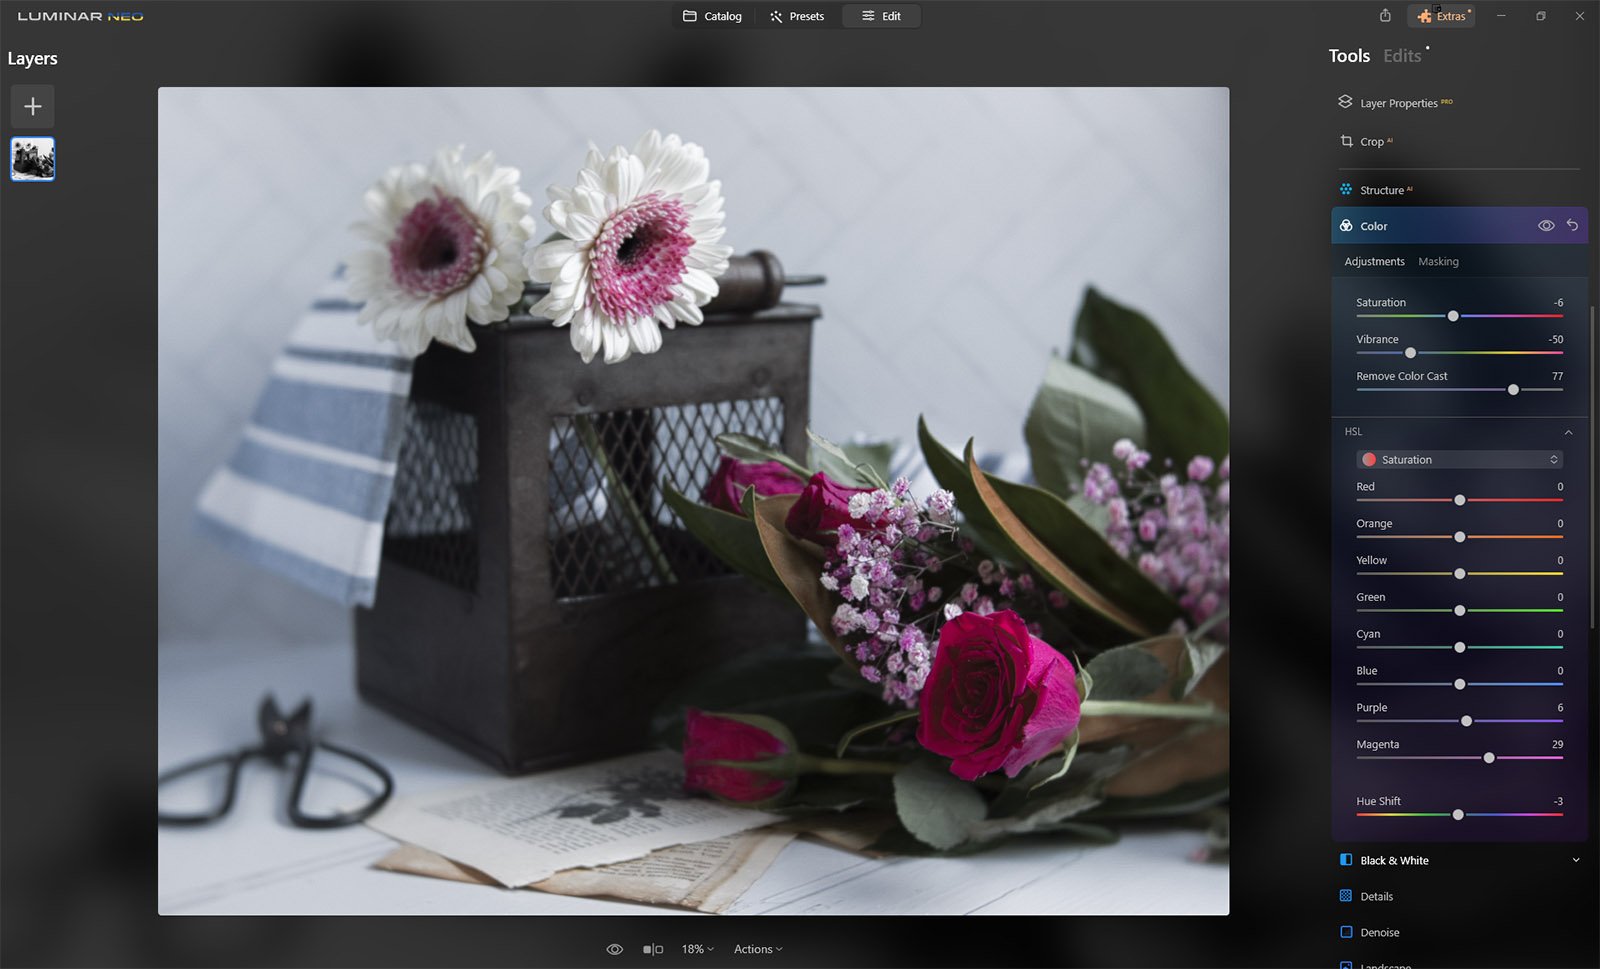
Luminar Neo offers a variety of colour grading tools that you can use to adjust the colours in your photograph. Some of the most popular tools include the Curves tool, the Color tool, the Color Harmony tool, and the Mood (or LUTs) tool. Each of these tools offers different options for adjusting the colours in your photograph, so it's important to choose the tool that's right for your image. Some a simple to use, while others take a little bit of tweaking, but give you more options.
Adjust the Colours
Once you've selected your color grading tool, you can start adjusting the colors in your photograph. The goal is to achieve the desired look or mood that you want for your image. This might involve increasing or decreasing the saturation of certain colors, adjusting the hue of specific areas, or adding a color tint to the entire image. You may like a certain look like cool tones in the shadows and a little warmth in the highlights.
Fine-Tune Your Settings
After you've made your initial adjustments, it's important to fine-tune your settings. This will help you achieve a more refined and polished look for your photograph. Some of the settings that you might want to adjust include contrast, brightness, and saturation. You might also want to experiment with different color grading tools to achieve the desired look.
Save Your Image
Save your image in Luminar Neo
Once you're happy with your colour grading, you can save your image. Luminar Neo allows you to save your image in a variety of formats, including JPEG, PNG, TIFF, and more. You can also choose the quality of your image and the file size.
Tips and Tricks for Colour Grading in Luminar Neo
Experiment with different tools: Luminar Neo offers a variety of colour grading tools, so it's important to experiment with different tools to find the one that's right for your image.
Use the before-and-after view: Luminar Neo allows you to view your image before and after colour grading. This is a great way to see how your adjustments are affecting your image.
Keep it subtle: It's easy to go overboard with colour grading, but it's important to keep it subtle. You want to enhance the colours in your photograph, not overpower them.
Use presets: Luminar Neo offers a variety of presets that you can use as a starting point for your colour grading. This can be a great way to get inspiration and save time. You can also save your own presets too.
Don't be afraid to experiment: Colour grading is a creative process, so don't be afraid to experiment with different colours and settings. You might be surprised by the results.
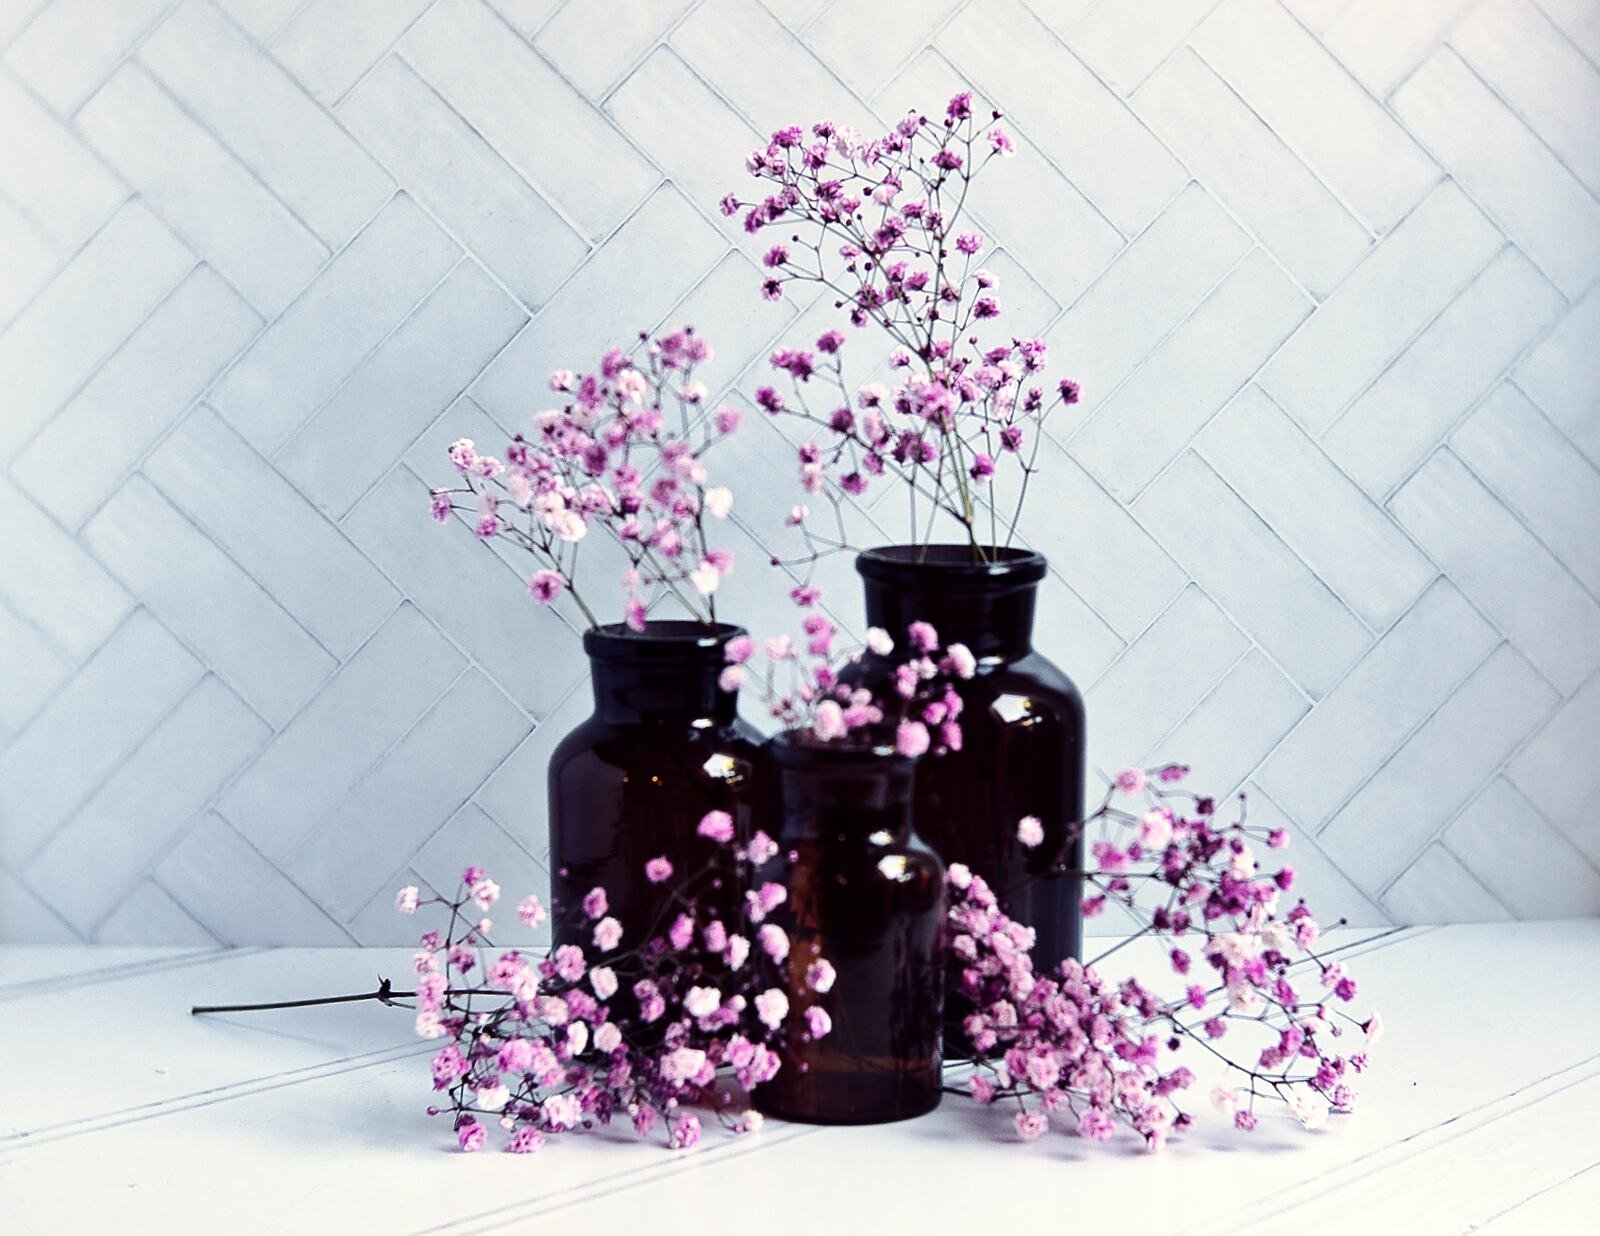
Edited image
Final thoughts
Colour grading is a powerful tool that can help you enhance the colours in your photographs and convey your message more effectively. Colours can create and evoke a mood. Just remember that sometimes, less is more.


