Create your customized workspace in Photoshop
So, which workspace should you use in Photoshop? Did you know you can change your workspace or even customize it to your own needs? It’s pretty quick and simple to do. Let’s take a look.
Change your workspace in Photoshop
Select your workspace
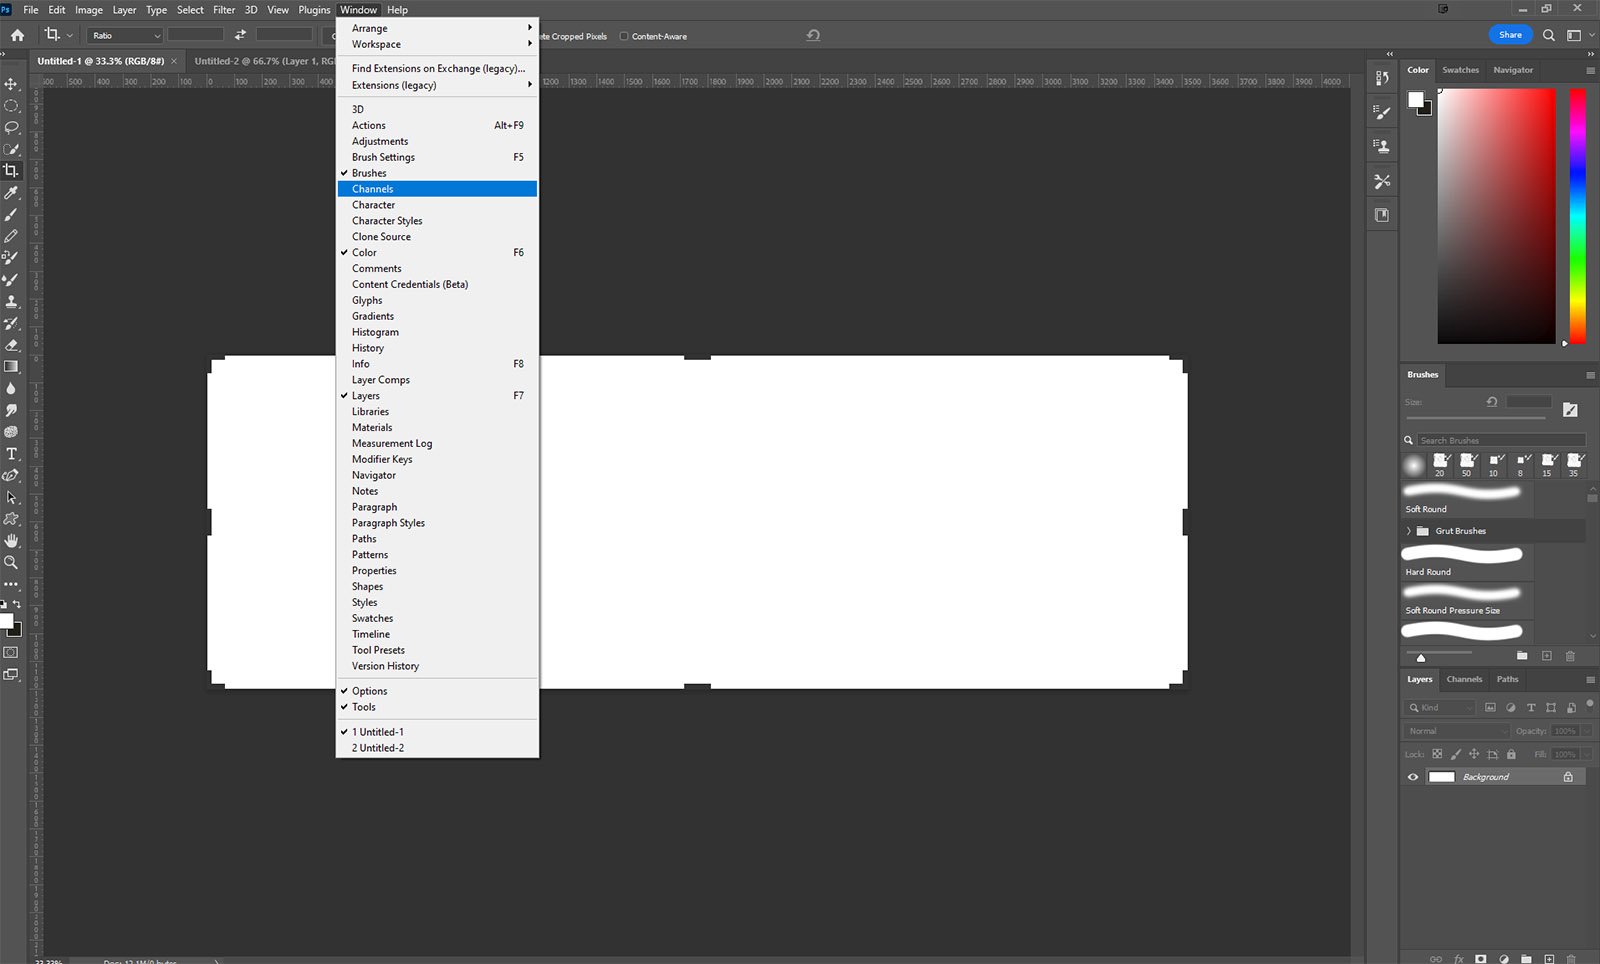
Select “Window” along the top toolbar, and then “Workspace.” The default is “Essentials,” but you can select from “Photography,” “Painting,” “Motion,” etc. These will set up your workspace slightly differently.
Customise your workspace in Photoshop
Customize your workspace
Just to the left of the workspace options, are all the tools. “Brushes,” “Colours,” etc. Clicking or ticking it will add to your taskbar.
Create your own workspace
Save your customized workspace
Once you have turned on and off all the functions or tools you want you can then save this as your own customized workspace. Go to Window > Workspace > New Workspace. Give it a name and save it.
So why customize at all?
This is not something you need to do. But maybe, you’re tired of always having to change things around, like adding actions or brushes. Then, perhaps creating your own customized workspace could really be a time saver. I know it did for me.


