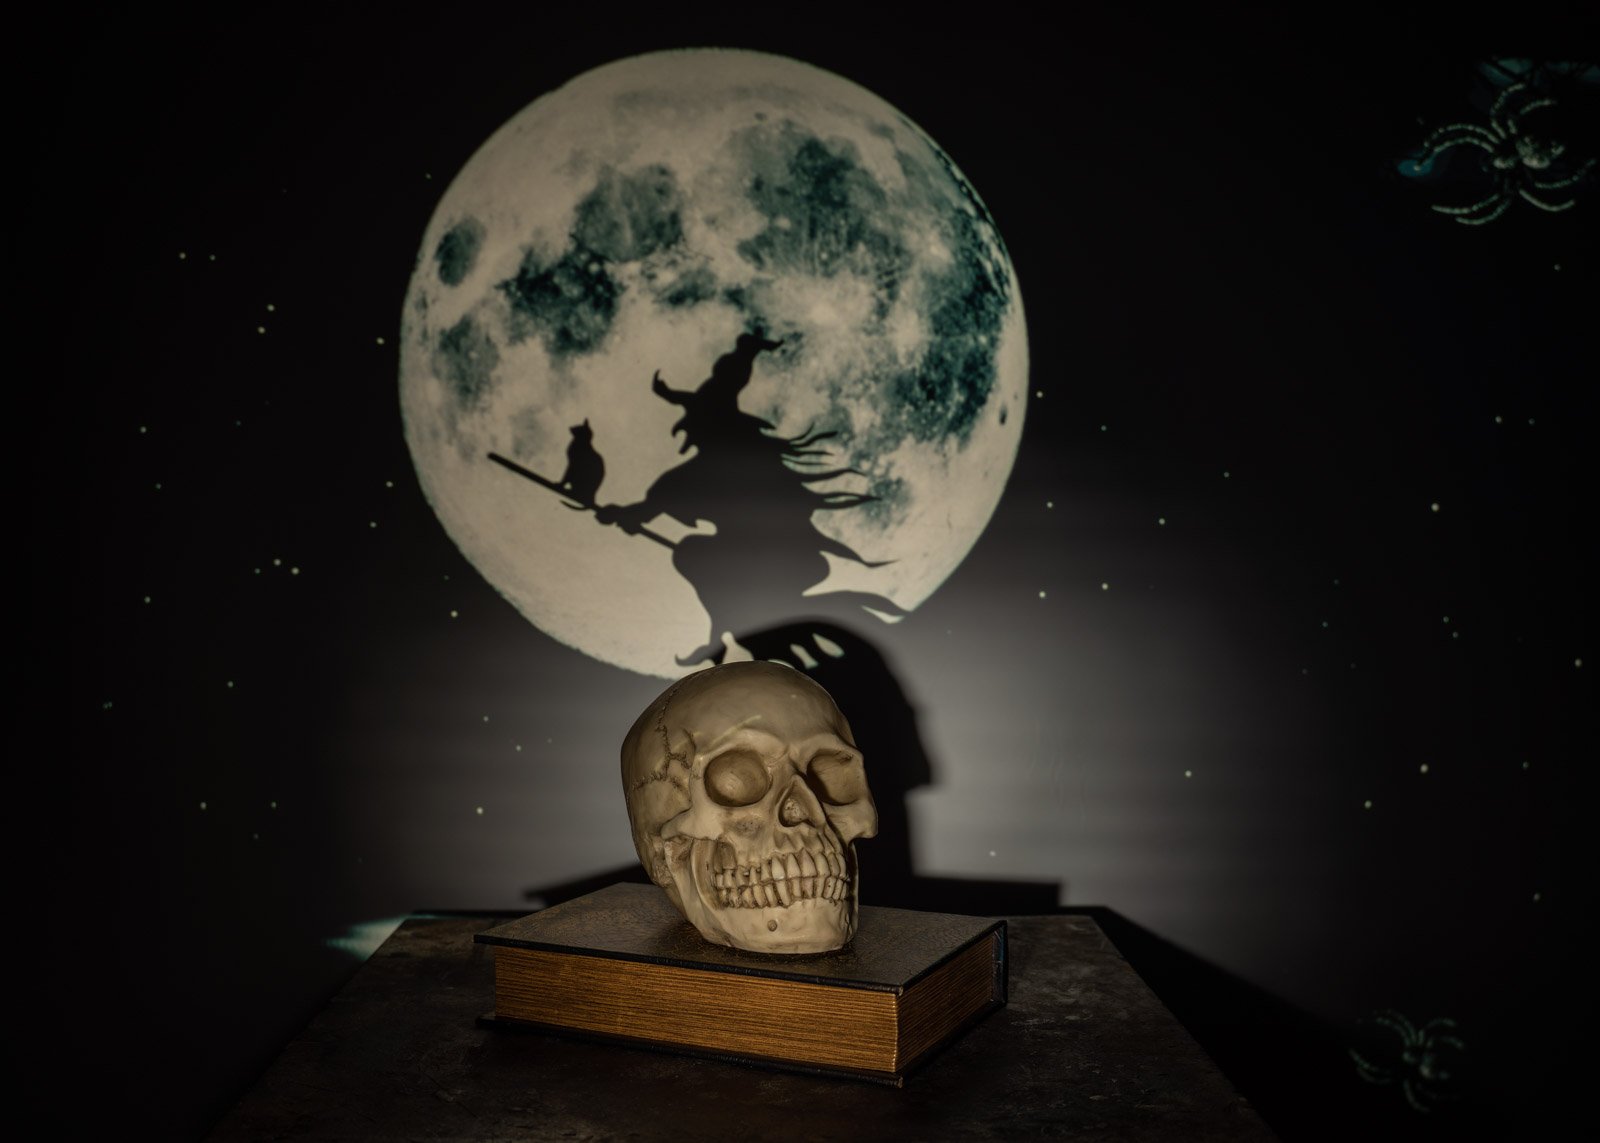
How to add Projections to your studio portraits
Studio portraits are a wonderful way to capture the beauty of a subject in a controlled environment. As a photographer, you have the power to create stunning images that highlight the best features of your subjects. One technique that can take your portraits to the next level is adding a projection unit to your setup.
A projection unit is a device that allows you to project images, patterns, or designs onto your subject. It can be used to create a unique background, add texture or depth to an image, or even add visual interest to your subject’s clothing or accessories. Here are a few tips on how to use a projection unit to enhance your studio portraits.
Choose a Projection Unit
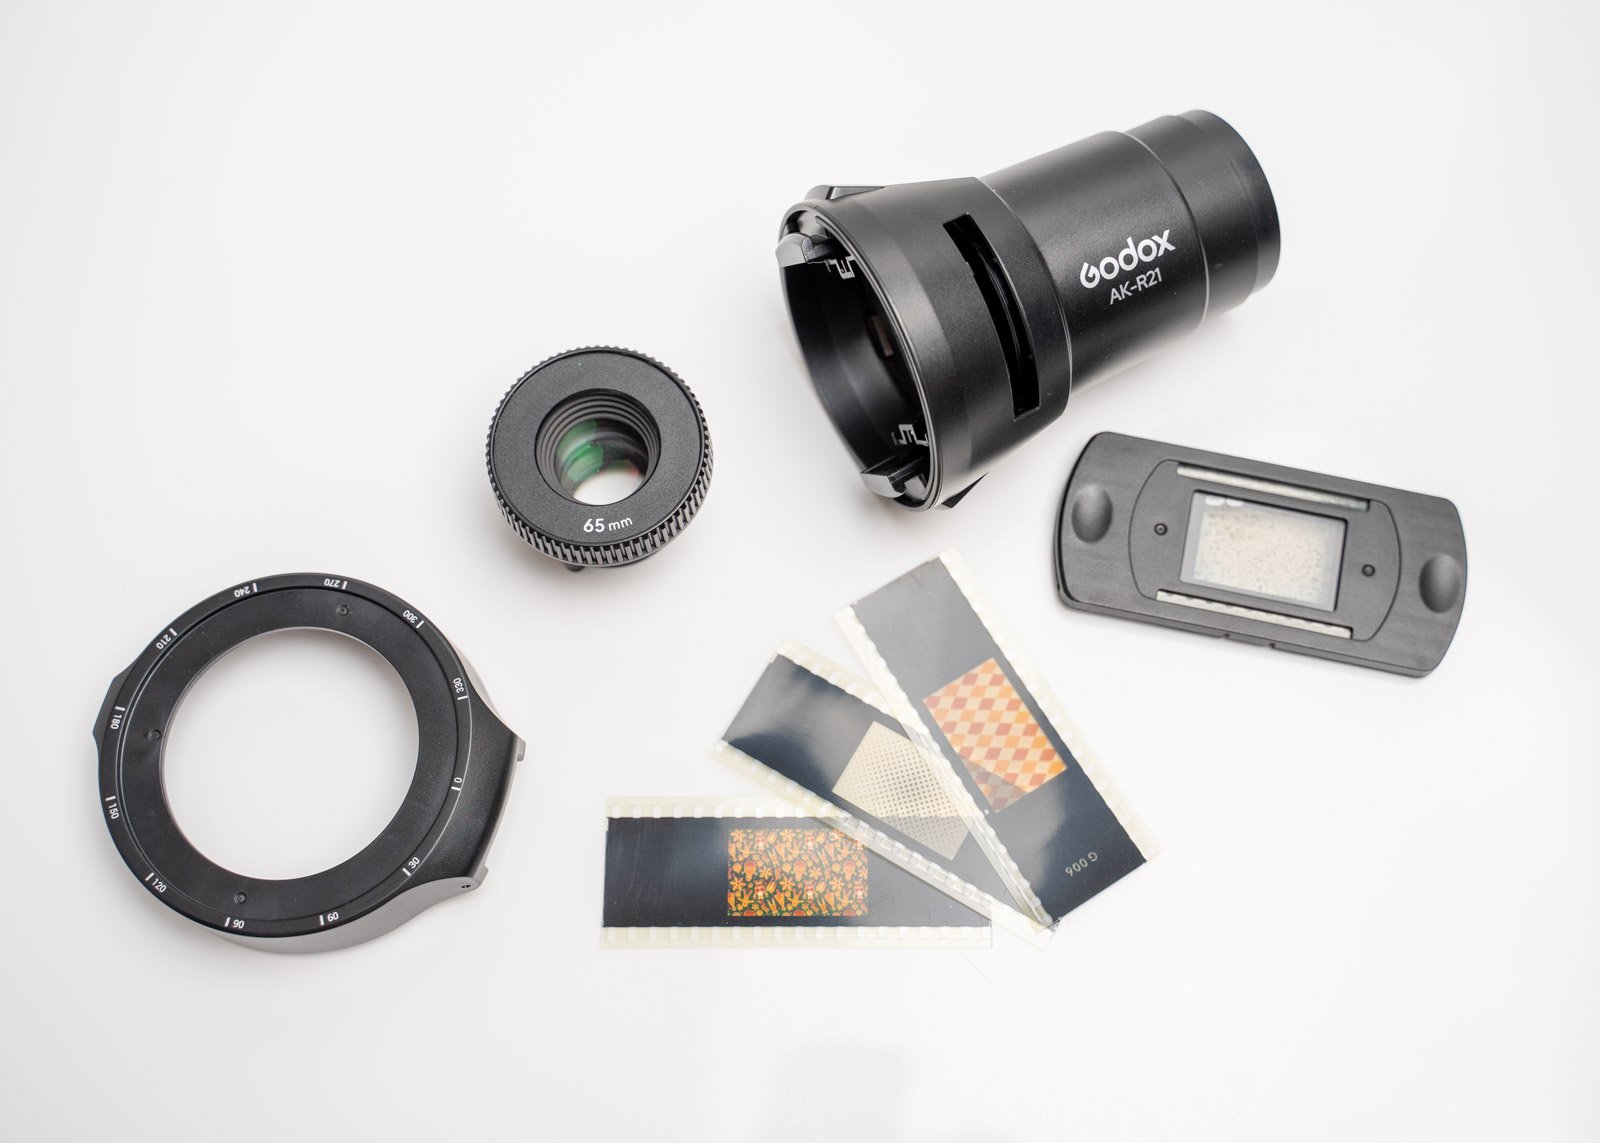
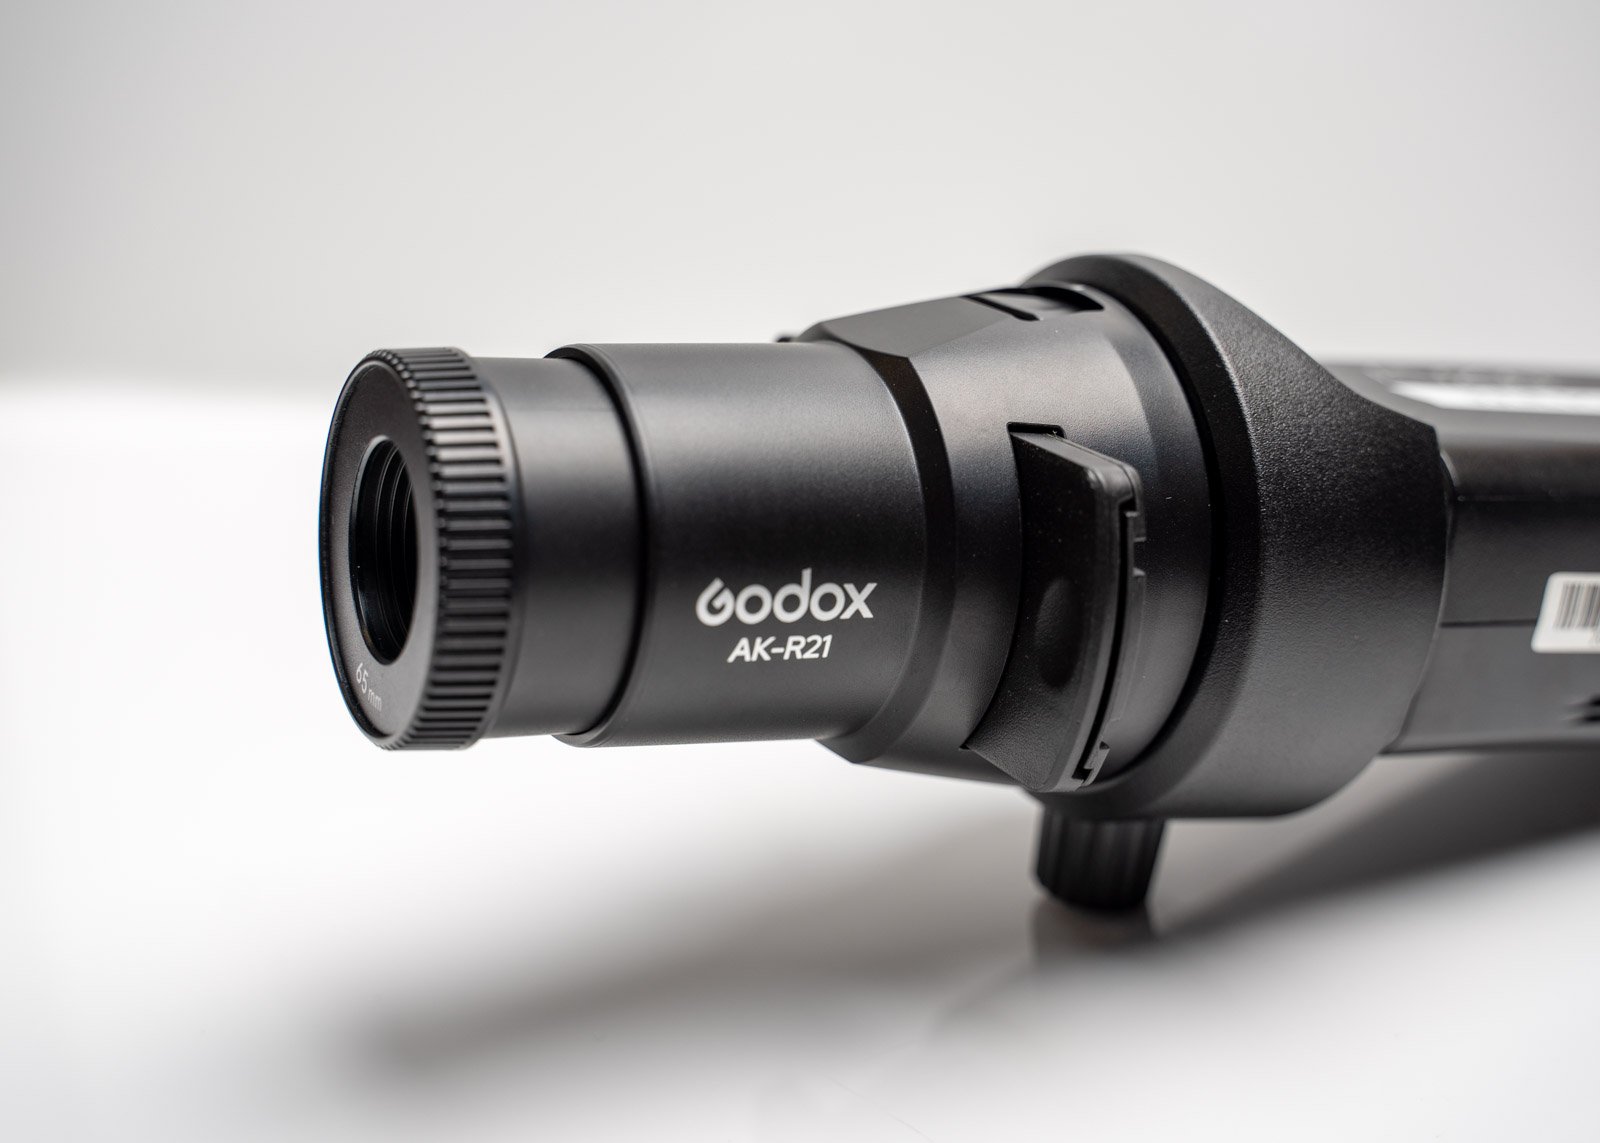
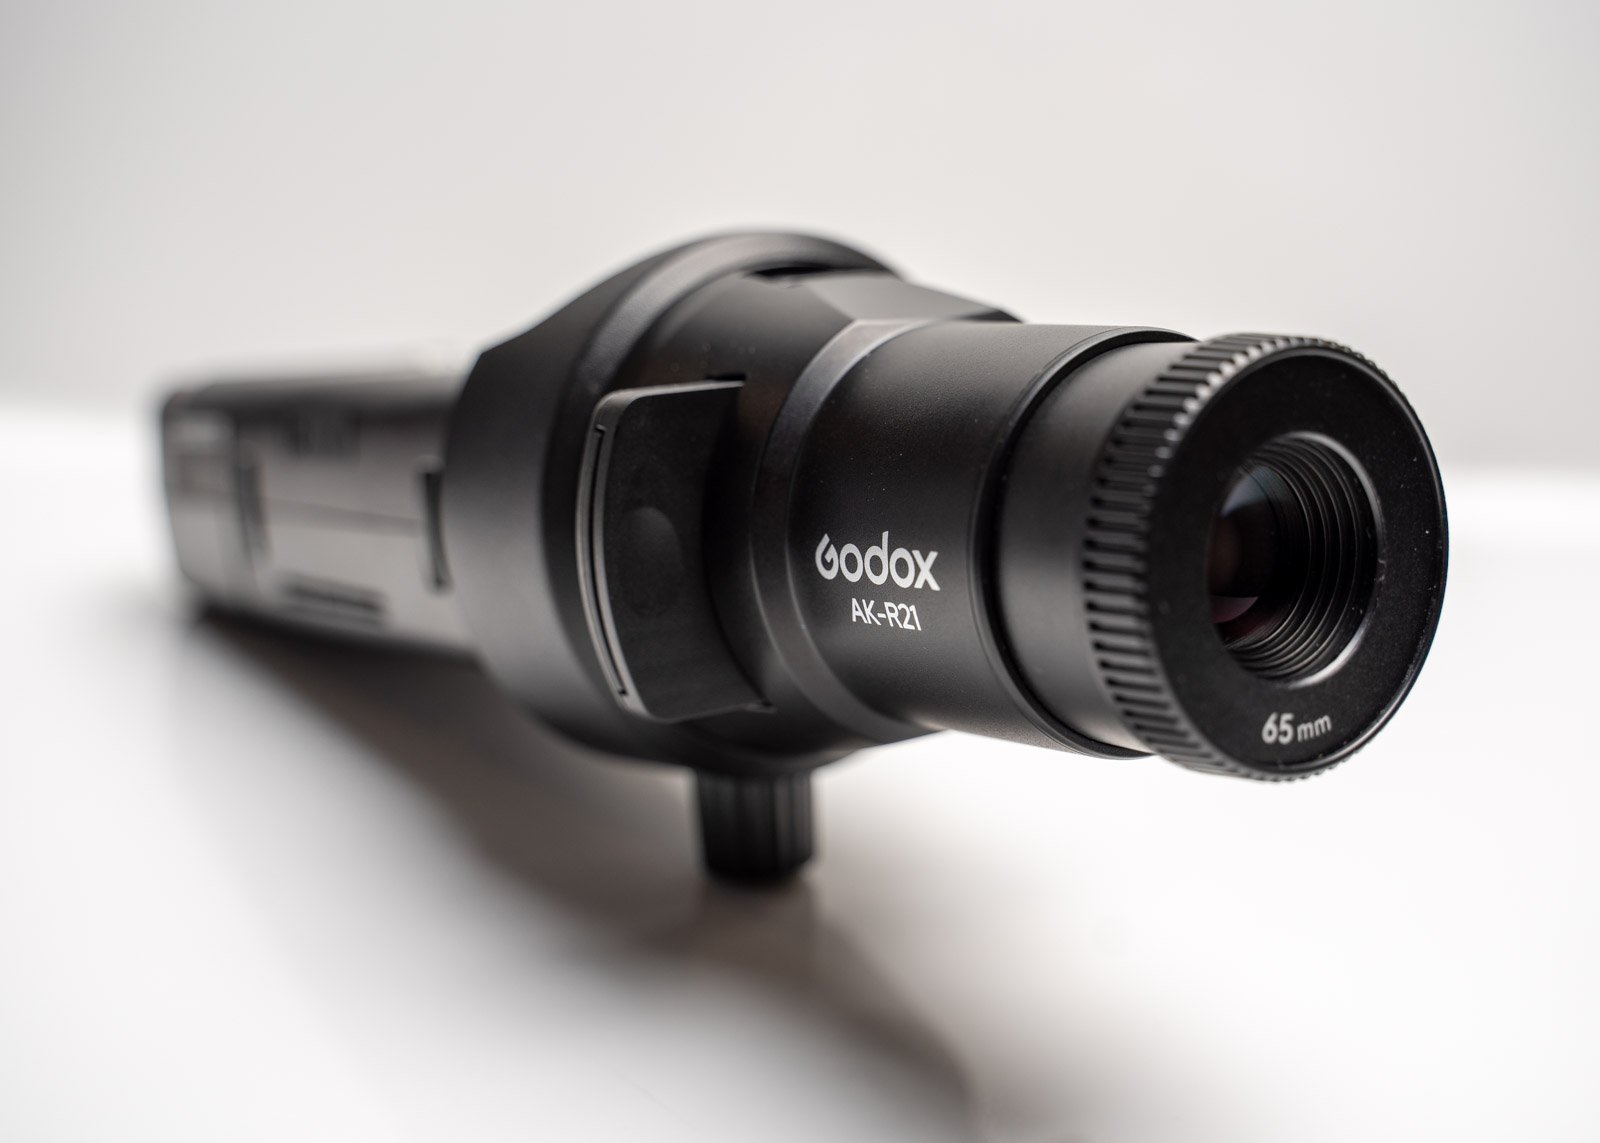
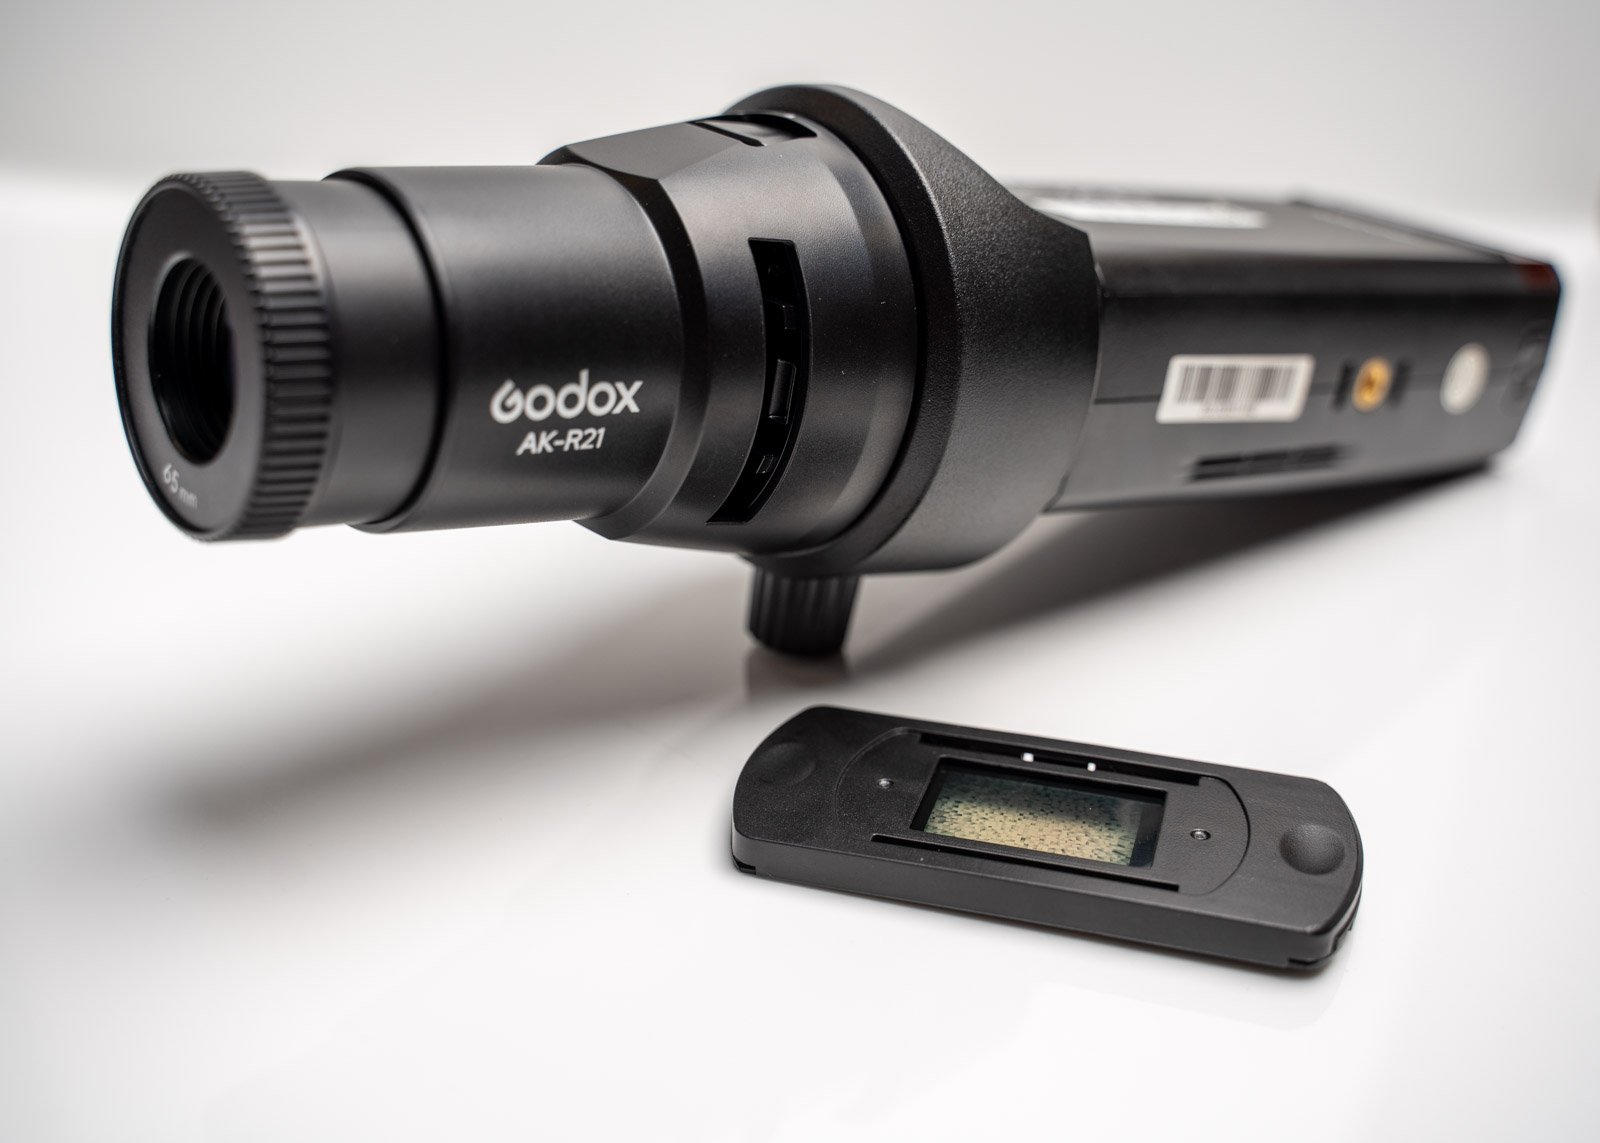
There are several types of projection units available, ranging from small handheld devices to larger units that are designed to be mounted on a stand. Before you invest in a projection unit, consider your needs and the type of photography you plan to do. For example, if you mainly shoot headshots, a smaller handheld unit may be all you need. If you plan to create more elaborate backgrounds or full-body portraits, a larger unit may be necessary. Why not check out the Godox AK-R21 Projection unit? I was recently sent a kit to experiment and play with. It does take a little practice, but you can get some fantastic results.
How does the projection unit work?
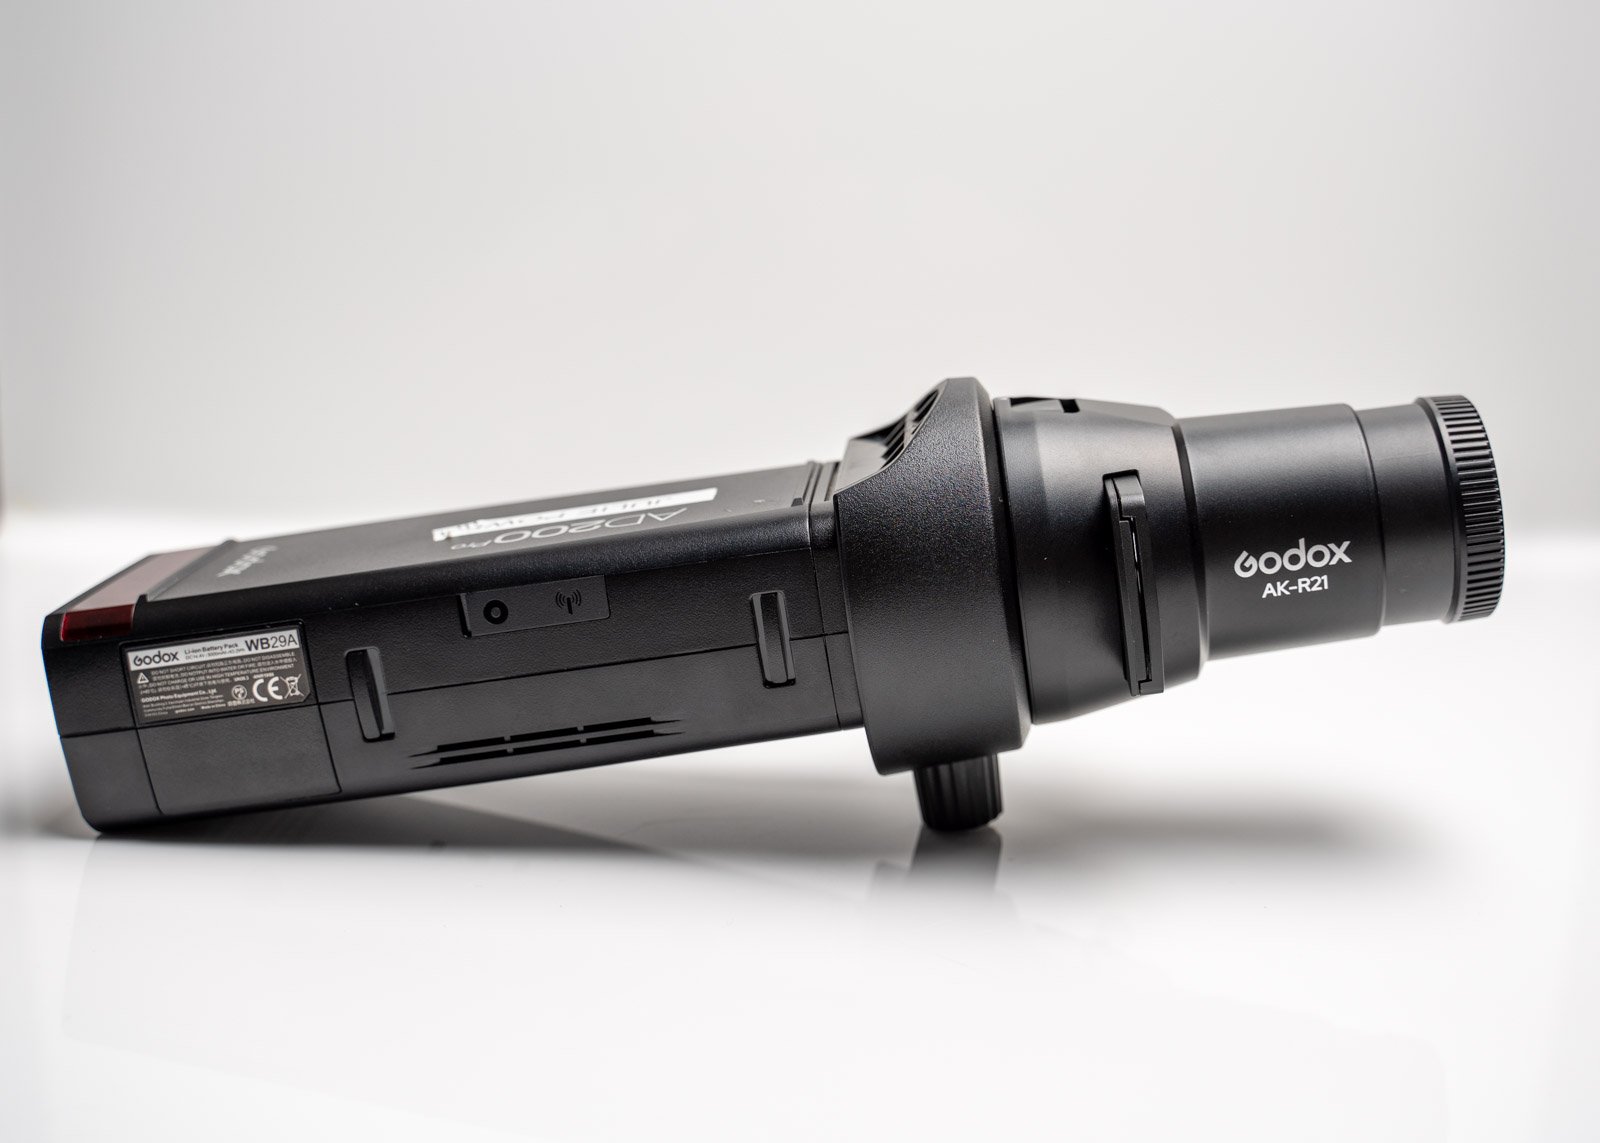
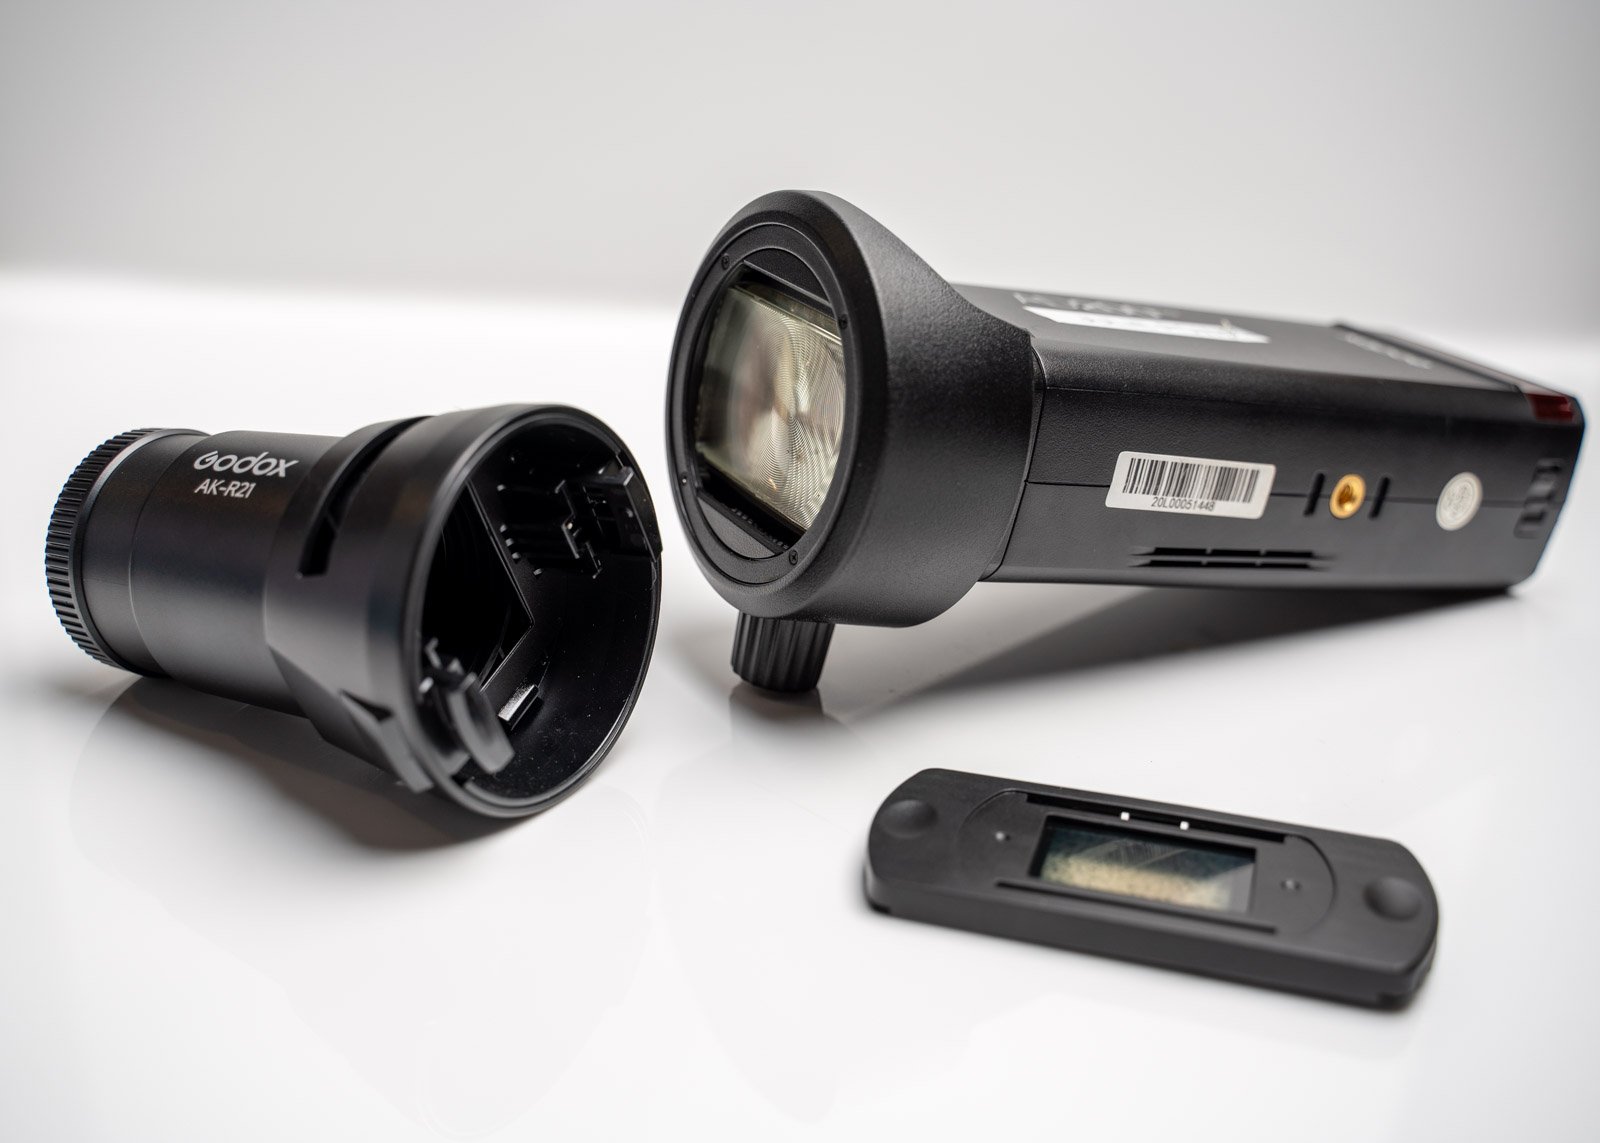
The Godox AK-R21 attaches to your speedlight, I was using an AD200Pro (Fresnel head), but you can use the Godox AD100Pro, V1 and nearly all the camera flashes across the brand. If using the Fresnel head try the AK25 adaptor.
Experiment with Different Patterns and Images
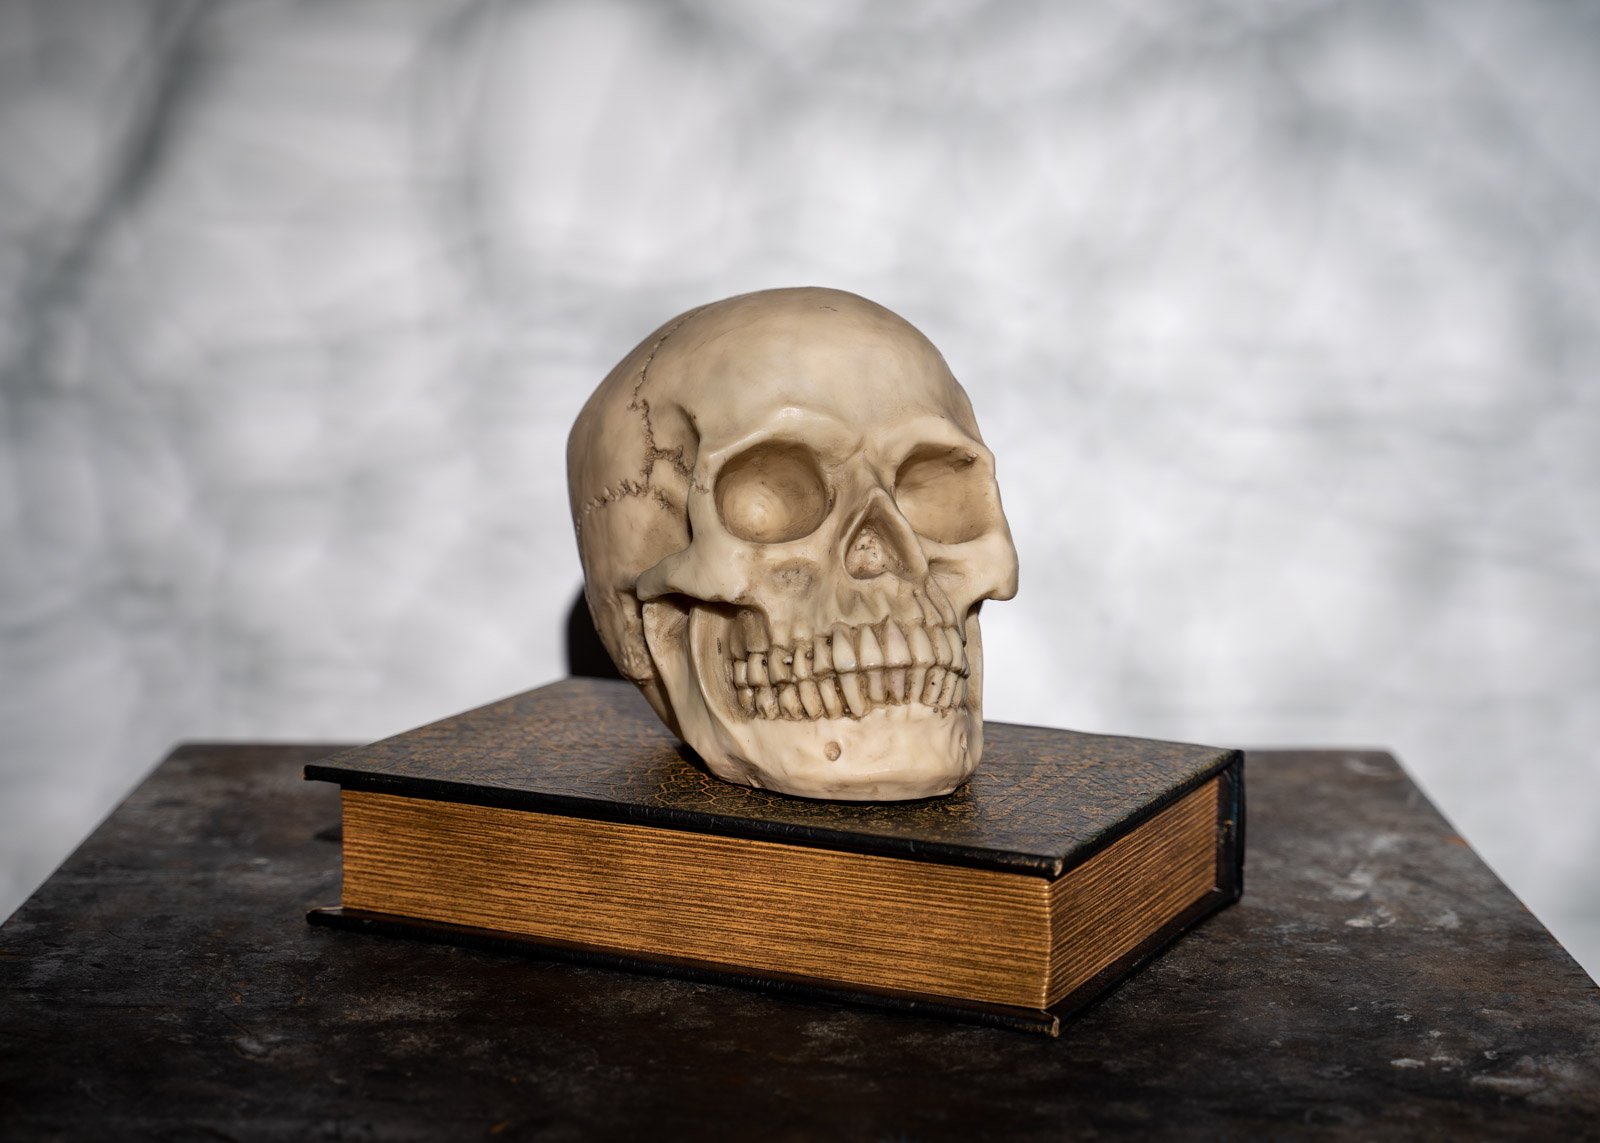
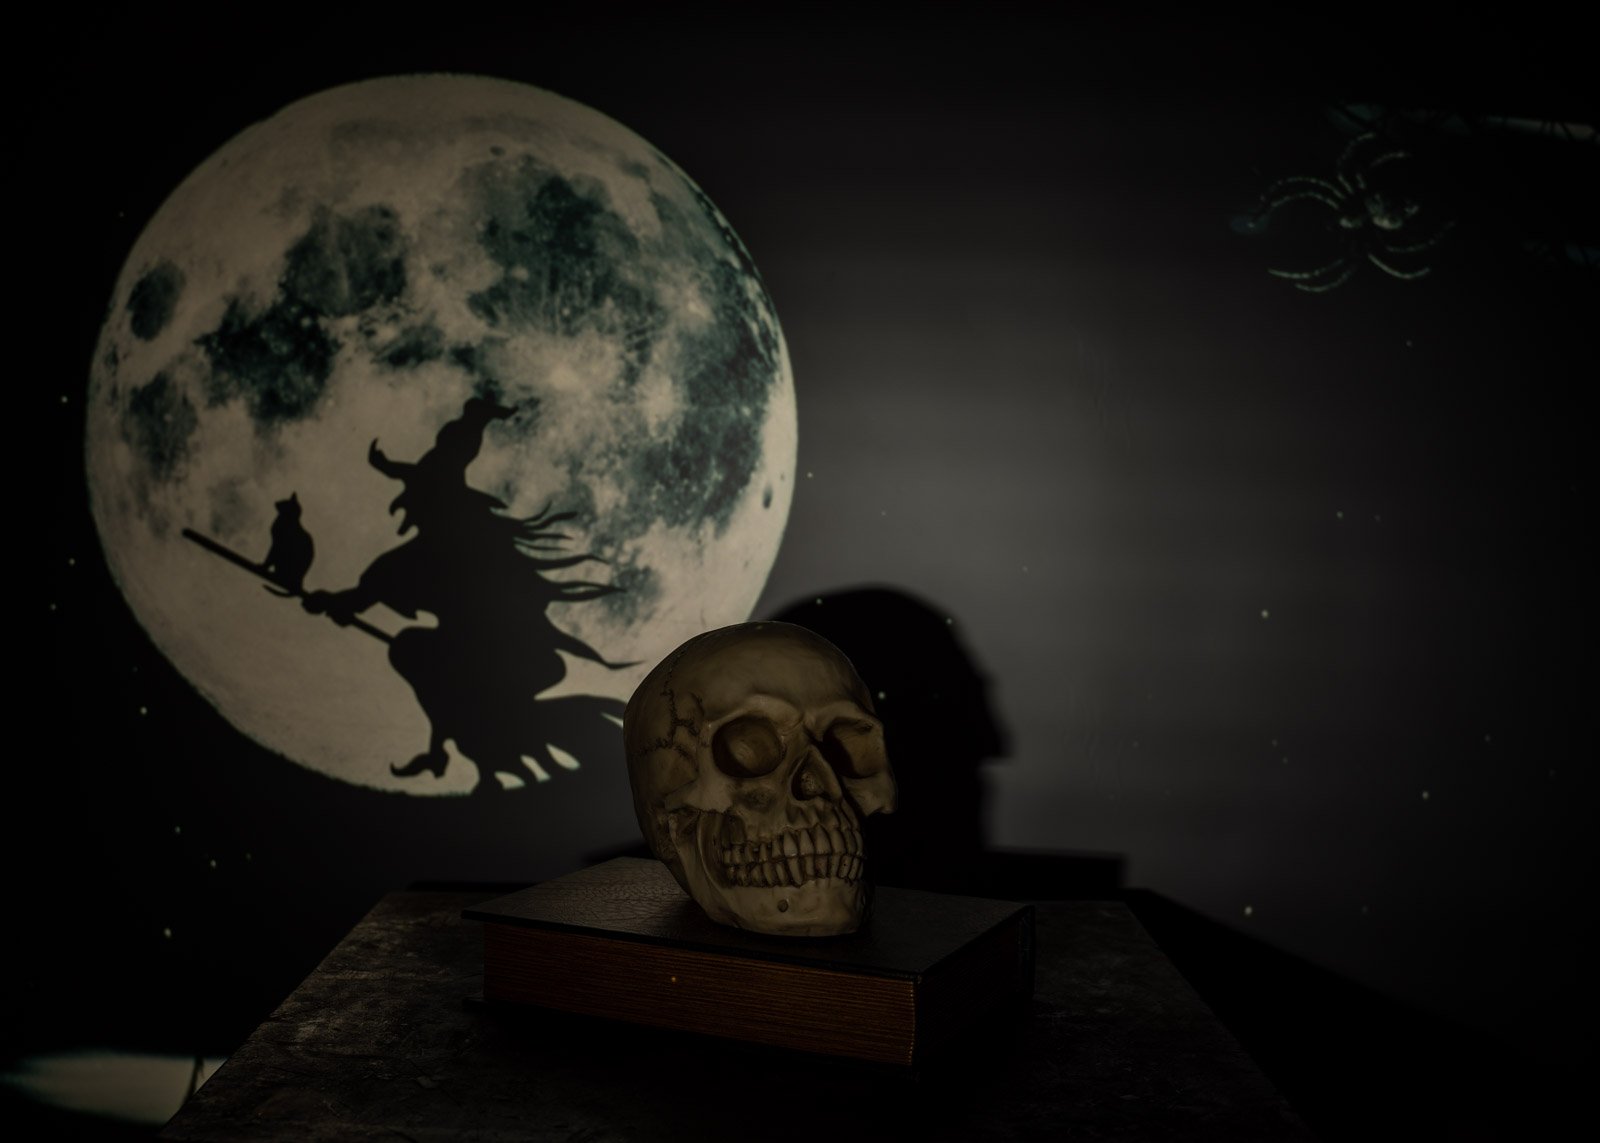
One of the Halloween transparencies
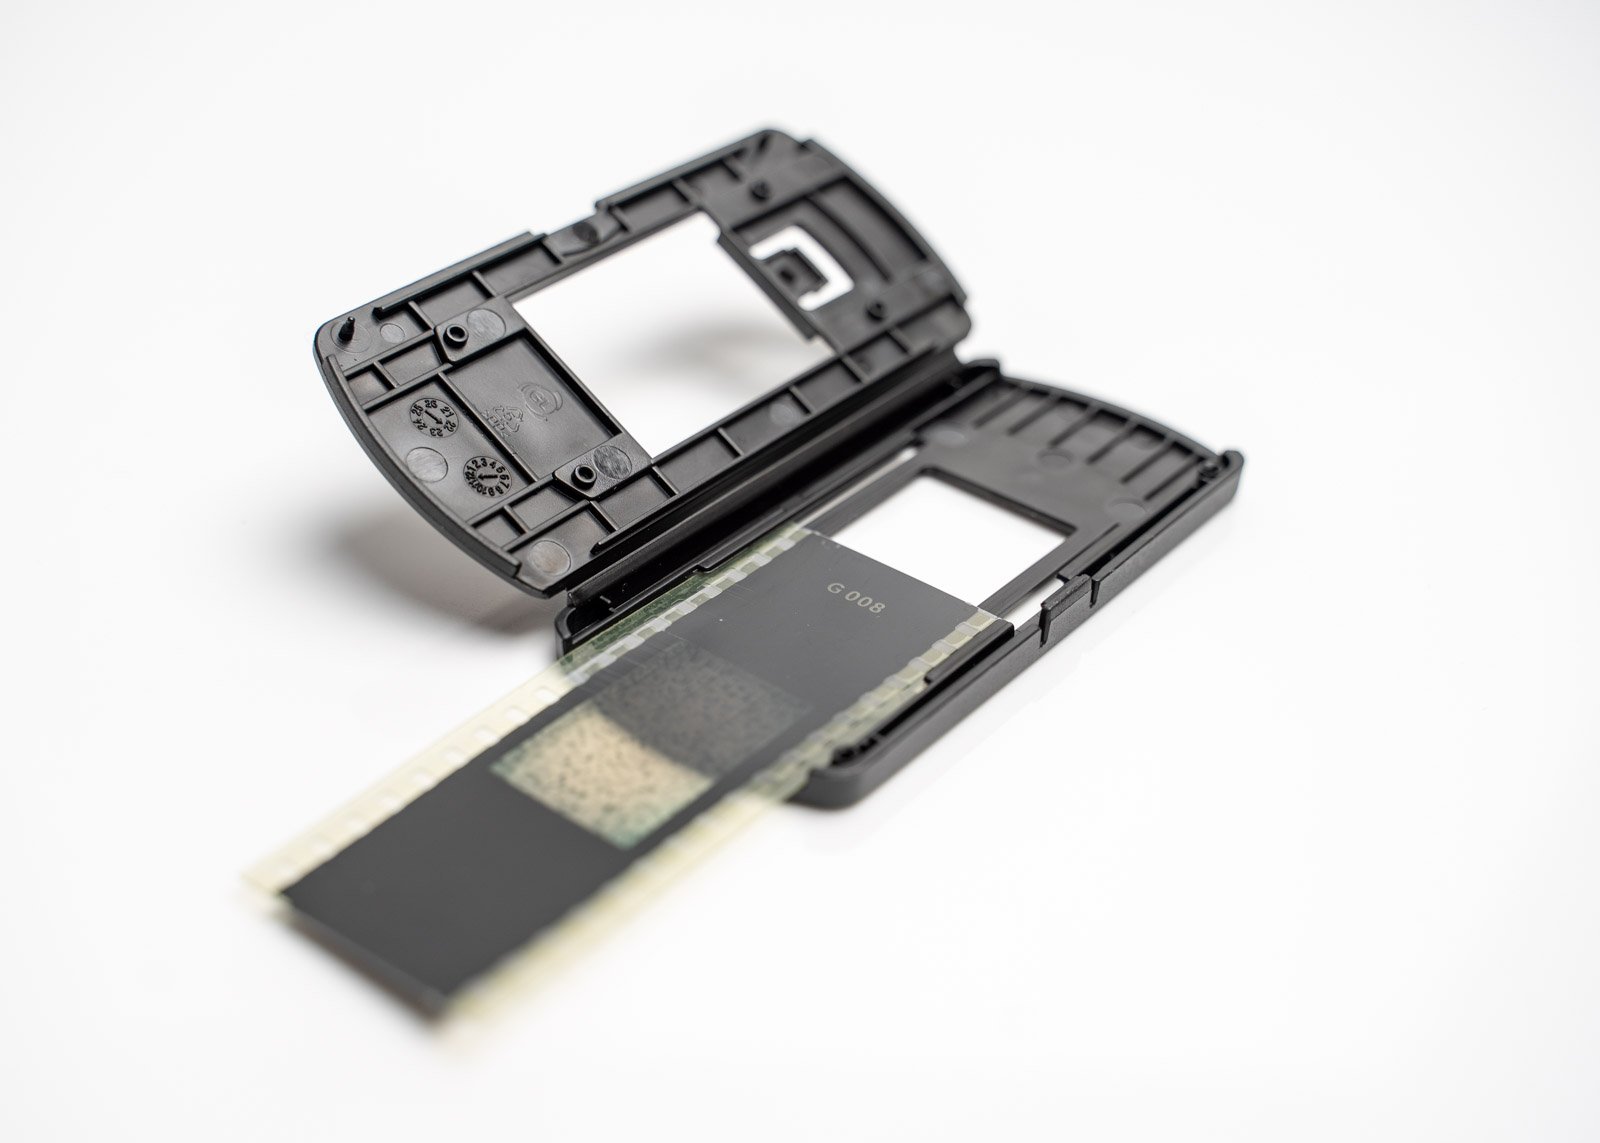
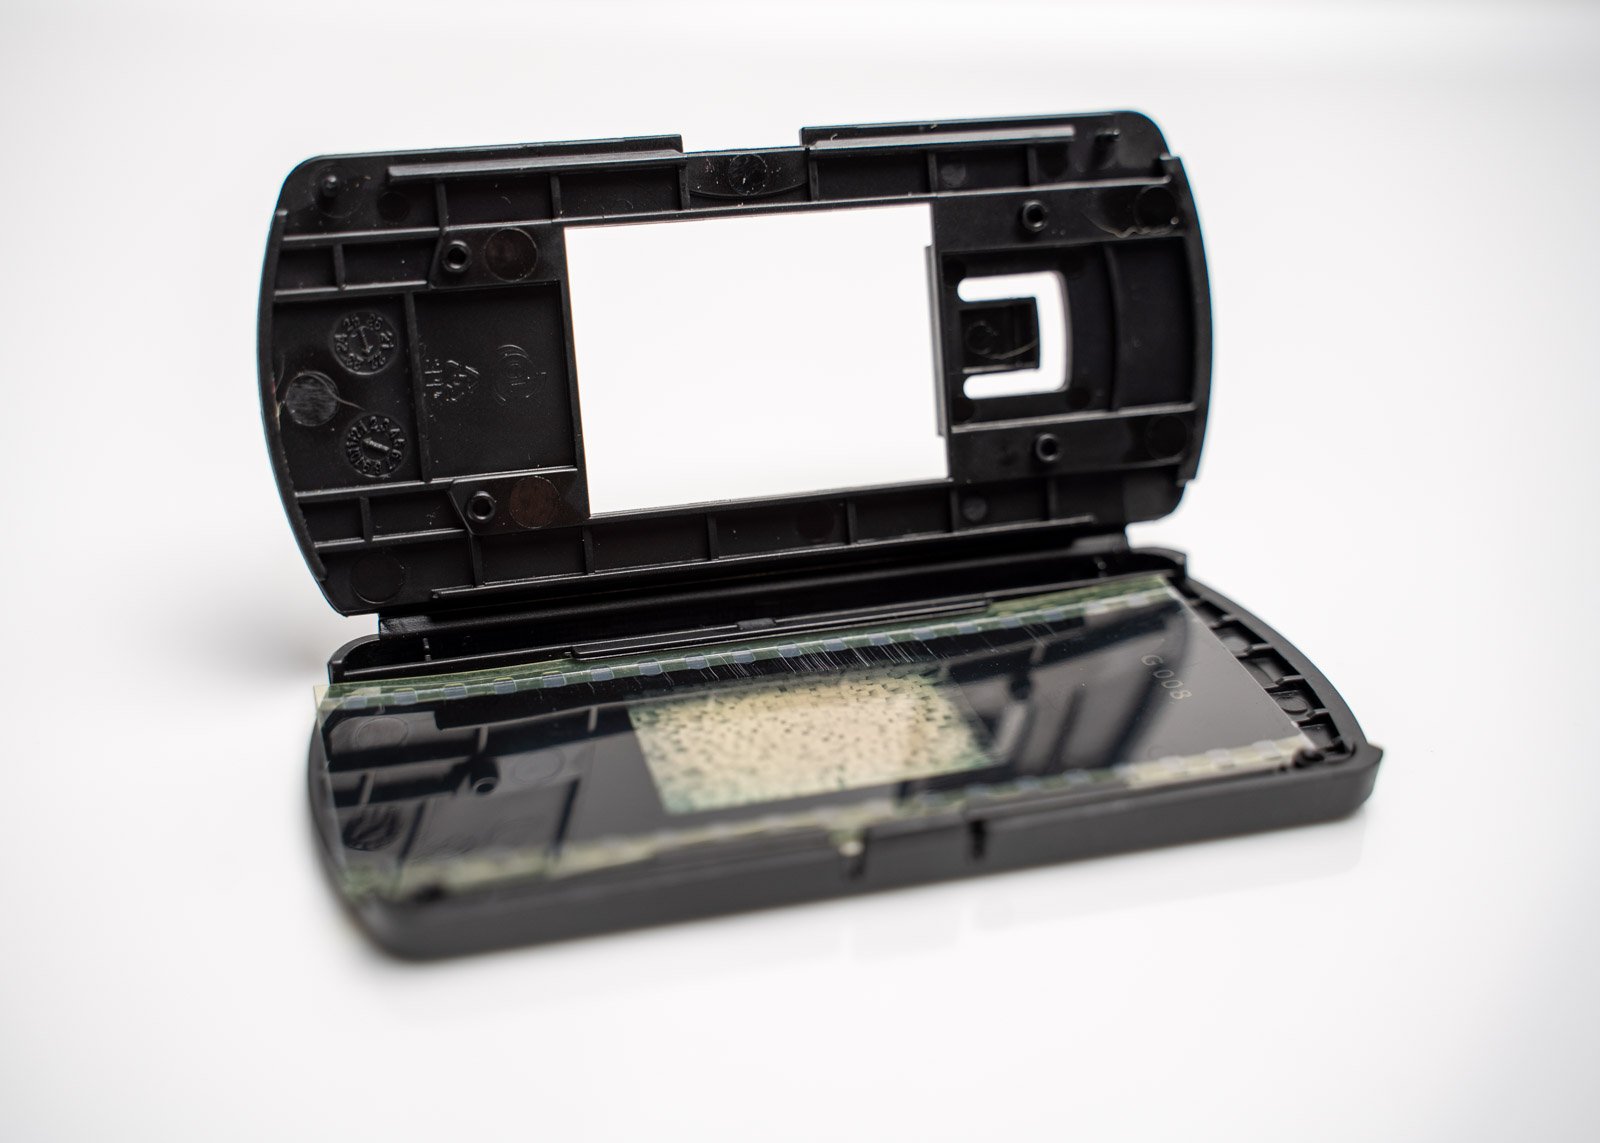
Once you have your projection unit set up, it’s time to experiment with different patterns and images. The Godox AK-R21 has loads of different transparencies available from geometric, to Halloween, Space and more. Consider the mood you want to convey in your image and choose patterns and images that complement your subject’s clothing, personality, and overall aesthetic.
Play with the Placement of the Projection Unit
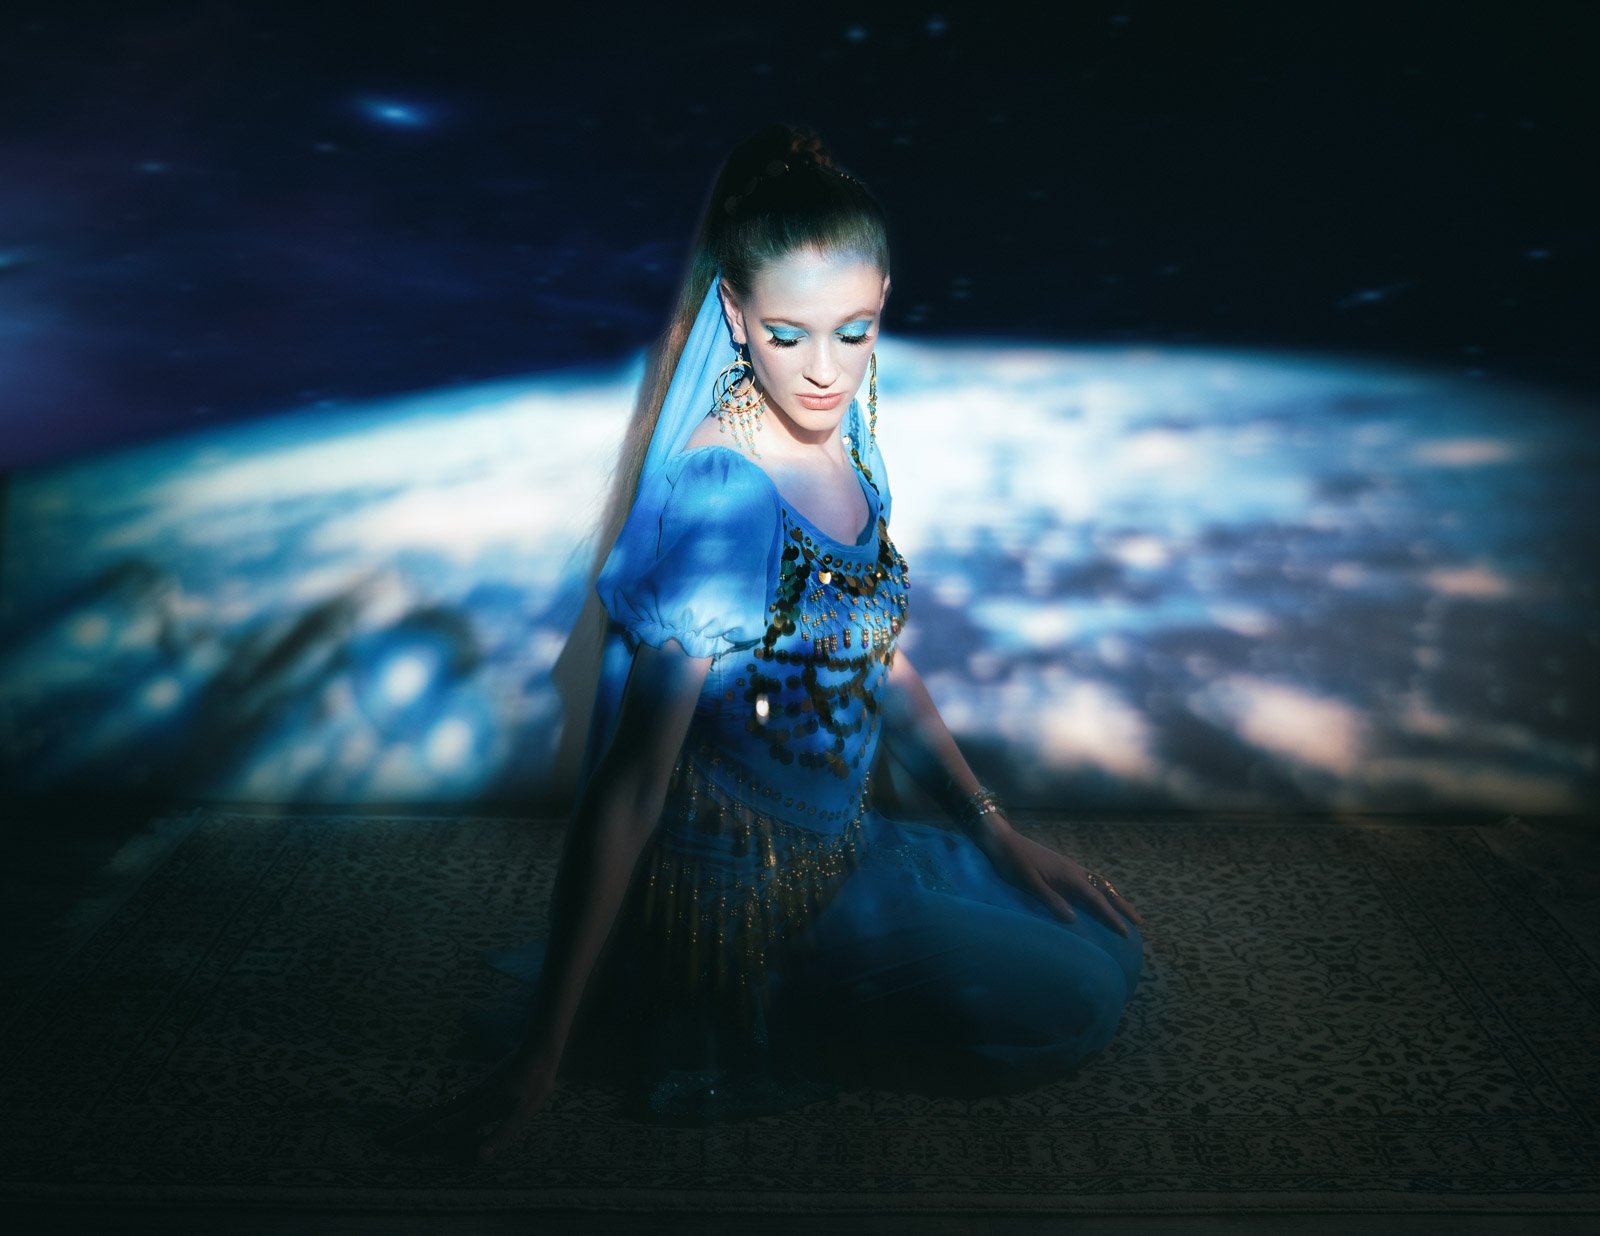
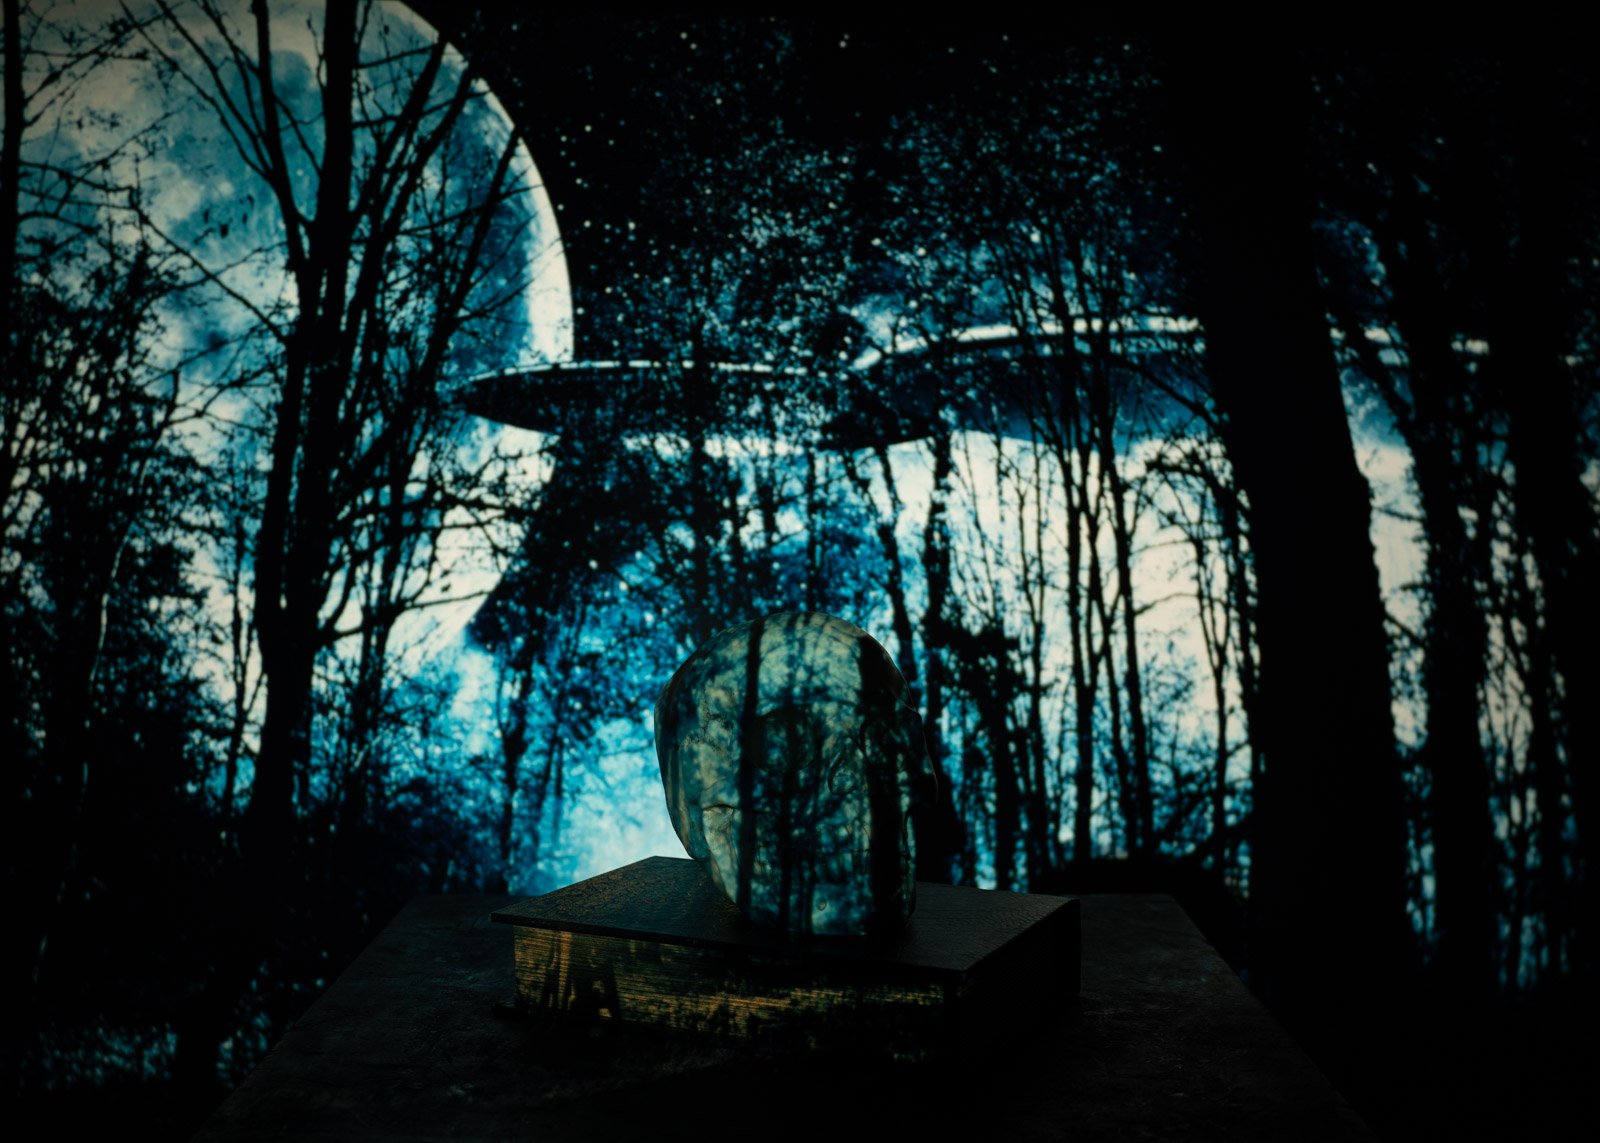
One of the Space transparencies
The placement of your projection unit can have a big impact on the final image. For example, projecting an image onto a plain white backdrop can create a unique and dynamic background. If you’re using a larger projection unit, consider projecting the image onto the floor or even onto your subject’s body to create a more immersive effect. Check on the best setup for your unit, The optimum distance for the AK-R21 with the 65mm lens is 2m.
I also had it approx 2m high. If you set your camera on a tripod and then put the projection unit and speedlight on a lighting stand, it makes things a little easier. Set your scene, get your focus and then turn all the room lights off. Once the modelling light is on, you can see it in the dark. Move your projector to the desired height. By twisting the end of the lens you can focus or blur the projected image.
Pay Attention to Lighting & Placement
Geometric patterns
When using a projection unit, it’s important to pay attention to lighting & placement. As the speedlight is lighting the transparencies, that’s the easy part. It is making sure it is in the correct location. The light source should be set up to ensure that the subject is properly illuminated. You can also additional lights to light your subject while still having the projection visible. Having your room dark will also ensure a great result. I tried both a beauty dish and a snoot to highlight my model’s face.
Practice, Practice, Practice
Bold geometric patterns mixed with additional lights
Adding a projection unit to your studio setup takes practice. Don’t be afraid to experiment with different images, placements, and lighting setups until you find the perfect combination that works for you. With a little bit of practice, you can create stunning and unique studio portraits that stand out from the crowd. It’s also a lot of fun, albeit quite frustrating at first.
In conclusion, adding a projection unit to your studio portraits can take your photography to the next level. With a little bit of experimentation and practice, you can create stunning images that highlight your subject’s best features and capture their unique personality. Granted, it may not be for everyone or every portrait. But, at AUD$226.00 go ahead and give it a try – you might just be surprised at the results!


