Zooming in on beauty: Mastering location portraits with a tele-zoom lens
Portrait photography is a beautiful and captivating art form that enables photographers to capture the essence of their subjects in a single frame. I am most notably a studio photographer, but every now and then I adore a great location shoot too. When it comes to location shoots, your choice of lens can play a critical role in achieving the desired results.
One lens that can truly elevate your portrait photography is the tele-zoom lens. Let’s have a look at what, where, why, when and how to get the most out of a portrait location shoot with a telezoom lens.
Tamron 70-180mm F/2.8 G2 lens on Sony camera
Understanding the tele-zoom lens
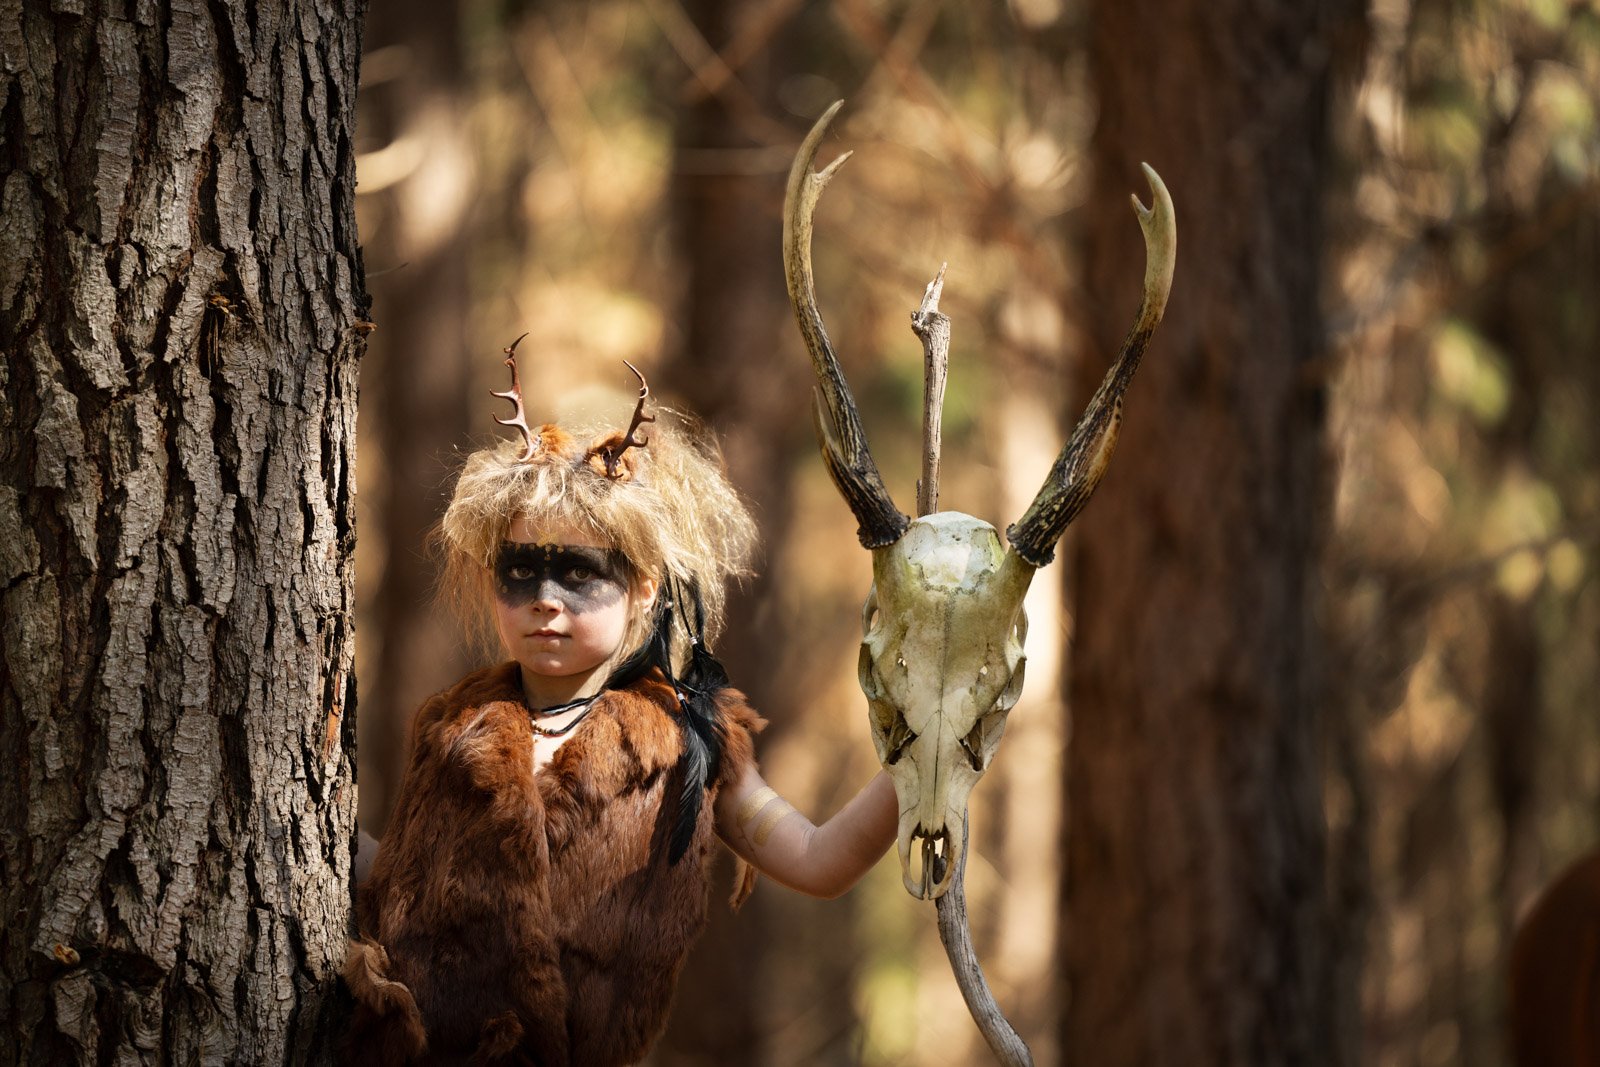
A tele-zoom lens, typically within the range of 70-200mm or longer, offers several advantages for portrait photography. The most significant advantage is its ability to compress the background, creating a pleasing, creamy bokeh. This effect isolates the subject, making them stand out prominently against a beautifully blurred backdrop. Additionally, tele-zoom lenses allow you to maintain a comfortable distance from your subject, making them more at ease, and ensuring a flattering perspective.
Scout your location
Before your portrait location shoot, it’s essential to scout your location. Look for spots with interesting backgrounds, natural light sources or unique textures that can enhance your portraits. With a tele-zoom lens, you’ll be able to capture details that might have been missed with a standard lens.
Lighting considerations
Understanding and using available light effectively is paramount for stunning portrait photography. When shooting with a telezoom lens on location, consider the time of day and the direction of the light. Early morning and late afternoon often offer soft, warm light that can add depth and dimension to your portraits. Shooting in open shade can also help to avoid harsh shadows and provide even illumination. Make the most of the golden hour to create a dreamy and flattering atmosphere for your portraits.
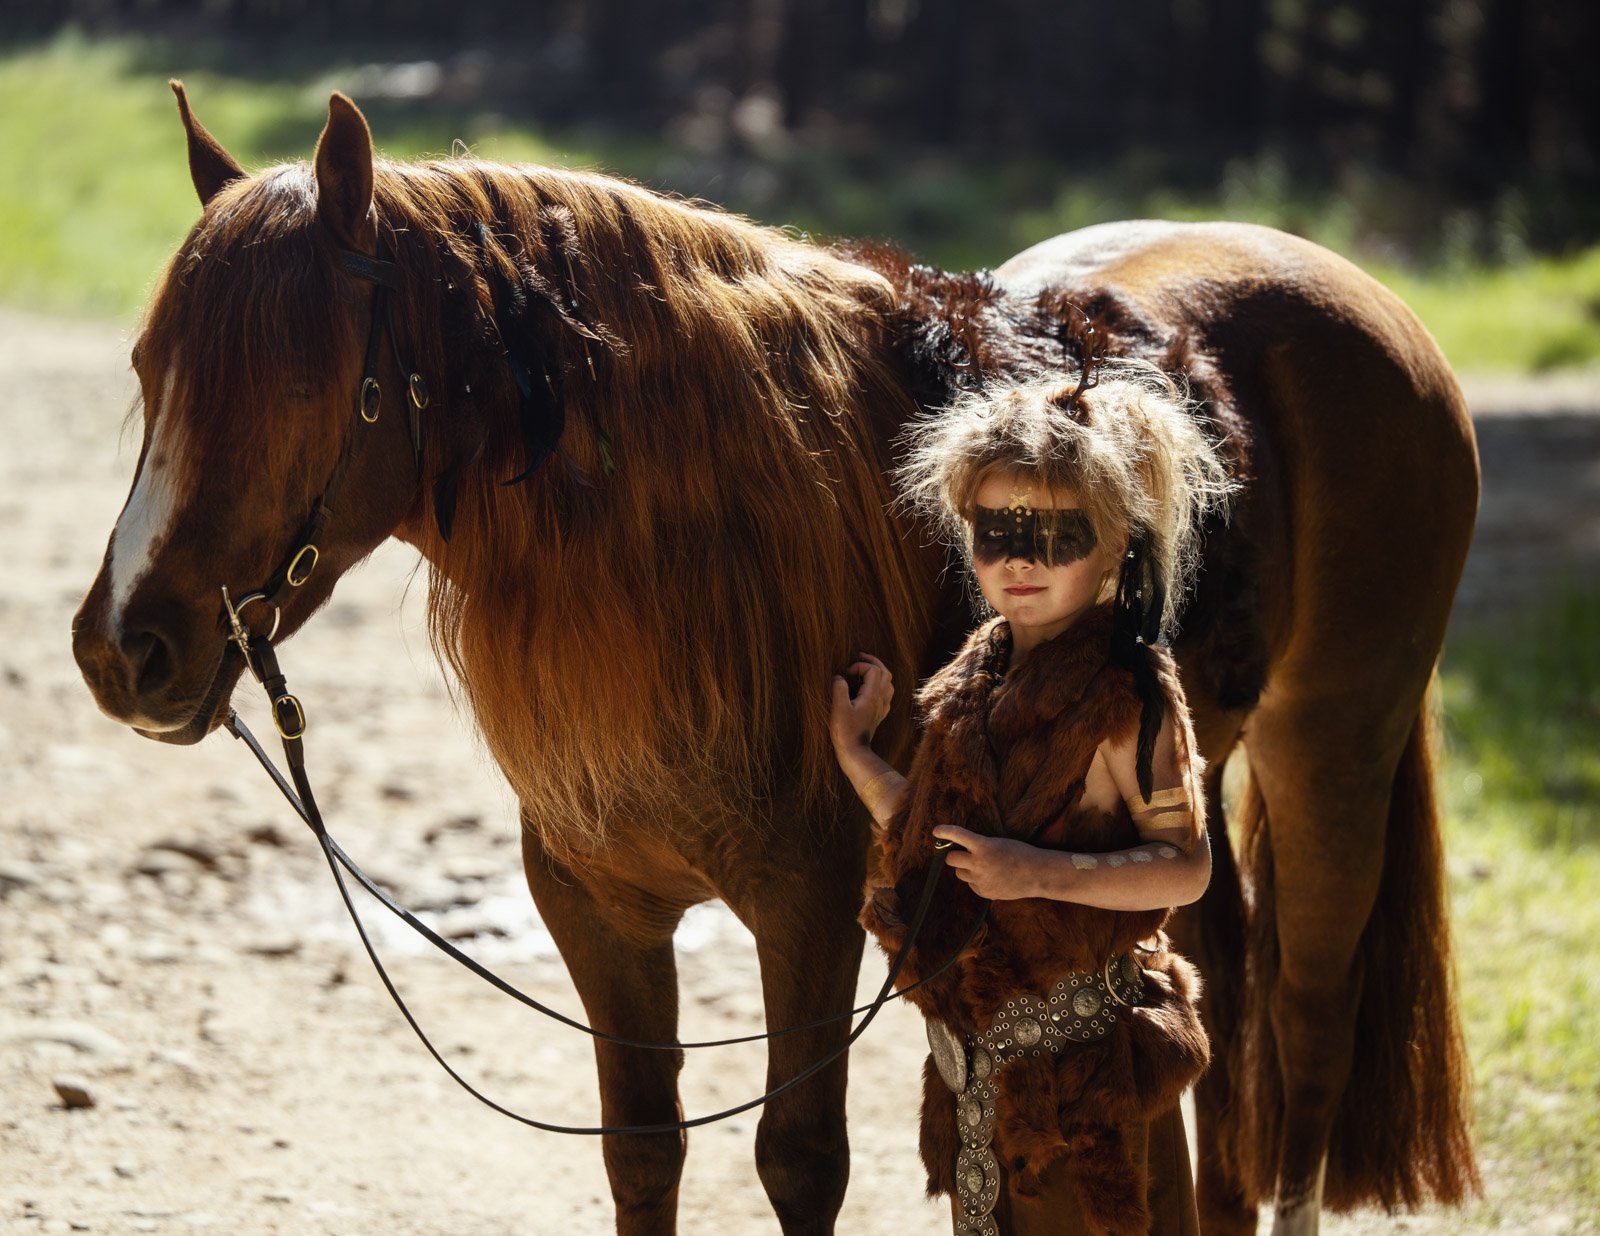
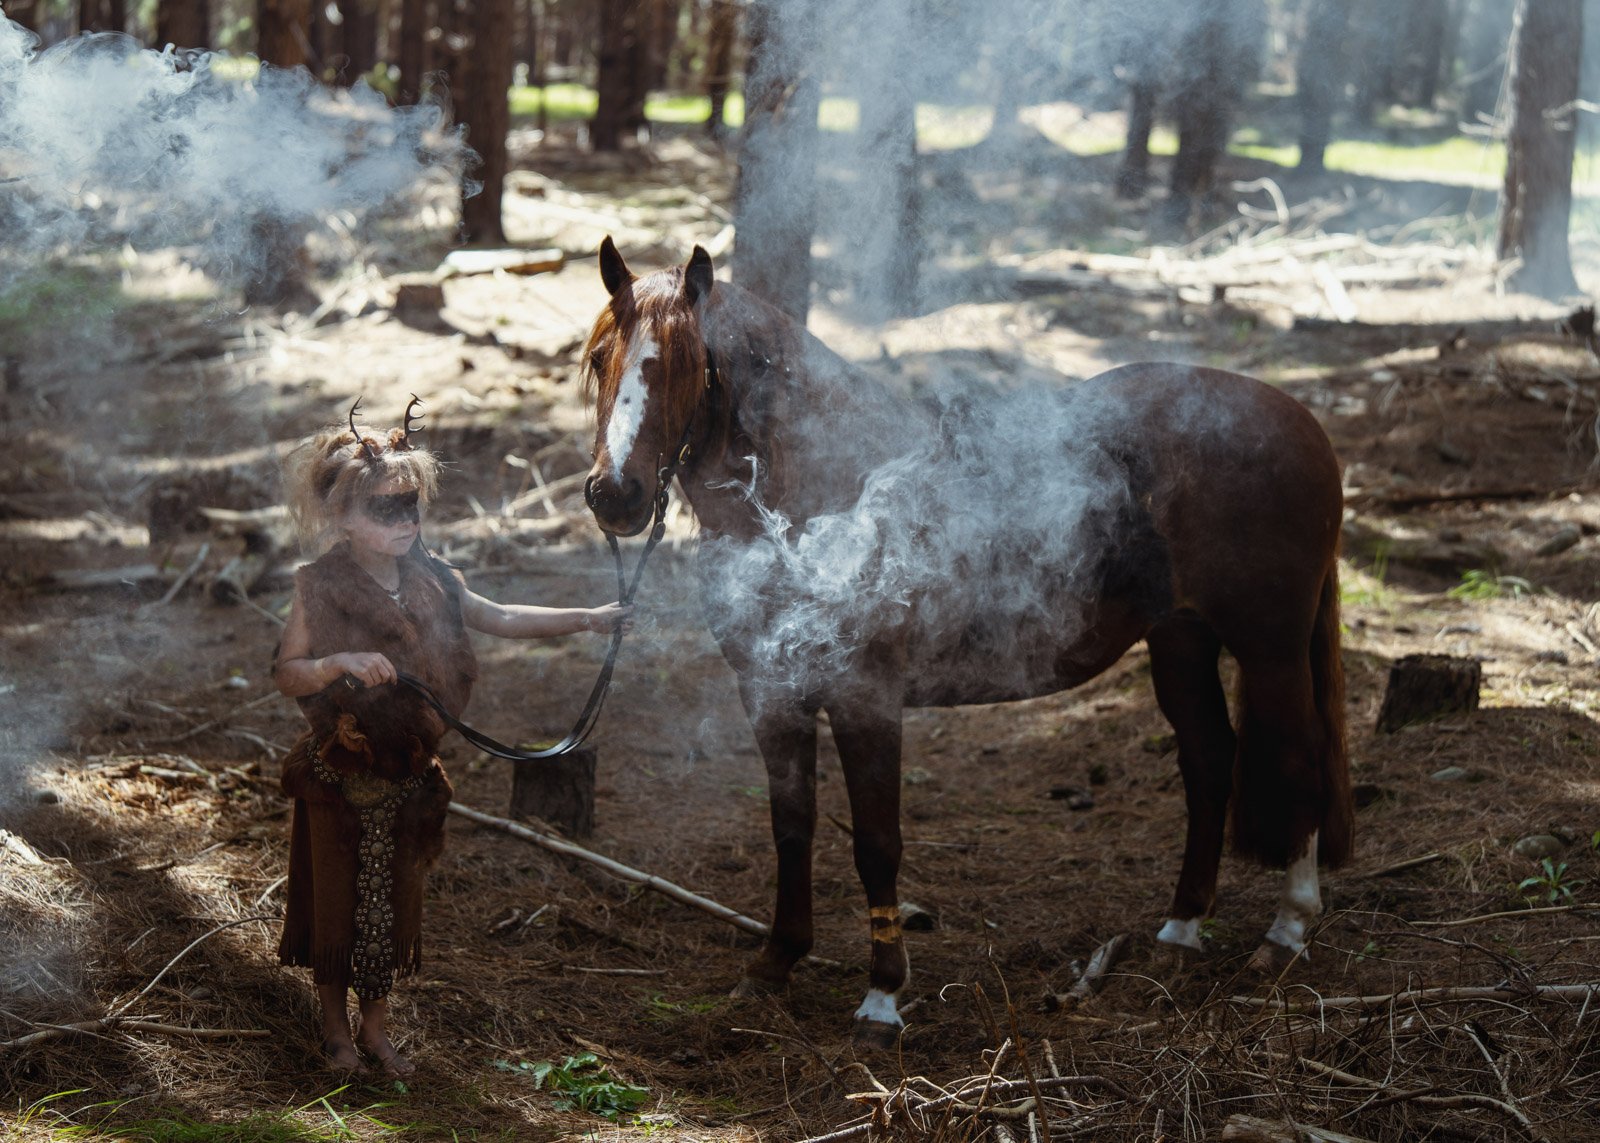
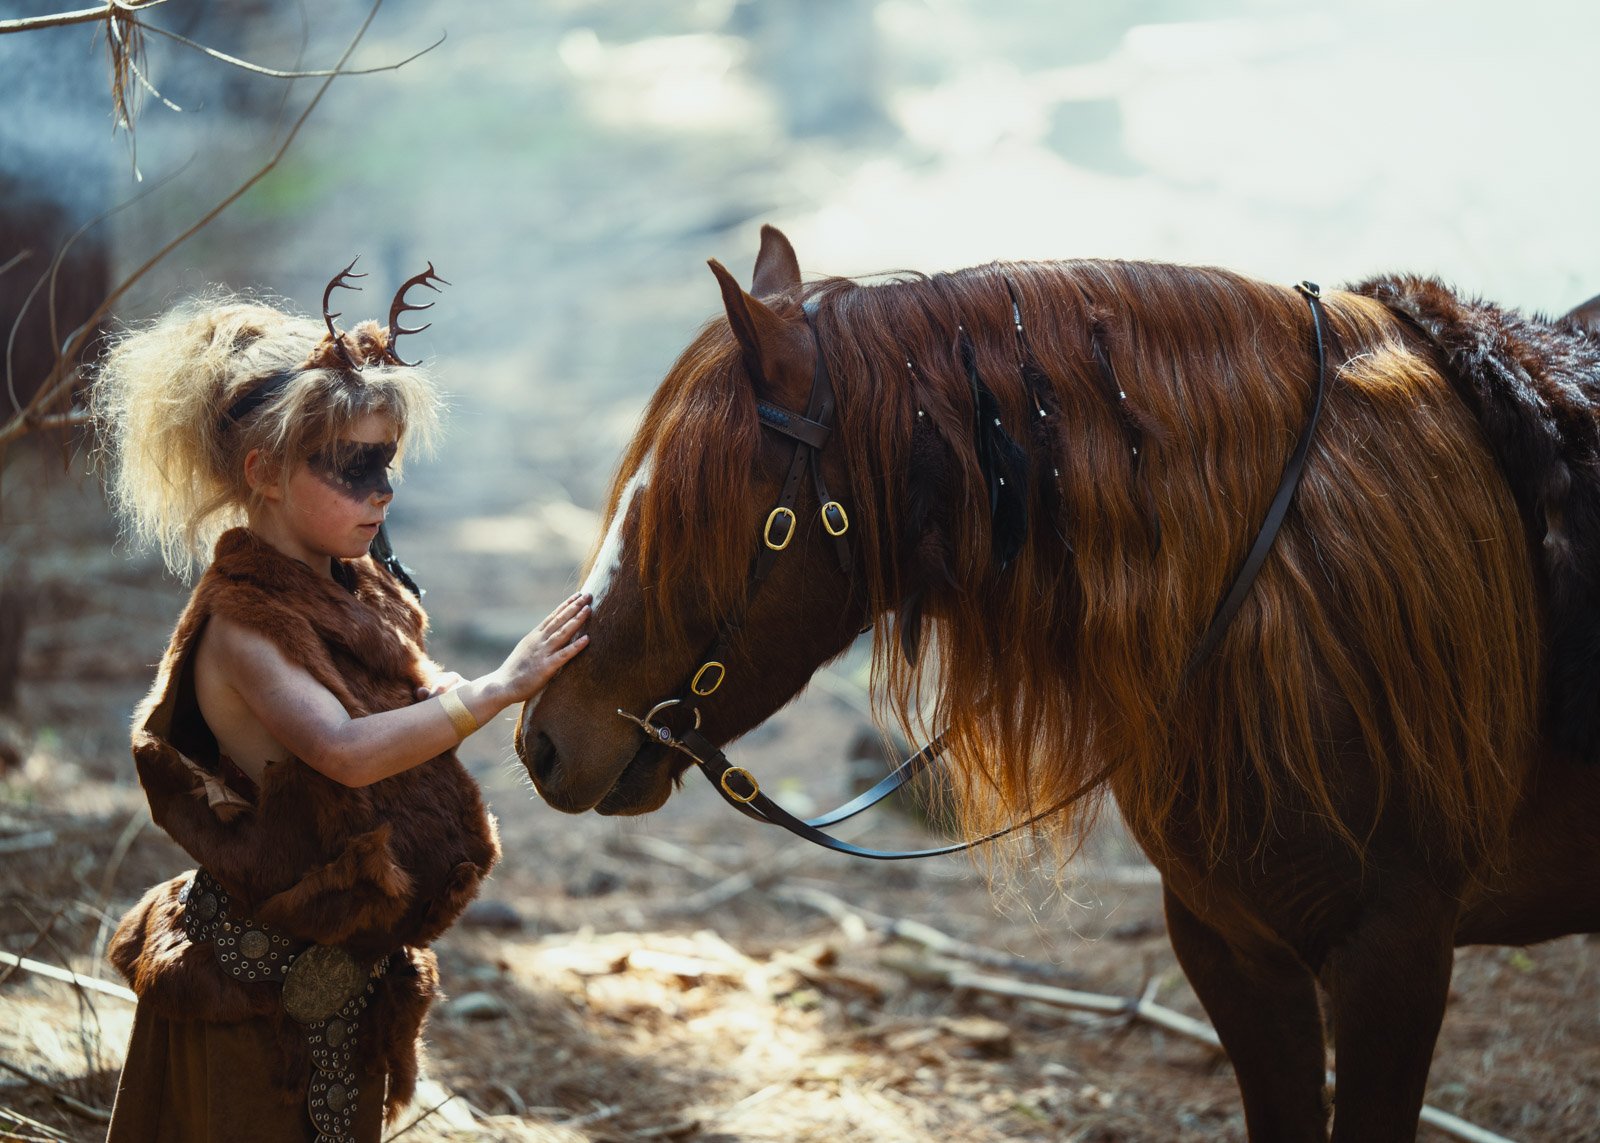
Try to avoid heavily dappled light, as it can be distracting. If you are shooting midmorning or afternoon, try to make the most of the sun and add a sense of drama by using the sun to rim-light your subject. Starbursts can also add an element of drama too. And it doesn’t hurt to have a few locations close by for variety.
Focal length and perspective
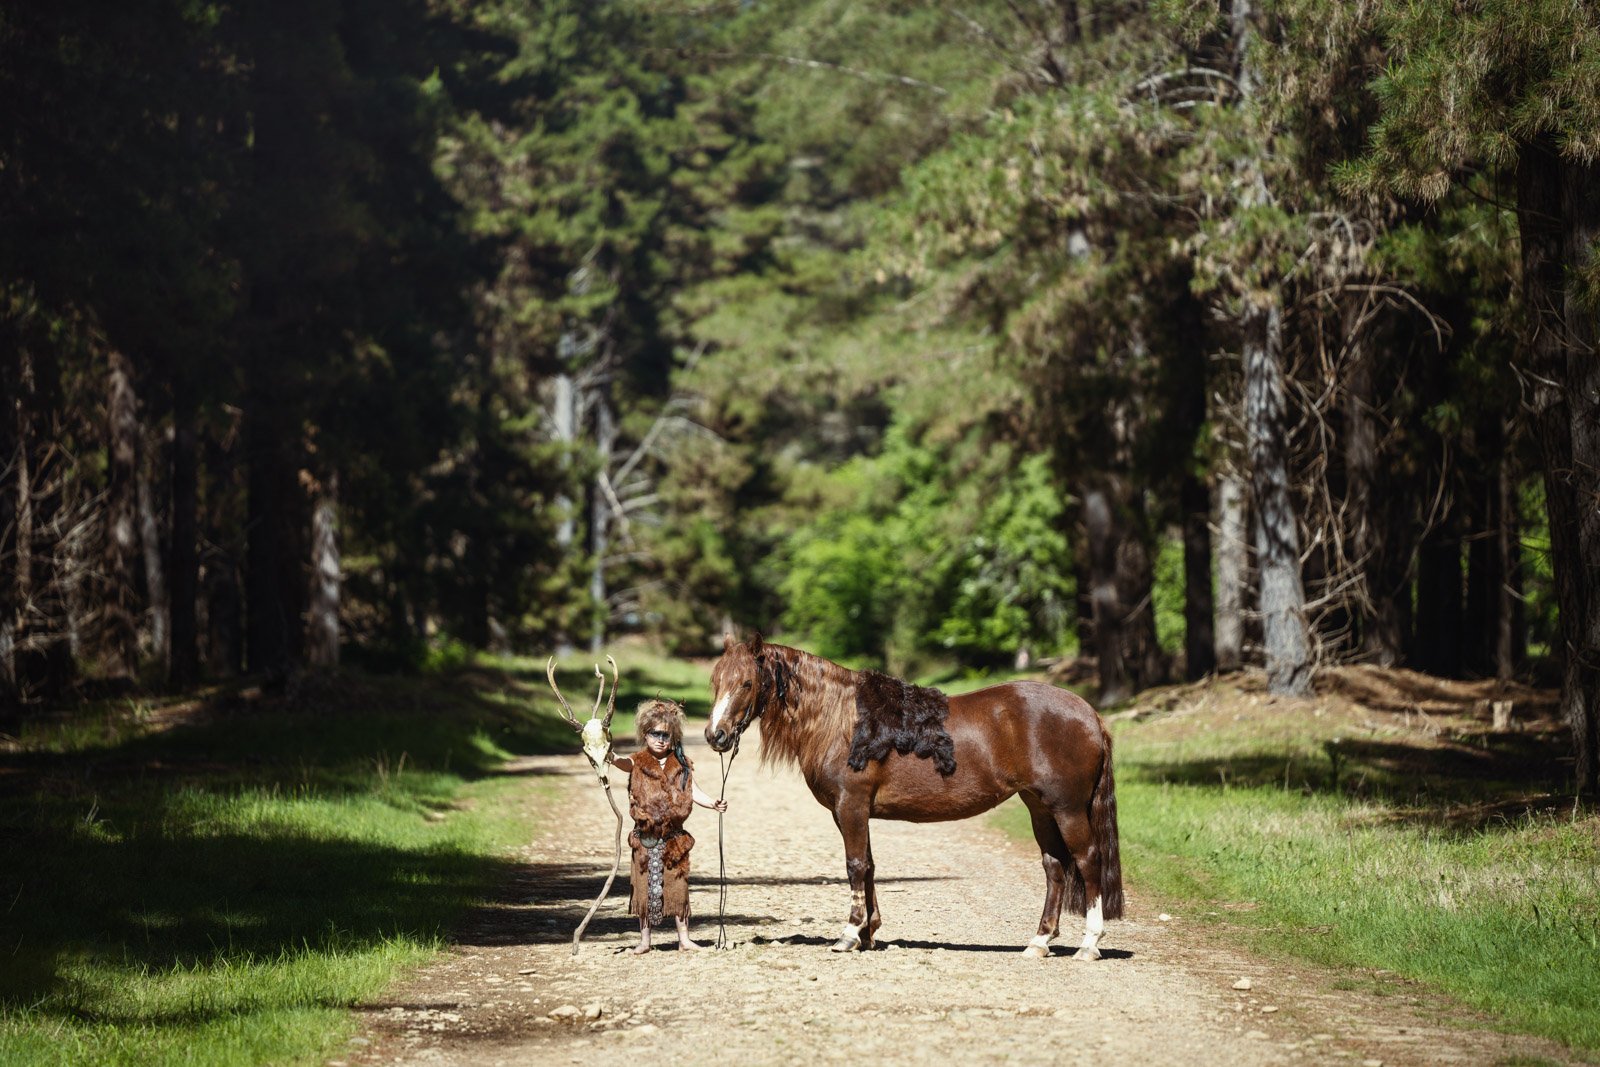
One of the key advantages of a telezoom lens in portrait photography is the ability to create flattering perspectives. The longer focal length can help in minimizing facial distortion, making your subjects look more natural and pleasing. Experiment with different focal lengths within the lens’s range to find the sweet spot that works best for your subject and location. A longer focal length can also help in achieving beautiful background compression, allowing your subject to pop against a soft, bokeh-filled backdrop. It really can be so beautiful and soft. But beware of background distractions.
Tamron 70-180mm f/2.8
Subject isolation and background blur
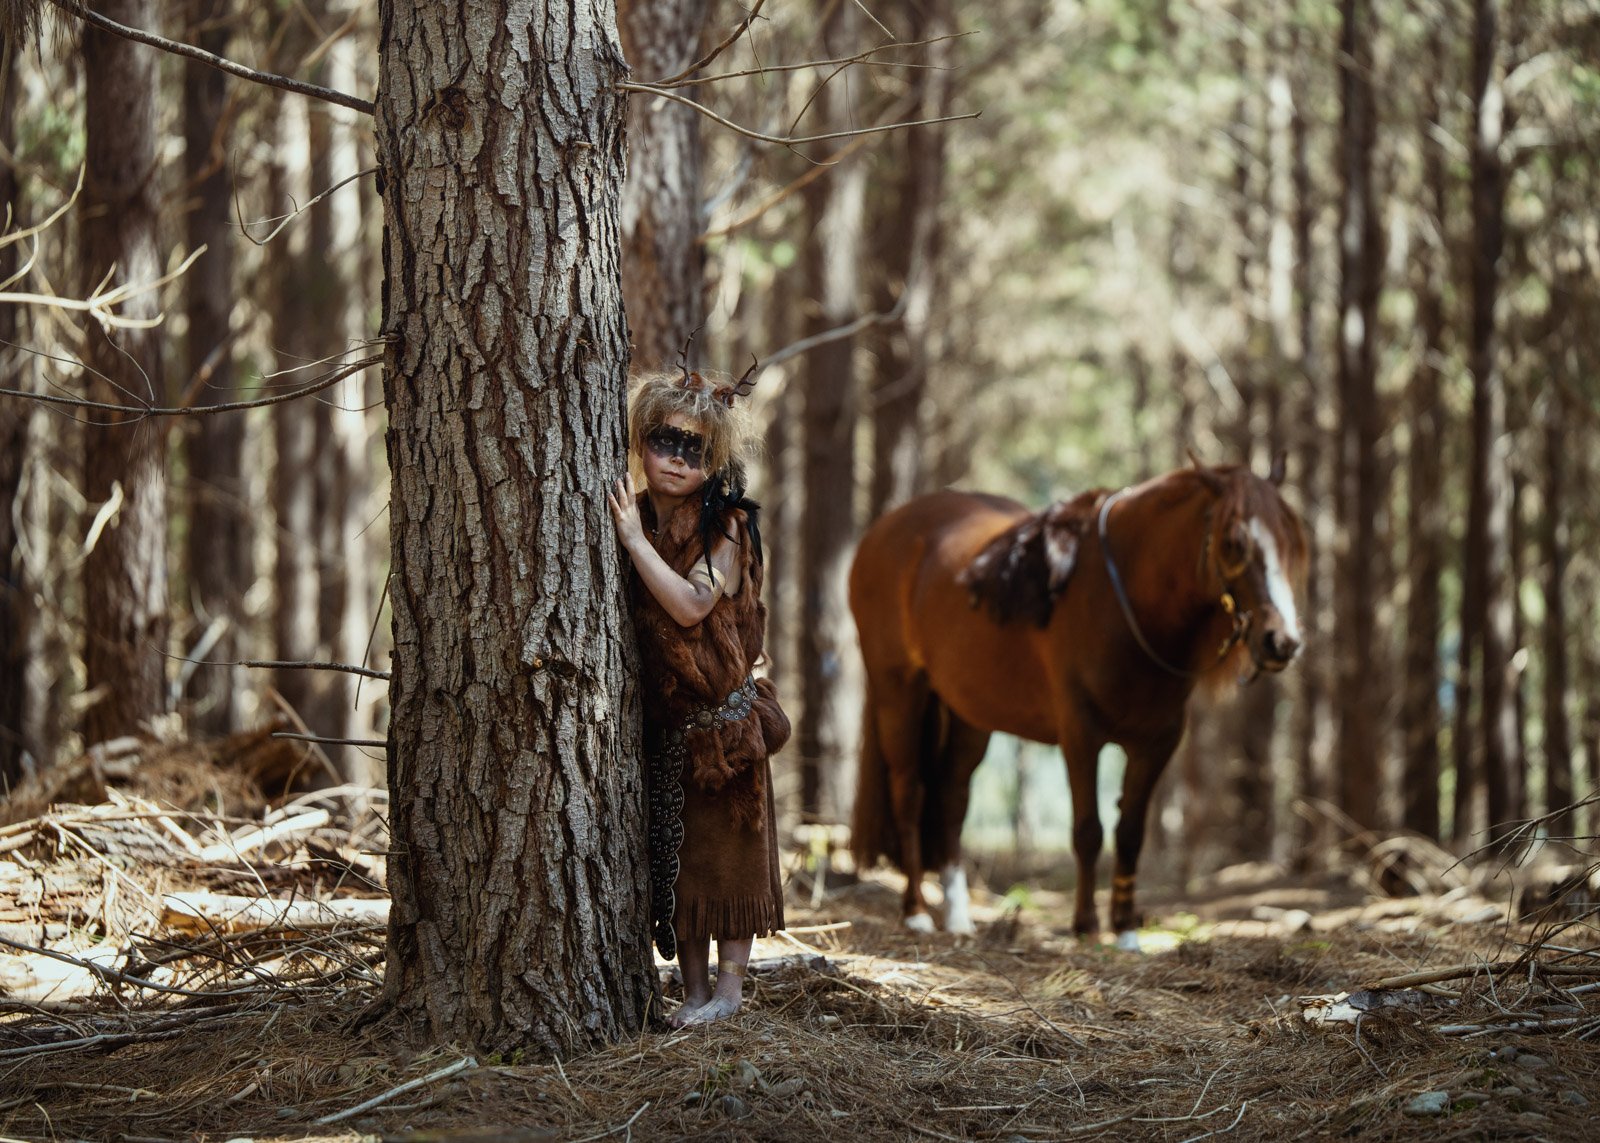
Tele-zoom lenses excel at isolating the subject from the background. To maximize this effect, use a wide aperture (e.g., f/2.8 or wider) to create a shallow depth of field. This will result in a creamy, blurred background that makes your subject stand out. To achieve the perfect balance between subject and background, consider your subject’s distance from the background, the lens’s focal length, and the aperture setting. Remember that the wider the aperture, the more pronounced the background blur will be.
Composition and framing
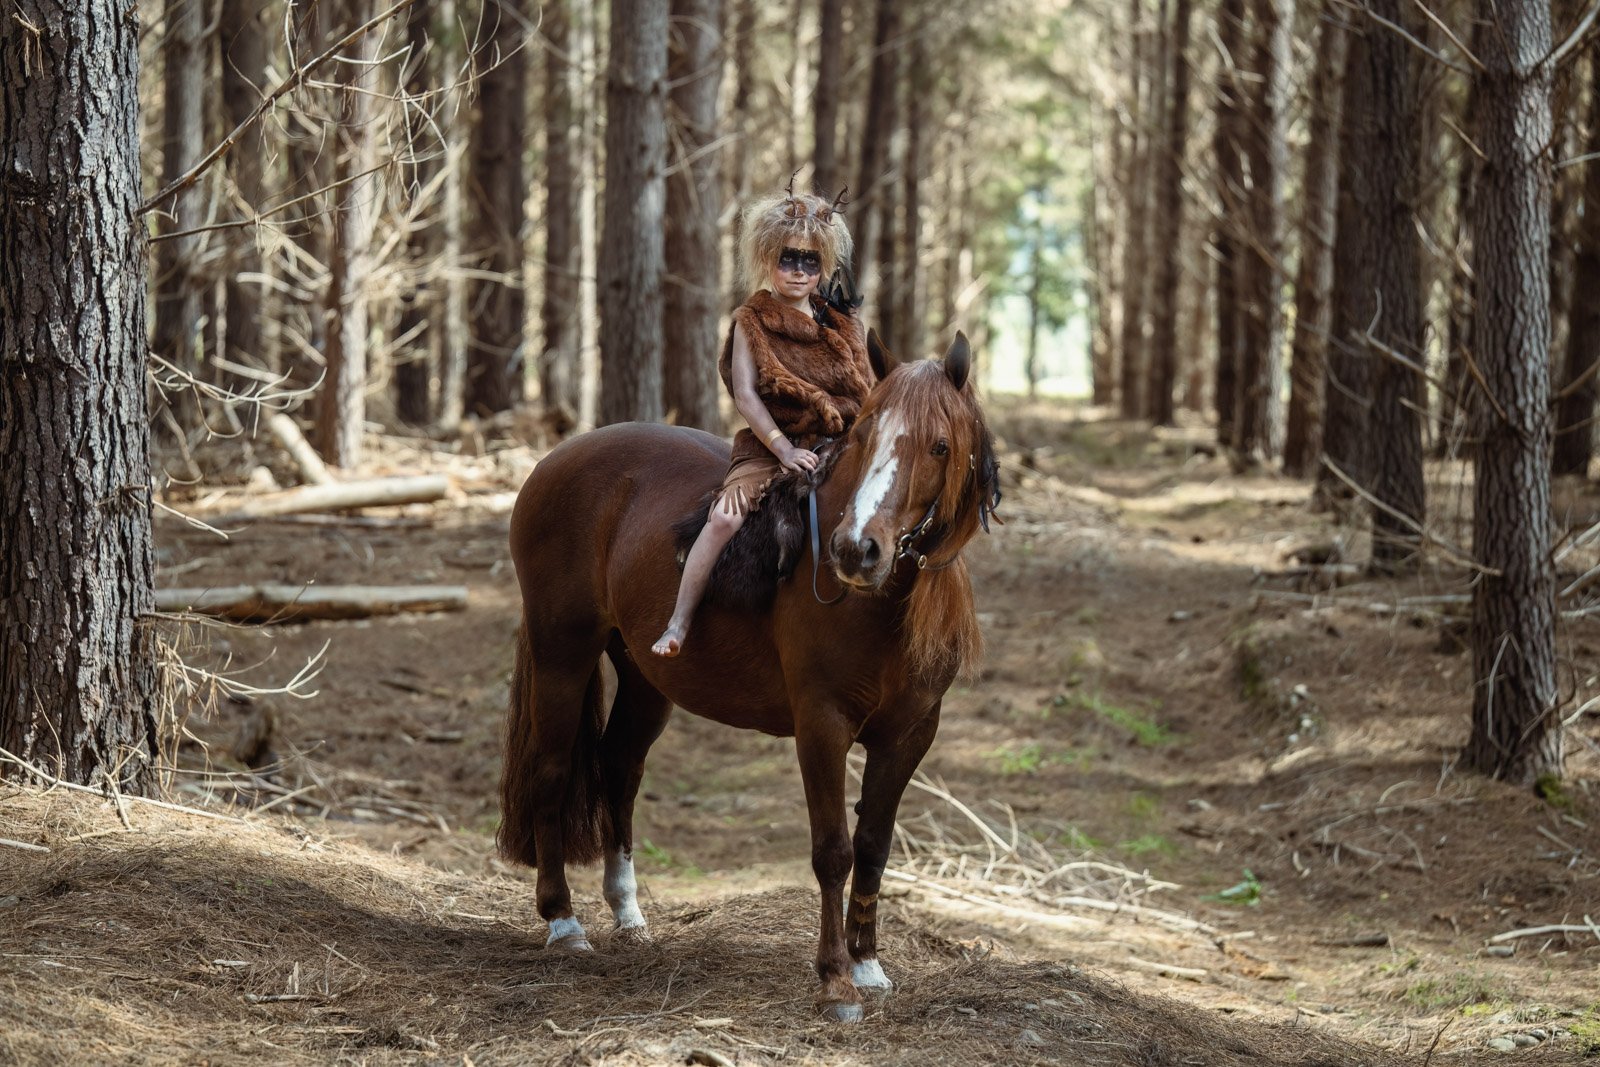
When working with a telezoom lens, it’s crucial to pay attention to composition and framing. Experiment with different angles and poses to create dynamic and visually interesting portraits. Utilize the lens’s compression effect to bring distant elements into the frame, which can help in adding depth and storytelling to your portraits. Pay close attention to the rule of thirds and leading lines, which can guide the viewer’s eye and enhance the overall composition.
Communication and posing
Communication with your subject is key to a successful portrait location shoot. Help your subject feel comfortable and relaxed by giving clear directions and offering positive feedback. With a telezoom lens, you can be at a distance while still maintaining a strong connection with your subject. This can lead to more natural and unposed expressions, resulting in authentic and engaging portraits. Alternatively if you can have someone else working with you, especially with animals and children.
Post-processing
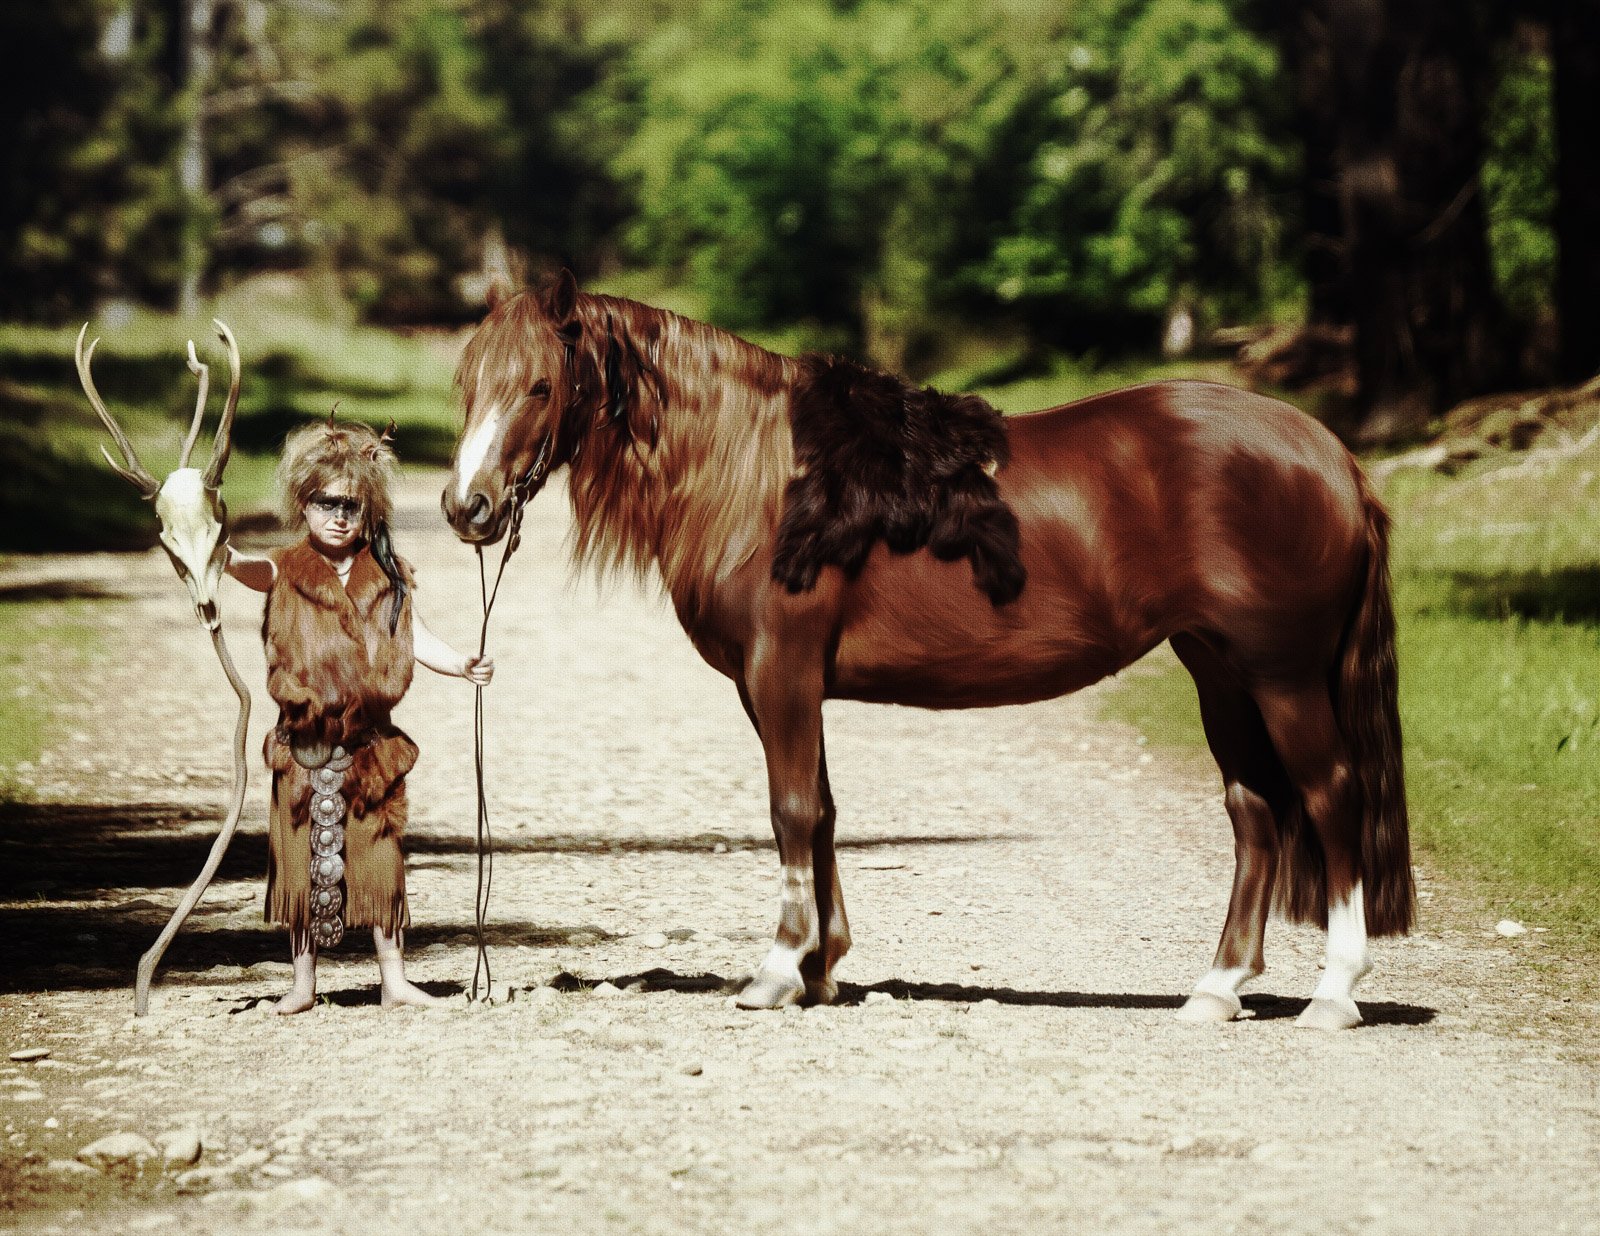
Post-processing is the final step in bringing your location shoot portraits to life. Use software like Adobe Lightroom or Photoshop to fine-tune your images. Adjust exposure, contrast, color, and sharpness to enhance the overall look of your portraits. You can also apply selective edits to further emphasize the subject and background. Just remember to keep your edits subtle and enhance the image rather than alter it drastically.
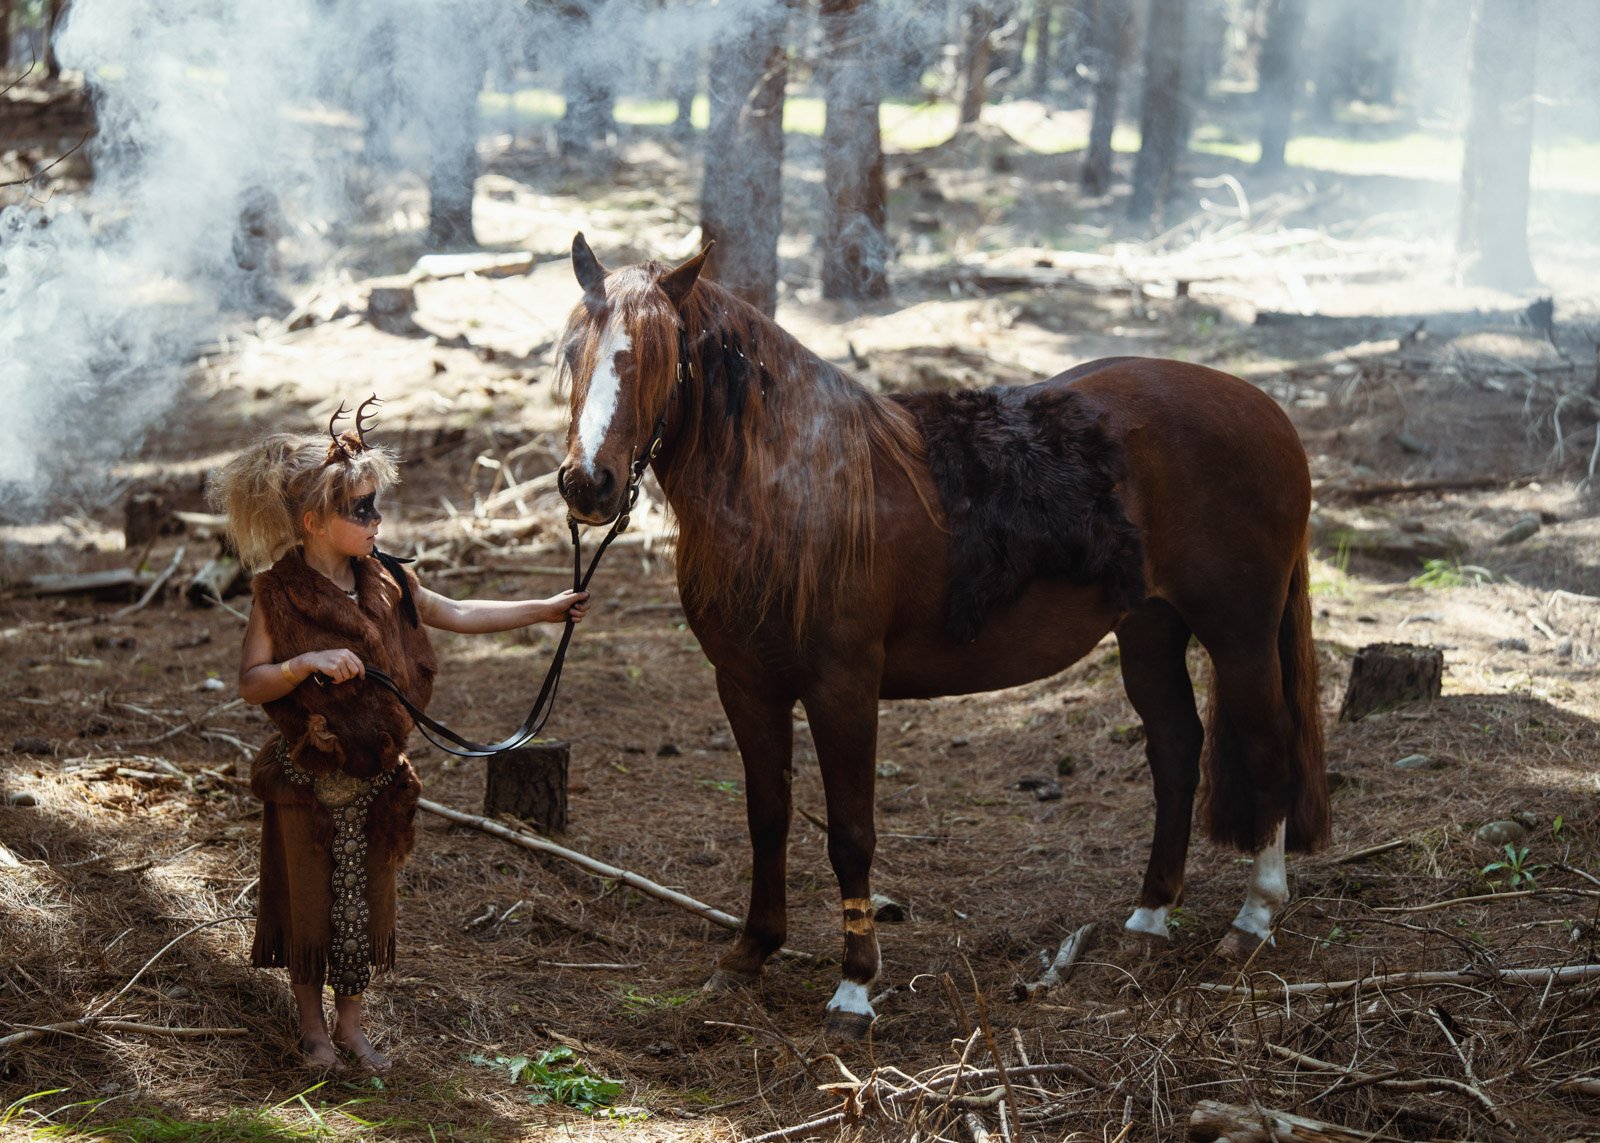
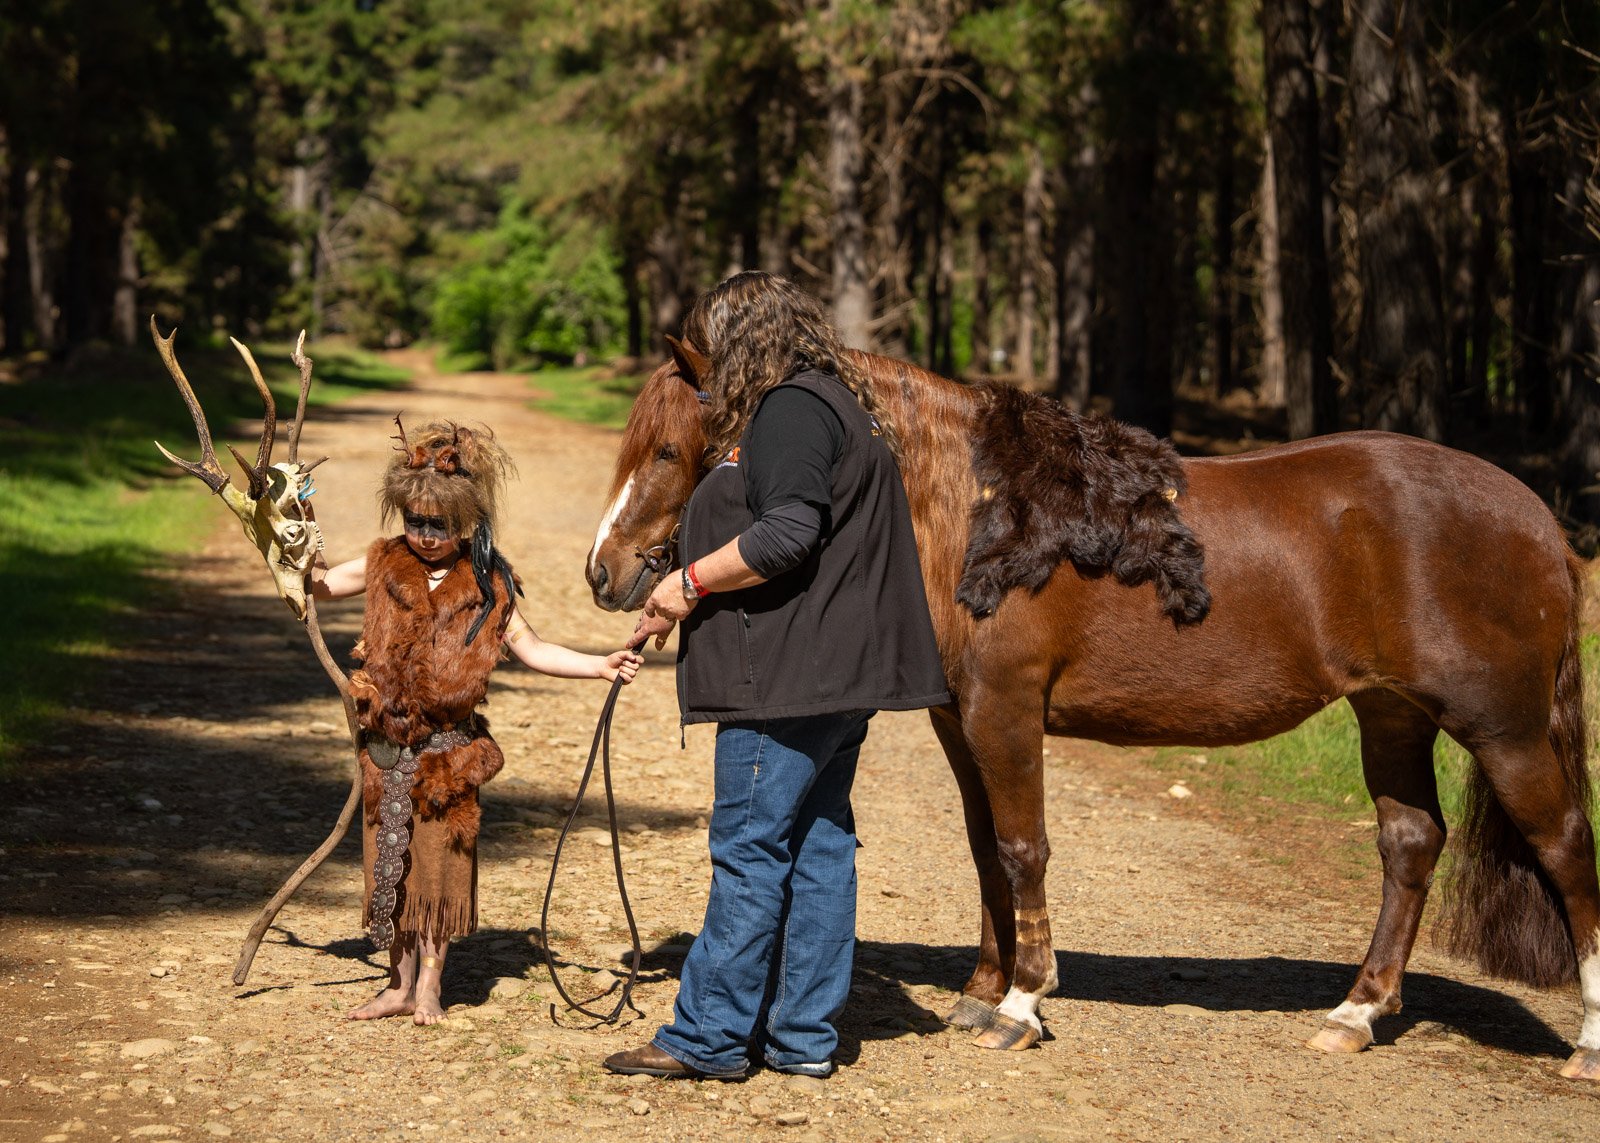
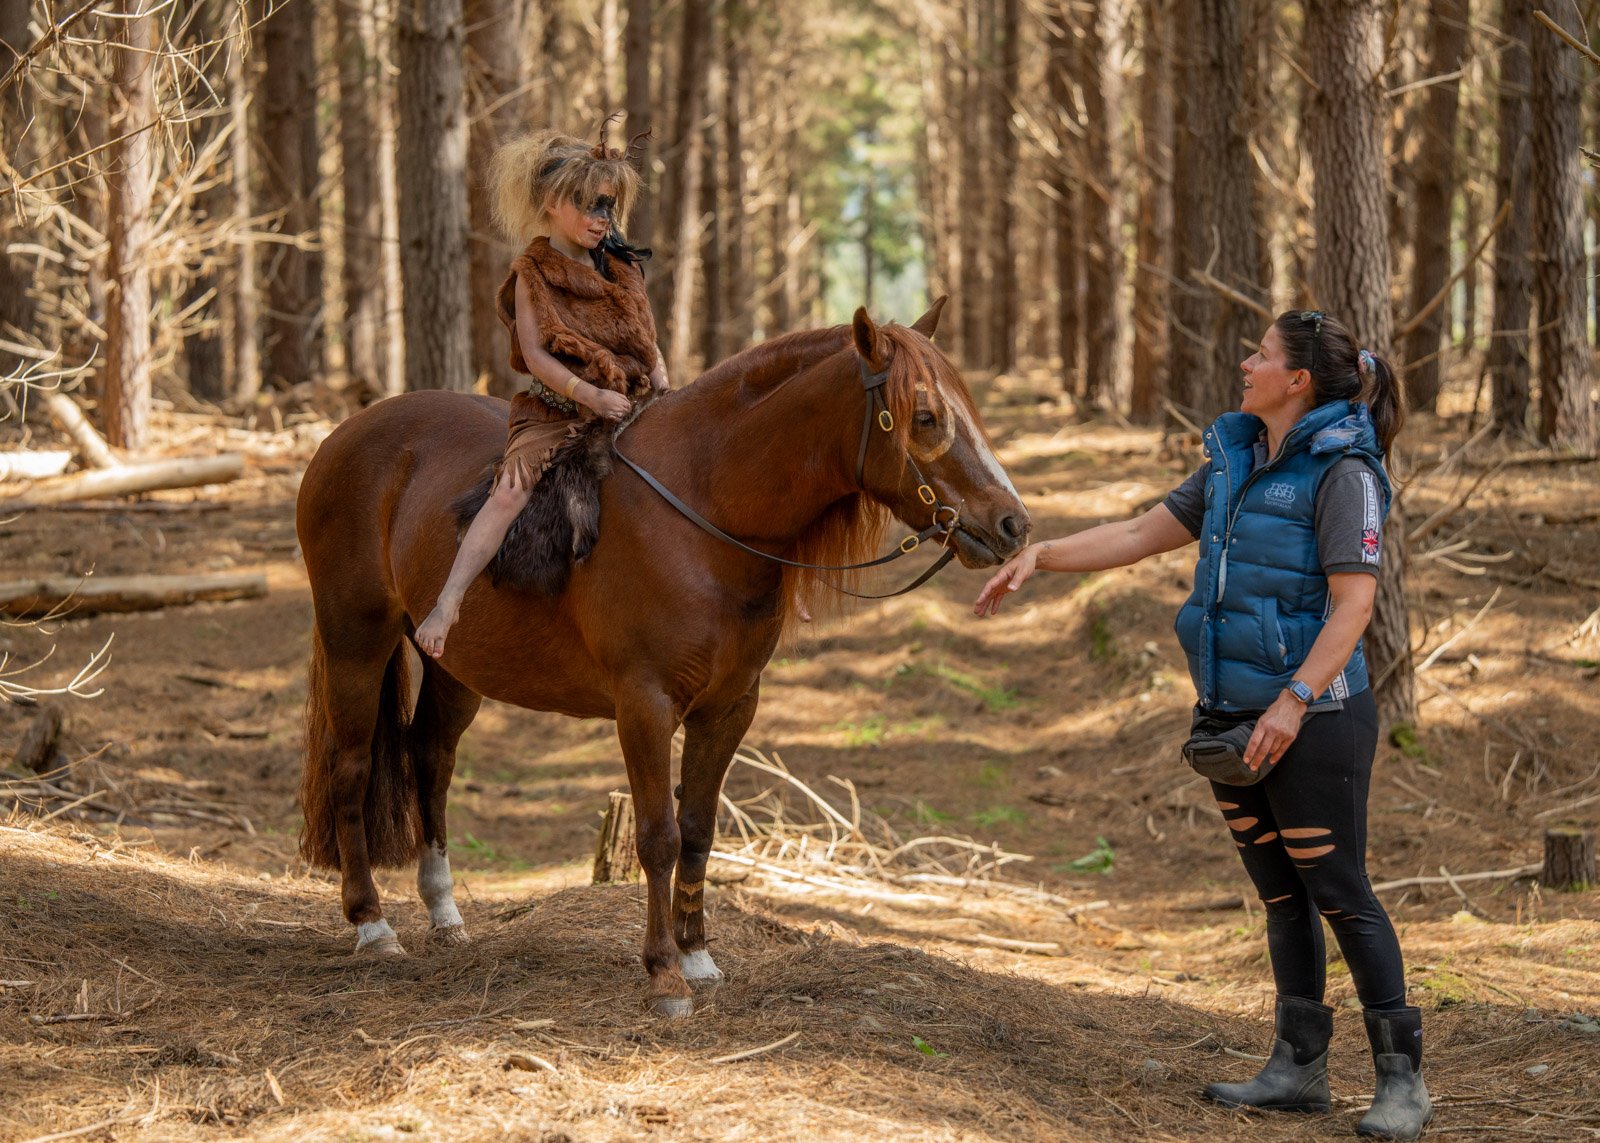
Tia and her pony Butterfly
Final thoughts
A telezoom lens can be a powerful tool for capturing stunning portraits on location. By understanding the lens’s capabilities, mastering lighting, and paying attention to composition and posing, you can elevate your portrait photography to new heights. With the right techniques and a little creativity, you’ll be well on your way to creating breathtaking portraits that tell compelling stories and capture the essence of your subjects. So, grab your Telezoom lens, scout a beautiful location, and start creating portraits that truly shine.
I captured all these images with the new Tamron 70-180mm f/2.8 G2 tele-zoom on my Sony A7RV camera at a workshop with Louise Segdeman Creative Photos. The model was Tia and her pony Butterfly.


