Mastering landscape photography with CPL filters: enhancing your scenic views
Using a CPL (Circular Polarizing) filter for landscape photography can significantly enhance your images by reducing glare, improving color saturation, and increasing contrast. Here are some tips for using a CPL filter to create stunning landscape photographs:
Understand the CPL filter:
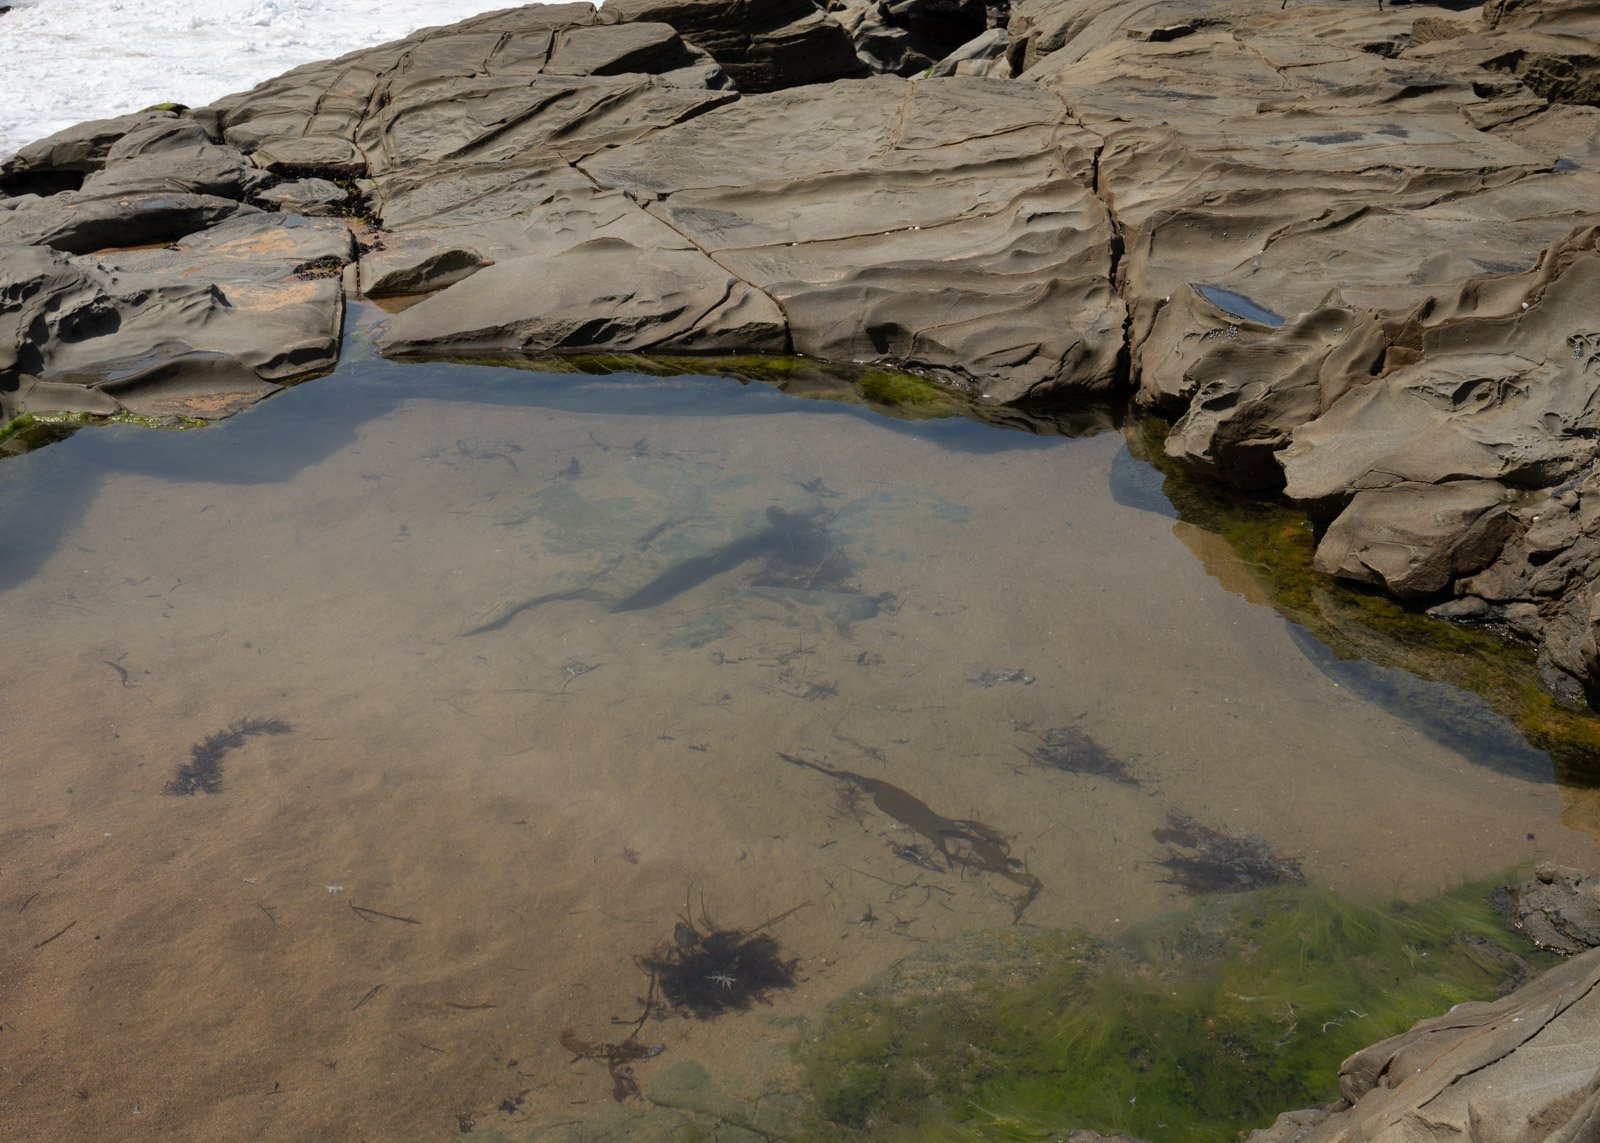
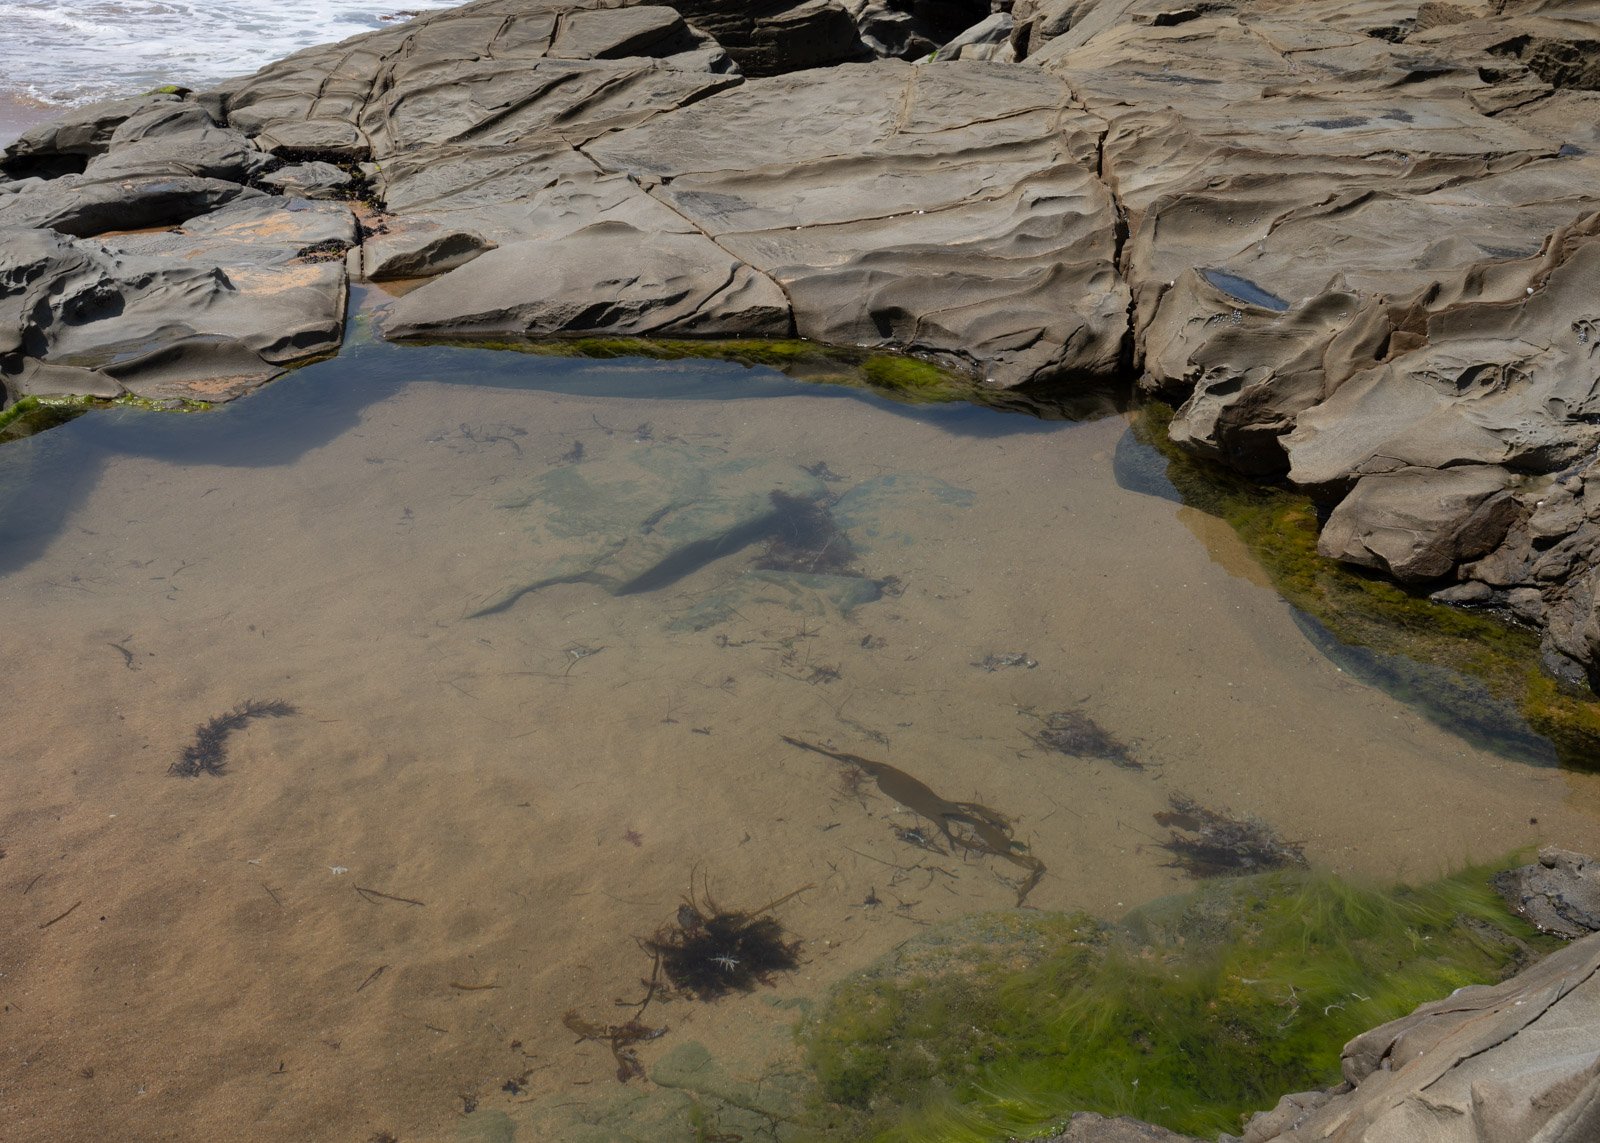
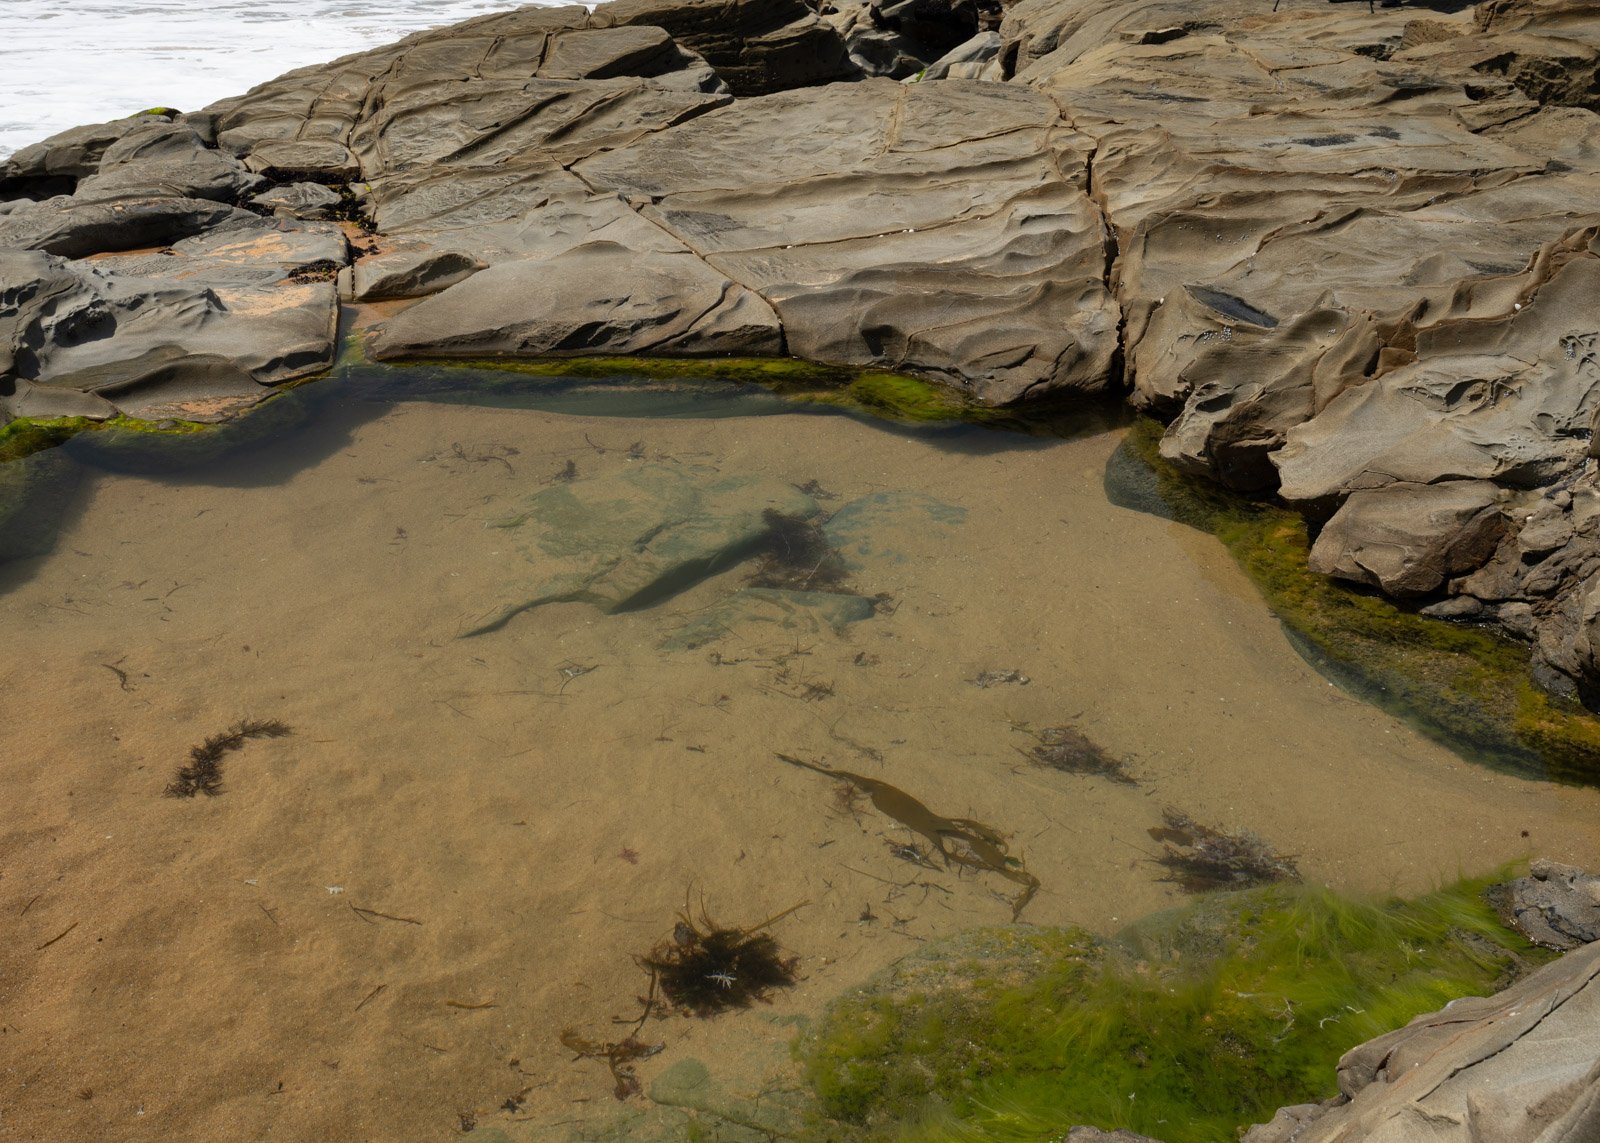
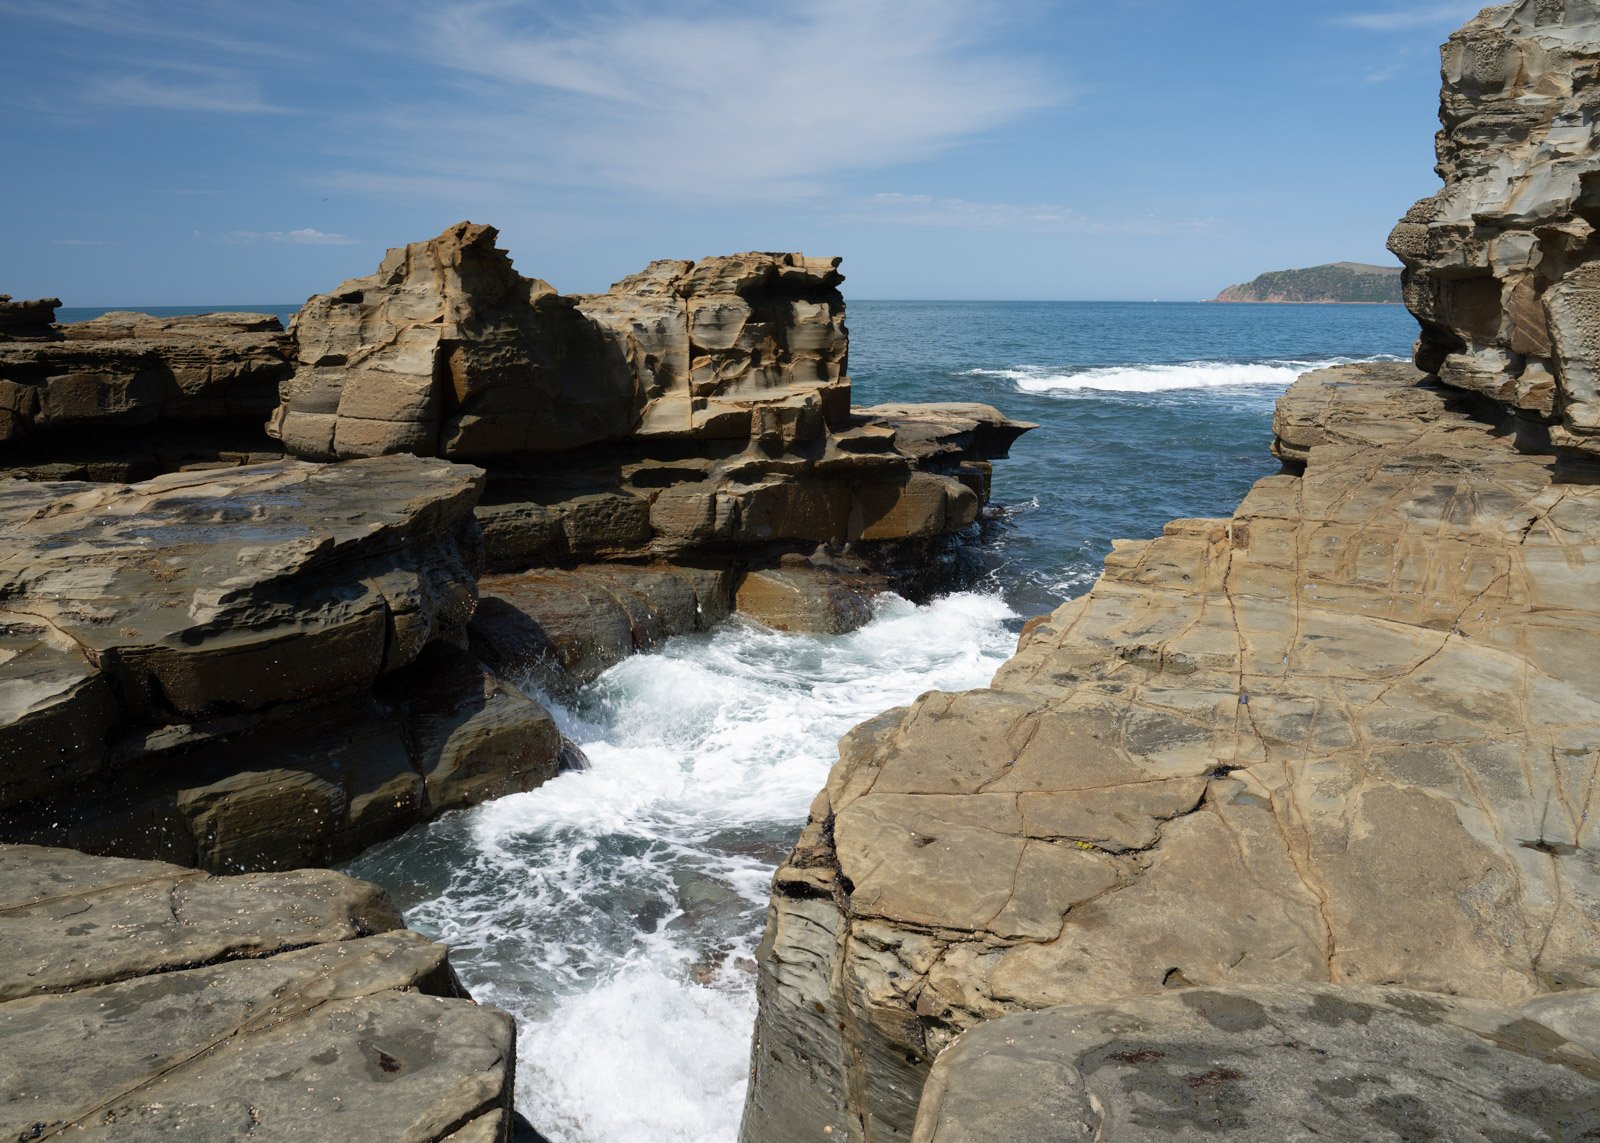
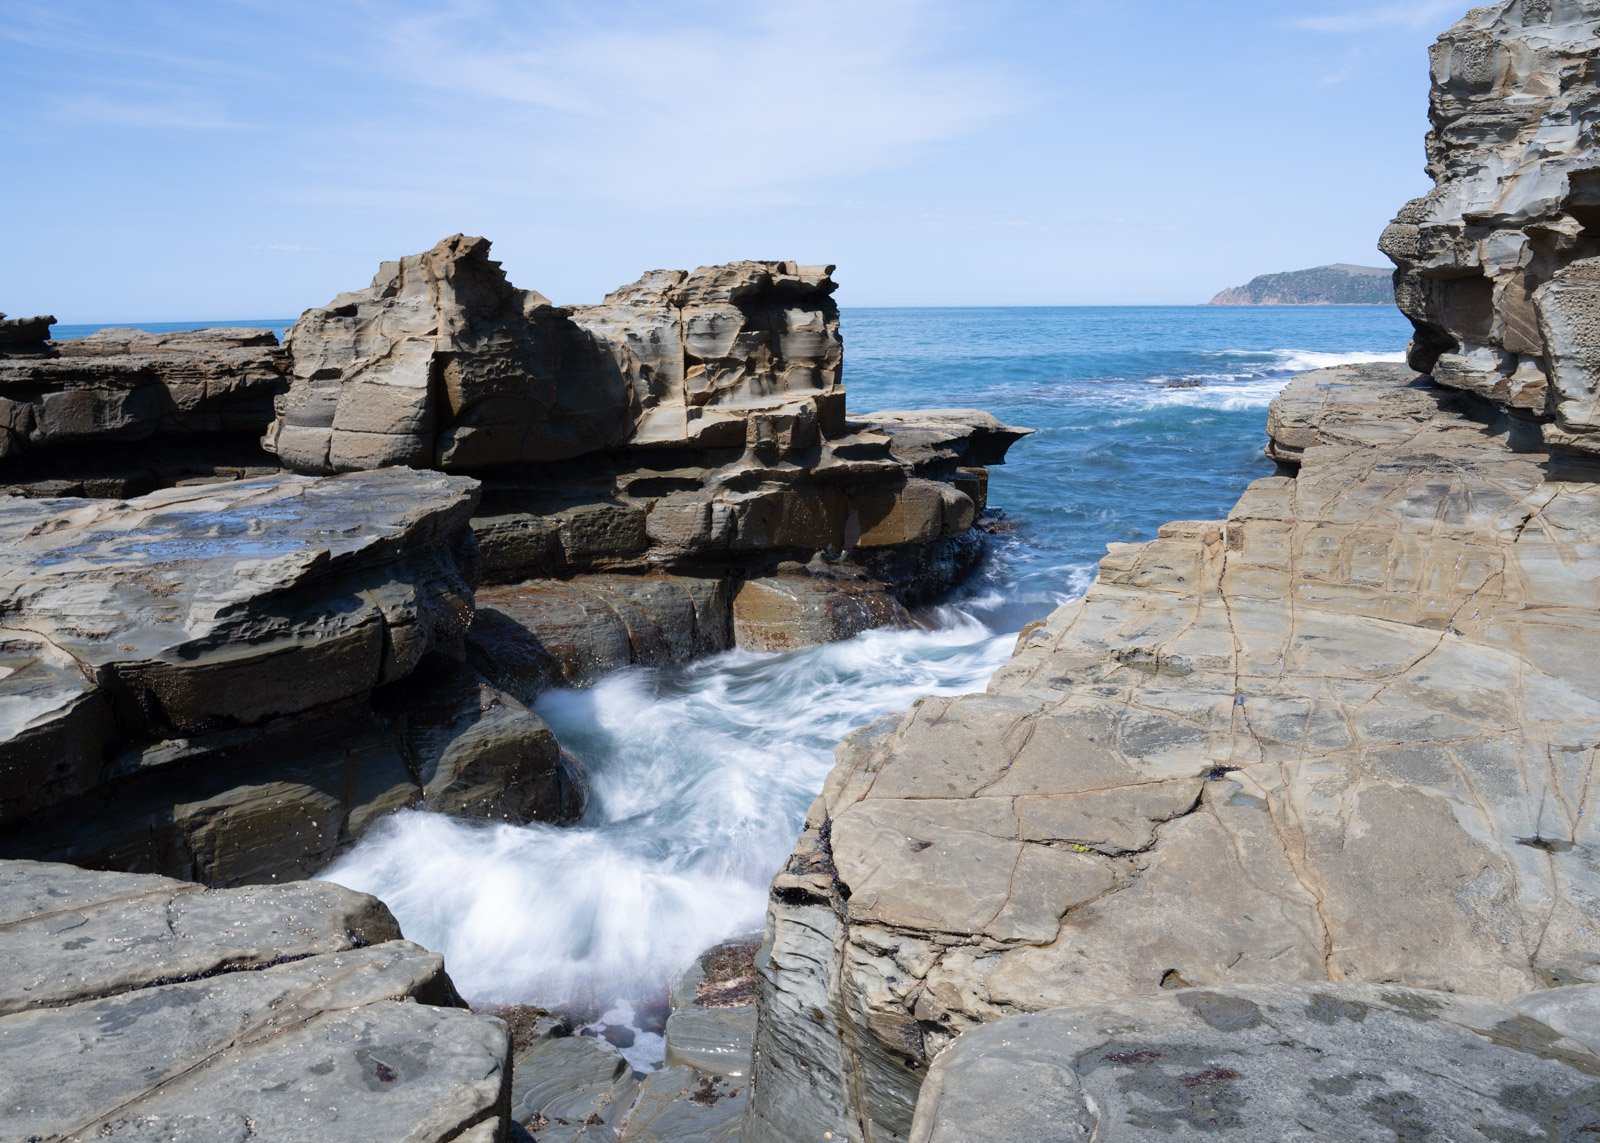
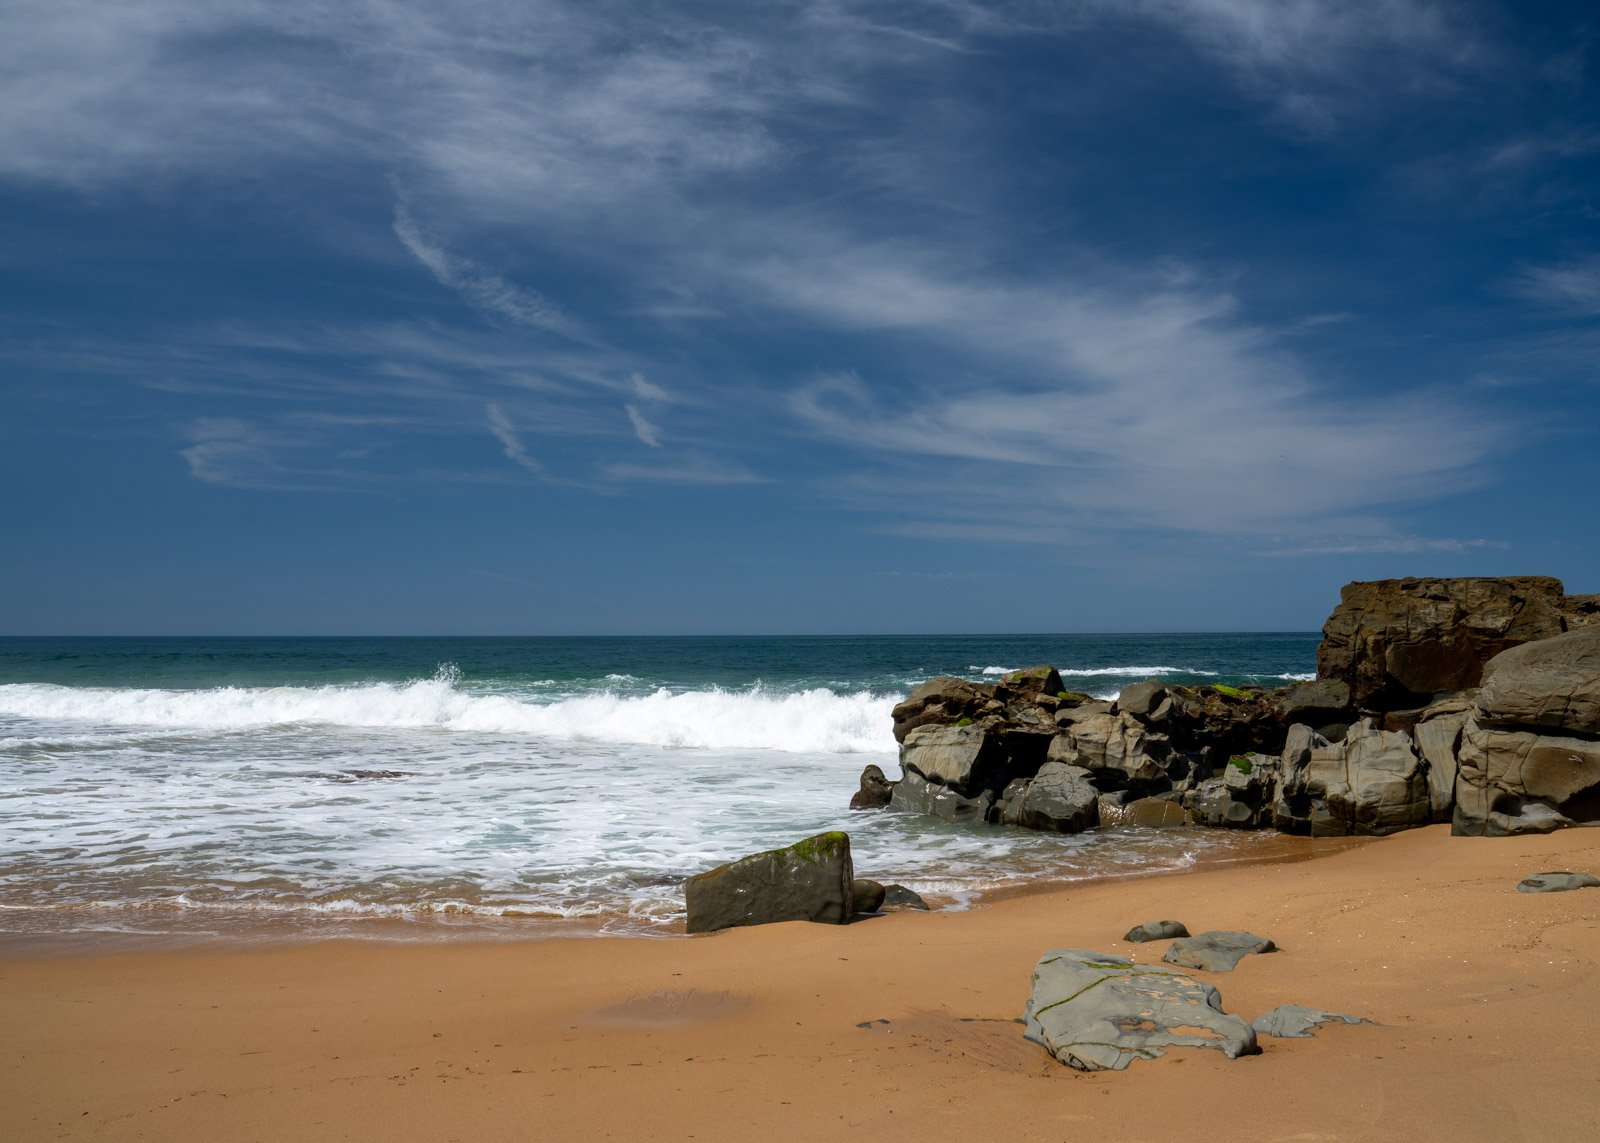
A CPL filter is designed to reduce reflections and glare from non-metallic surfaces like water, glass, and foliage. It can also darken blue skies, making clouds pop and enhancing the overall contrast in your landscape shots.
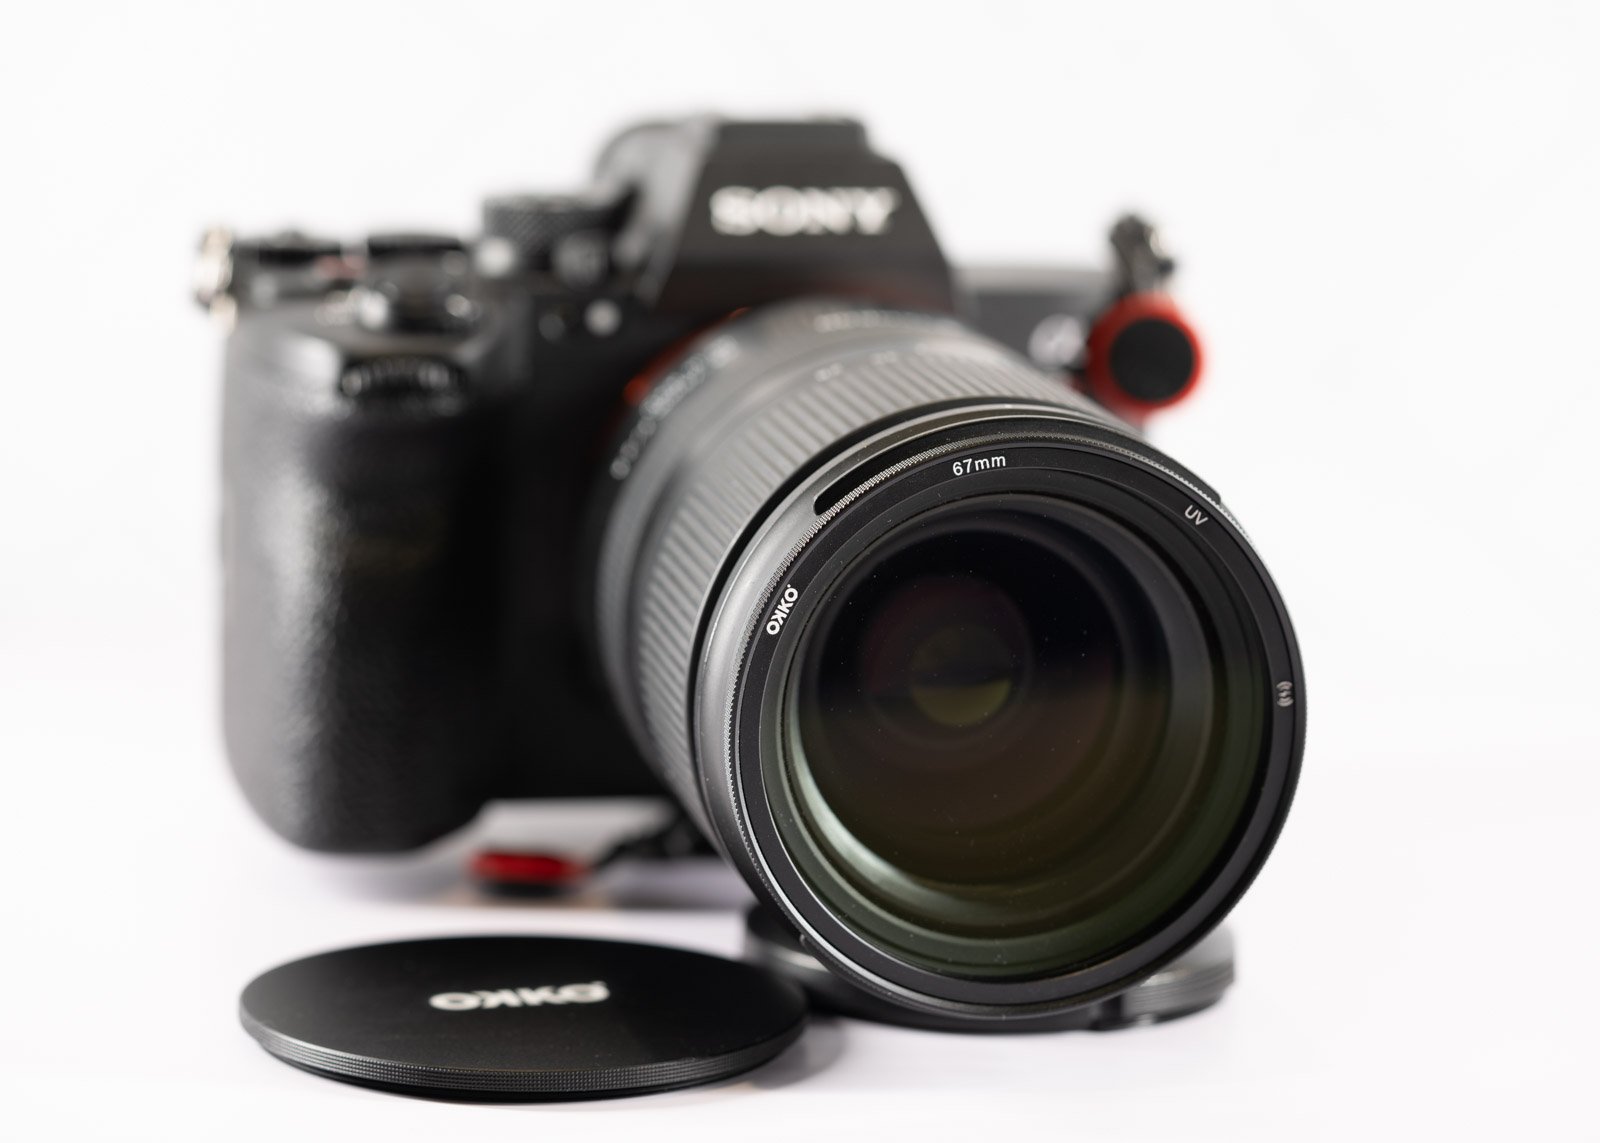
Lens diameter on OKKO UV Filter
Choose the right filter size:
Ensure your CPL filter is the correct size for your lens. Different lenses have different filter thread sizes, so you’ll need to match the filter to your lens diameter. I’ve been using the OKKO Magnetic CPL Filter lately with great success. You’ll usually find the lens diameter on the edge of the lens.
OKKO CPL Magnetic Filter
Mount the CPL Filter:
Screw OKKO Magnetic Adfaptor ruing to your lens. The CPL filter will lens magnetically attach to the adaptor – so easy. Once installed you need to align it correctly. You can rotate the filter to control its effect, so make sure it’s secure but adjustable. This is where sometimes the screw on variable CPL can come loose. The magnetic CPL is a great option.
Find the Optimal Angle:
Look through your camera’s viewfinder or use the Live View mode. Rotate the CPL filter until you see the desired effect. For example, if you want to darken the sky or reduce water reflections, rotate the filter until you achieve the desired result.
Use the “Rule of 90”:
To maximize the effect of a CPL filter, it’s often recommended to shoot with the sun at a 90-degree angle to the direction you’re shooting. This can help darken the sky and reduce glare on water or glass.
Adjust Exposure Settings:
When you add a CPL filter, it reduces the amount of light entering your lens. Adjust your camera settings (aperture, shutter speed, or ISO) accordingly to maintain the correct exposure.
Experiment:
Don’t be afraid to experiment with the CPL filter’s rotation and settings. Try different angles and observe how they affect the scene. Keep adjusting until you achieve the desired look. Great for working with B&W images too.
Combine with Other Filters:
CPL filters can be used in conjunction with other filters, such as ND (Neutral Density)filters, to achieve more creative effects and control exposure.
Be Mindful of Distortion:
Be aware that using a CPL filter on a wide-angle lens may sometimes lead to uneven polarization, resulting in uneven skies or darkening in parts of the frame. Pay attention to this and adjust as needed.
Great for working with B&W images
Post-Processing:
While CPL filters can significantly improve your photos in-camera, some post-processing may still be necessary. You can fine-tune the image in software like Adobe Lightroom or Photoshop to achieve your desired look.
Using a CPL filter in landscape photography can be a game-changer, providing you with the tools to capture more vibrant and captivating scenes. Remember that practice and experimentation are key to mastering this technique.


