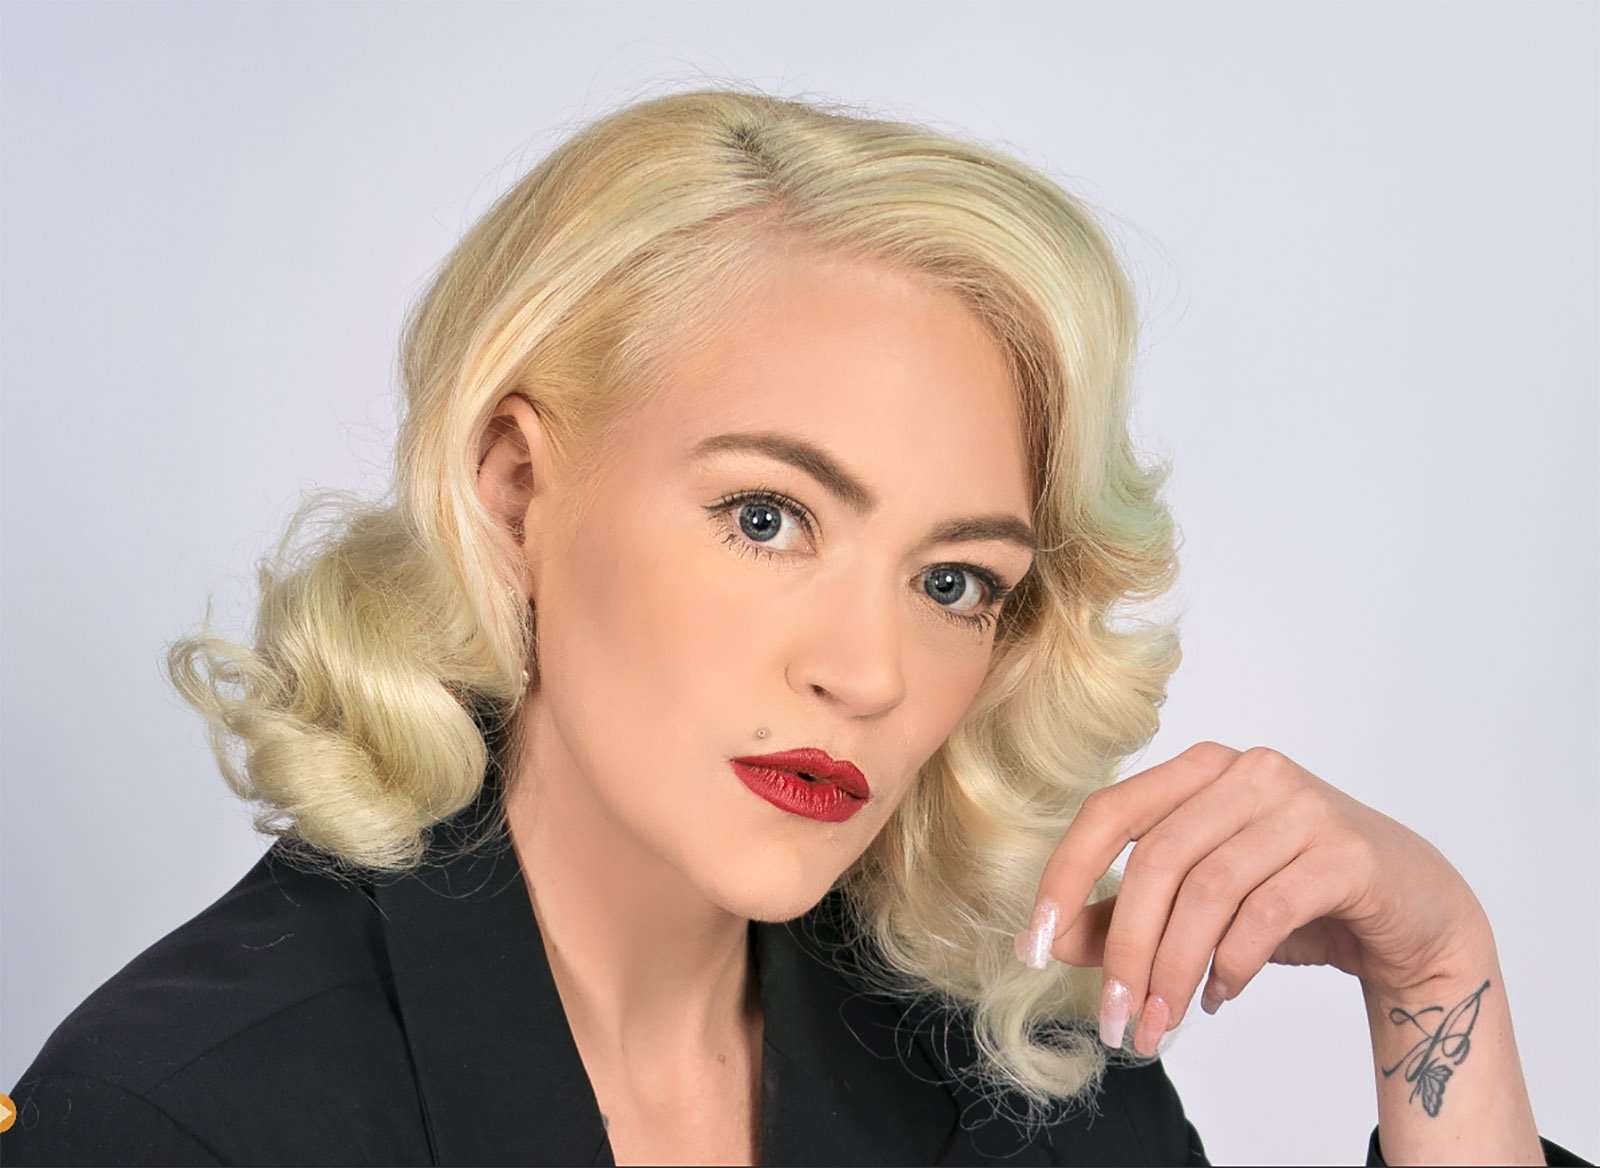
Optimizing faces with Radiant Photo
Brand new to the market is Radiant Photo, created by photographers for photographers. Simple quick and powerful AI photo editing software for landscapes, portraits or anything else your heart desires. I was given a copy to try out and ran it through its paces with some portraits. So let's take a look at optimizing some faces with Radiant Photo.
Plugin or stand-alone
Firstly you can run Radiant Photo as a Plug-in from Adobe Lightroom or Photoshop, or as a stand-alone product. Why use it as a plugin? Firstly, if you are currently using the Lightroom Cataloging feature, that is still your best option. Also, there are a few things you might like to clean up, stray hair, animal fur, spots and scuff marks on floors etc, you might like to clean up before opening in Radiant. However, if you are fairly new to photography, or don't have Lightroom you can use it as a stand-alone editor and it does a pretty great job. In Lightroom right-click your image and Edit In Radiant Photo. It will pop straight over into Radiant.
Open as a Plugin from Lightroom
Quick Edit
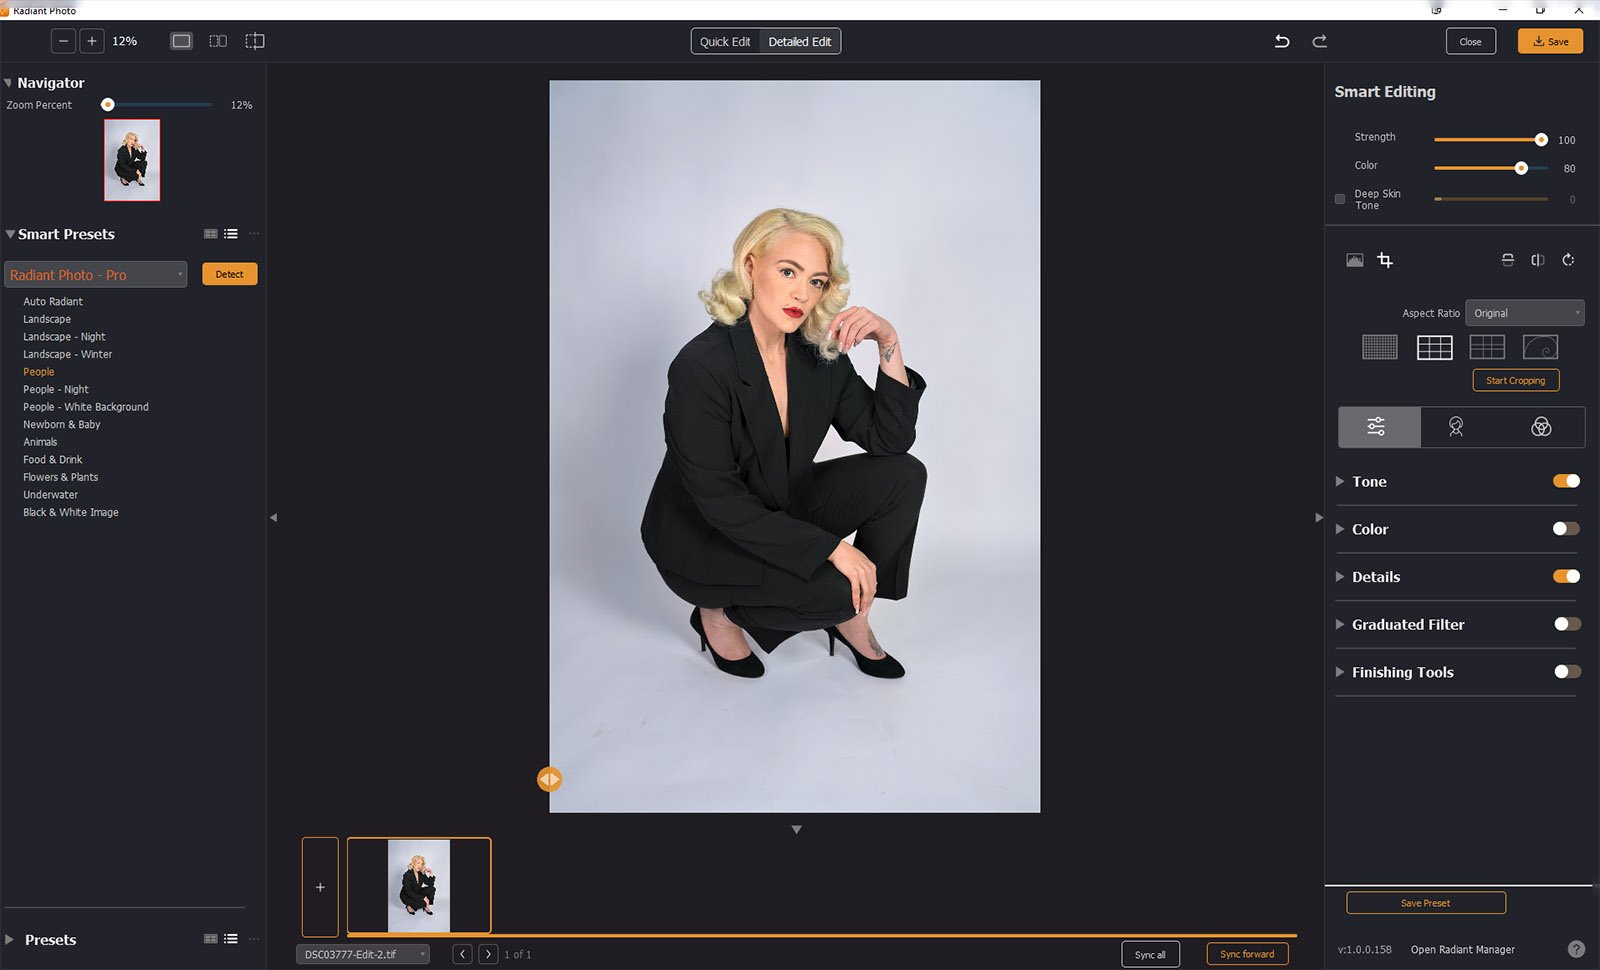
When you first open the image in Radiant it will open in the Quick Edit section. Radiant Photo detected there was a person there and hit my image with the Smart Presets for People. Straight off it had already made some major improvements to my photo. You can tweak the Smart Editing sliders, you can choose the strength of the Smart Preset and tweak the Exposure etc. You could call it done and save, but I wasn't finished yet. Check out the Before and After view in Radiant below.
Quick Edit Tab in Radiant Photo
Detailed Edit
Click on the Detailed Editing tab and a whole new level of options are now available. The Smart Editing is at the top but now there are other options for Cropping (there are different ratio options, including custom settings. Rotation or Flipping your image vertical and horizontal is available as well. There are different grid overlays for composition and such. Heading down there are Tone, Colour, Details, Graduated Filter and Finishing Tools.
Located under the Histogram is not only the basic settings tab but also a face icon for portraits and a colour grading tab. I am mostly going to be looking at The People tab. This is where the magic happens.
Detailed Edit tab in Radiant Photo
Face Selection
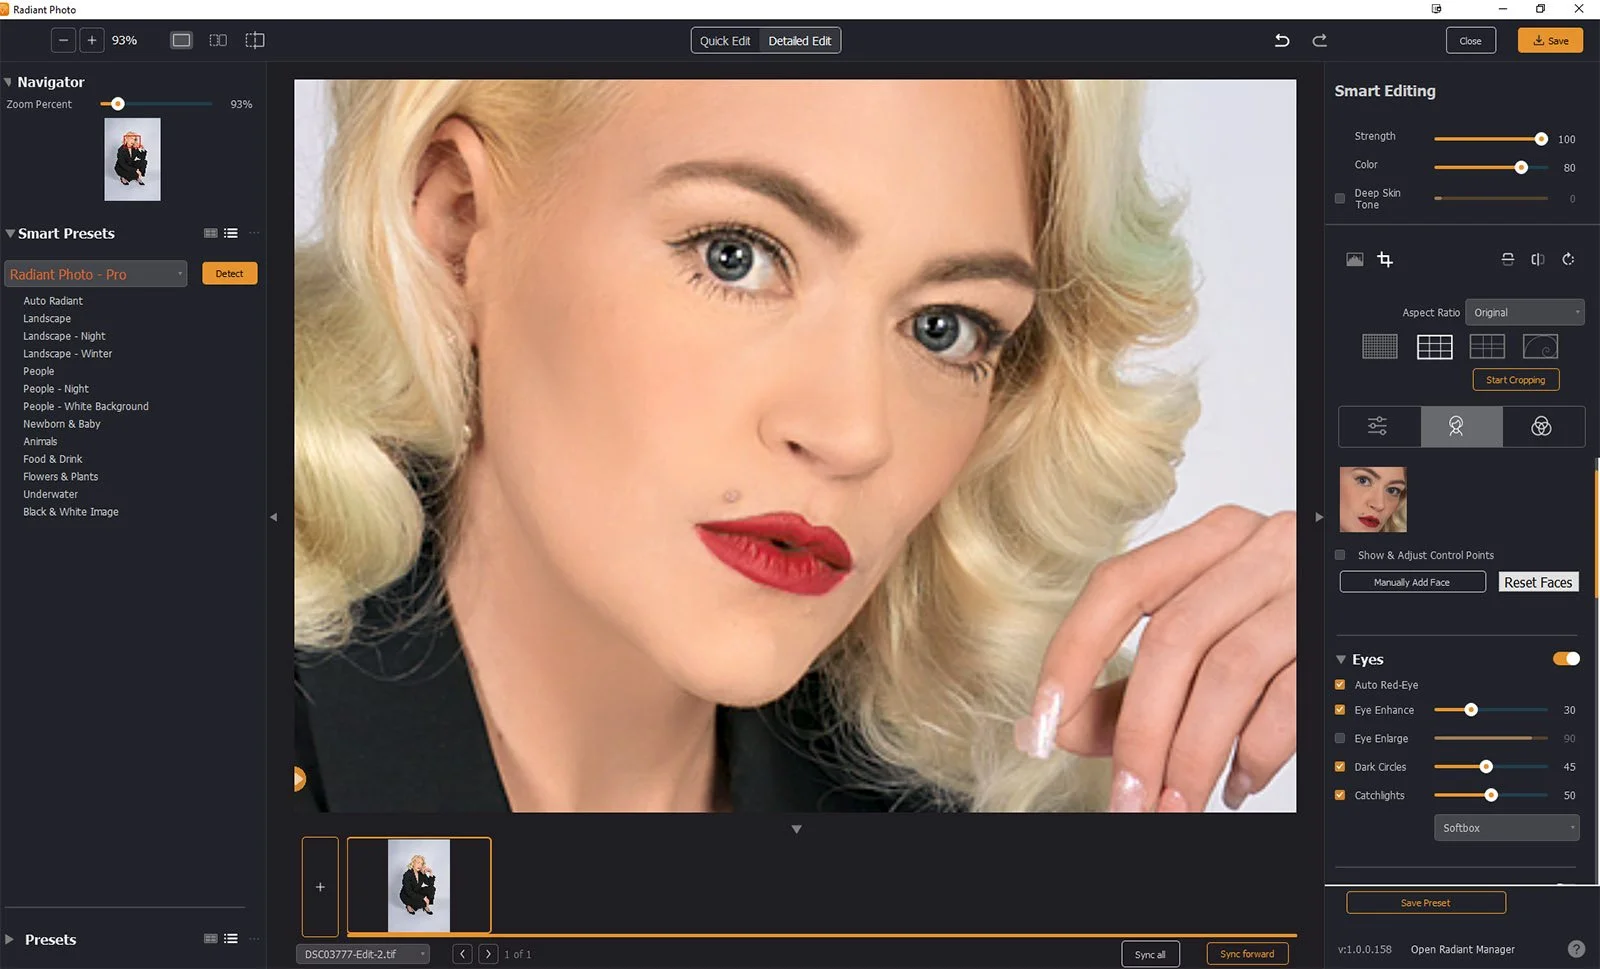
You will need to make sure a face is selected for most features to function. If your face has not been detected, it is a pretty easy fix to Manually Add Face. Click the Manually Add Face button and click in the eyes, you should see a thumbnail now appear in the Face Selection. Uncheck the Show and Adjust Control Points, as it leaves the yellow dots on the face and is a bit distracting. If your face has been detected there is no need to select it and it will be viewable in the thumbnail.
Face Detection in Radiant Photo
Eyes
Working from the top down is the Eyes section. Auto Red-Eye, Eye Enhance, Eye Enlarge, Dark Circles and Catchlights. These have drop down menus and you can toggle this feature on and off;
Auto Red-Eye can be switched on and off, but that's about it. I didn't have any red-eye photos to test
Eye Enhance can also be switched on and off and you can increase the strength of the changes made. I suggest subtle changes here as 100 can do some pretty strange things. But sticking around 30 gave a subtle pop to the eyes, brightening them up and adding some clarity
Eye Enlarge, does exactly what it says, I didn't use it, but there may be instances you would want to, again subtlety is key
Dark Circles was great at removing shadows under the eyes and reducing the dark circles
Catchlights are interesting, as you can select different catchlights from ring lights, to umbrellas and softboxes to outdoors. You can then dial them up or down.
Radiant Photo Eyes Filter
Face
Again with drop-down menus, and toggle on and off, but has Face Contouring, Teeth Whitening and Lip Sharpening;
Face Contouring is actually reshaping the face, so be super careful with that, personal I wasn't fond of it, but perhaps it could be handy in certain situations.
Teeth Whitening does exactly what it says - subtlety is key
Lip Sharpening - well I think it had to do with the definition of the edge of lips, and there are three settings here, Fine, Medium and Course
Radiant Photo Face and Skin Filters
Skin
The Skin area is all about smoothing and blemish removal. You can choose between Face only or Full Body (I only did Face). There are three Smoothing types but beware of going overboard. You can choose Super Smooth and then dial the total Smooth filter down. I however much preferred the Subtle setting myself.
Sadly the blemish removal only removed a few fine wrinkles and artefacts but did not remove some of the deeper wrinkles and acne. It did see a lip piercing as an acne spot and it looked a bit strange. But was fixed when I dialled the Blemish slider down a bit. There is no spot removal tool. The Infrared Removal seemed to even out the skin tone. Shine removal did just that and removed areas of shine.
Makeup
Now, this is an interesting area, you can adjust skin toning and blush here. This can be done to Face Only or Full Body. You can choose between their colour presets or create your own colour tones. I wish there was a colour picker tool here. But you just have to eyeball it and choose manually. The Blush did give a nice subtle glow to the cheek area. This can also be dialled (or slid) up and down to your preference.
Radiant Photo Makeup Filter
Saving /Exporting images
Simply select Save (top right) and it will save it back in Lightroom (if you started there) as a /TIFF file. I didn't see a way to change to any other file format, but Tiff is fine. Radiant will then close. You can then export it from Lightroom as a JPEG. IF you did not start in Lightroom and used Radiant as a Stand-Alone you can save as JPEG, TIFF or PNG file by selecting Save As in the File menu.
Save Function in Radiant Photo
Pros
It's super quick and very intuitive to use. Simple and well laid out. A few help pointers could be handy. For instance, if you weren't sure exactly what a slider did you could hover or right-click for a simple explanation.
On the whole, the areas were fairly self-explanatory or you could figure them out with a little experimentation
All sliders and areas can be easily toggled on and off
Pressing the space bar gave you a very handy before and after view
The Quick edits gave you a terrific starting point with editing and could even be left there on some landscapes and such
The Smart Presets seemed to work quite well with images detected correctly, landscapes, people etc
Presets in the Detailed Edit area could be saved for future use or you can sync all images within a folder
Cons
Every program has a downside, right? Radiant is no different, but I am hoping that these might be something seen in future updates.
You cannot increase/decrease the size of your image (ie zoom in/out) with the open and close square bracket keys or the mouse wheel. Yes, there is a Zoom function (on the desktop), but I am used to having it on the mouse, and it is rather handy.
No spot removal or clone tool. The Blemish removal works fairly well, but things like stray hairs and a few stubborn blemishes needed to be fixed in Lightroom or Photoshop.
No white balance as such
Final thoughts
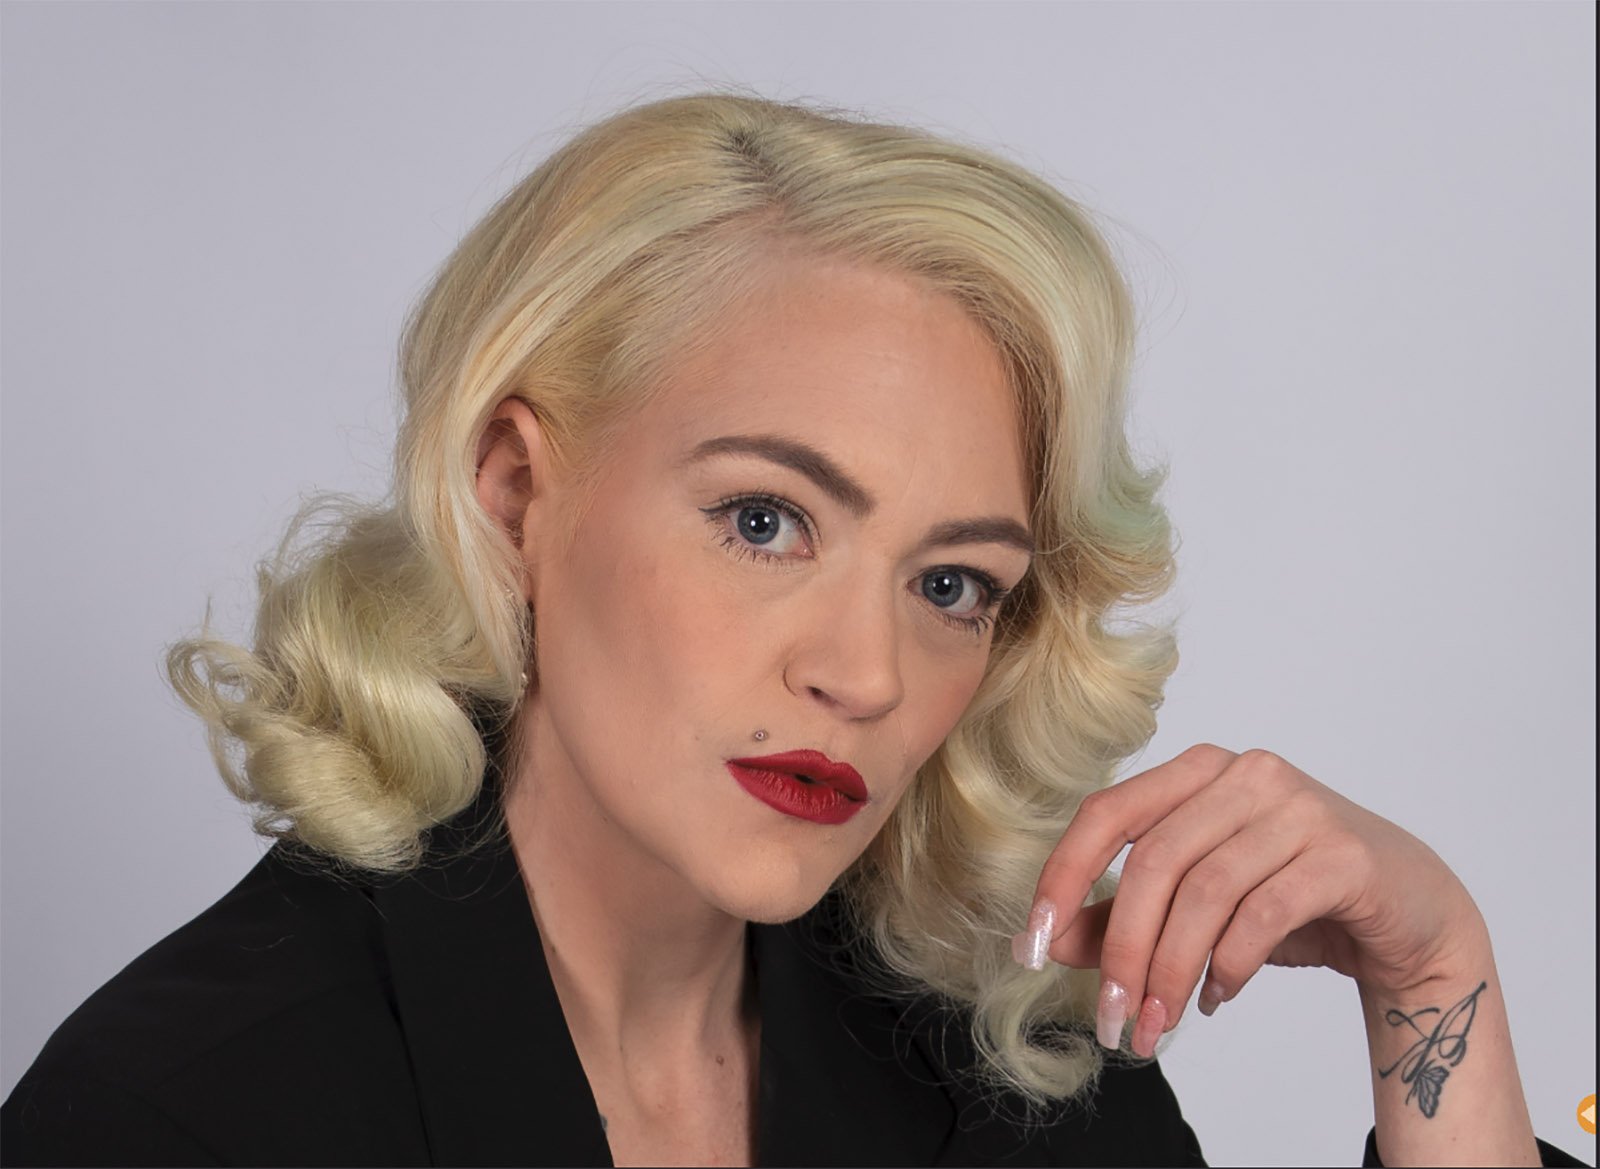
This really is a great program, especially for people who don't like to spend a lot of time editing. It's quick and intuitive and has great AI. I will let my final image speak for itself. Check out the before (left) and After (right).
