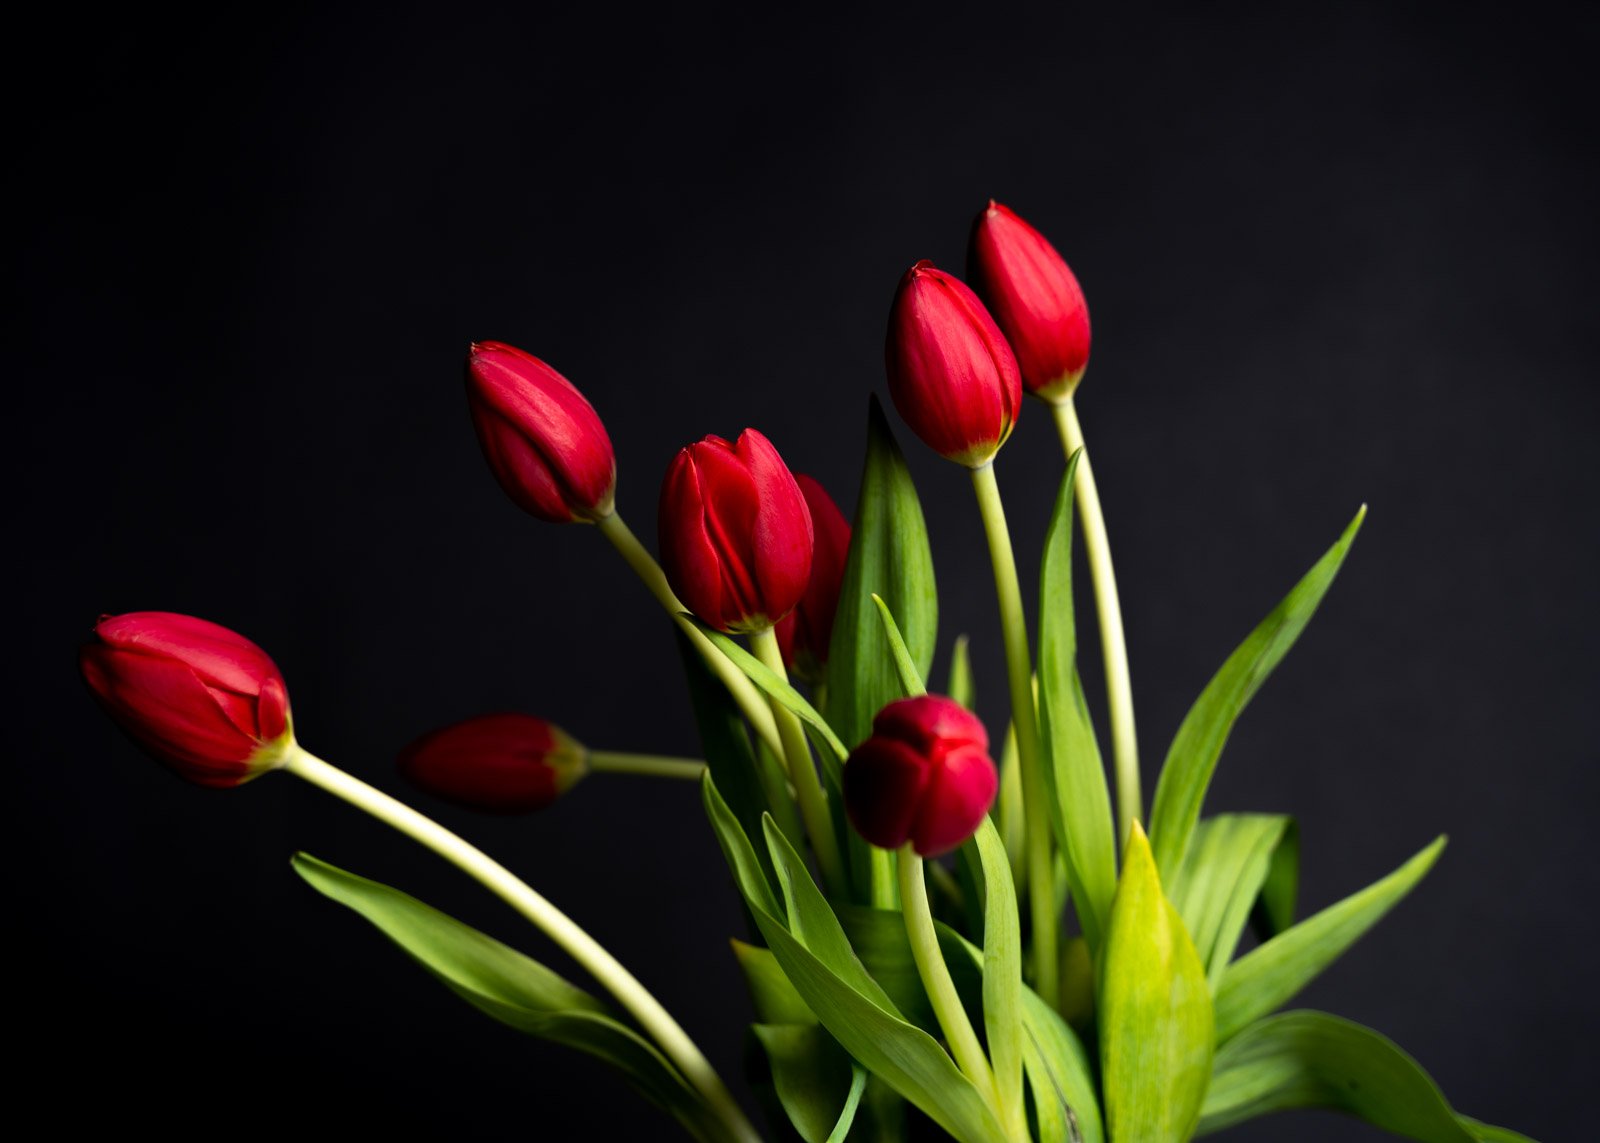
How I got the shot: Red tulips
Creating captivating still-life images in the studio can be a little challenging. But going back to basics and keeping things simple can make your job a lot easier. So I put together exactly HOW I got the shot of these beautiful red tulips.
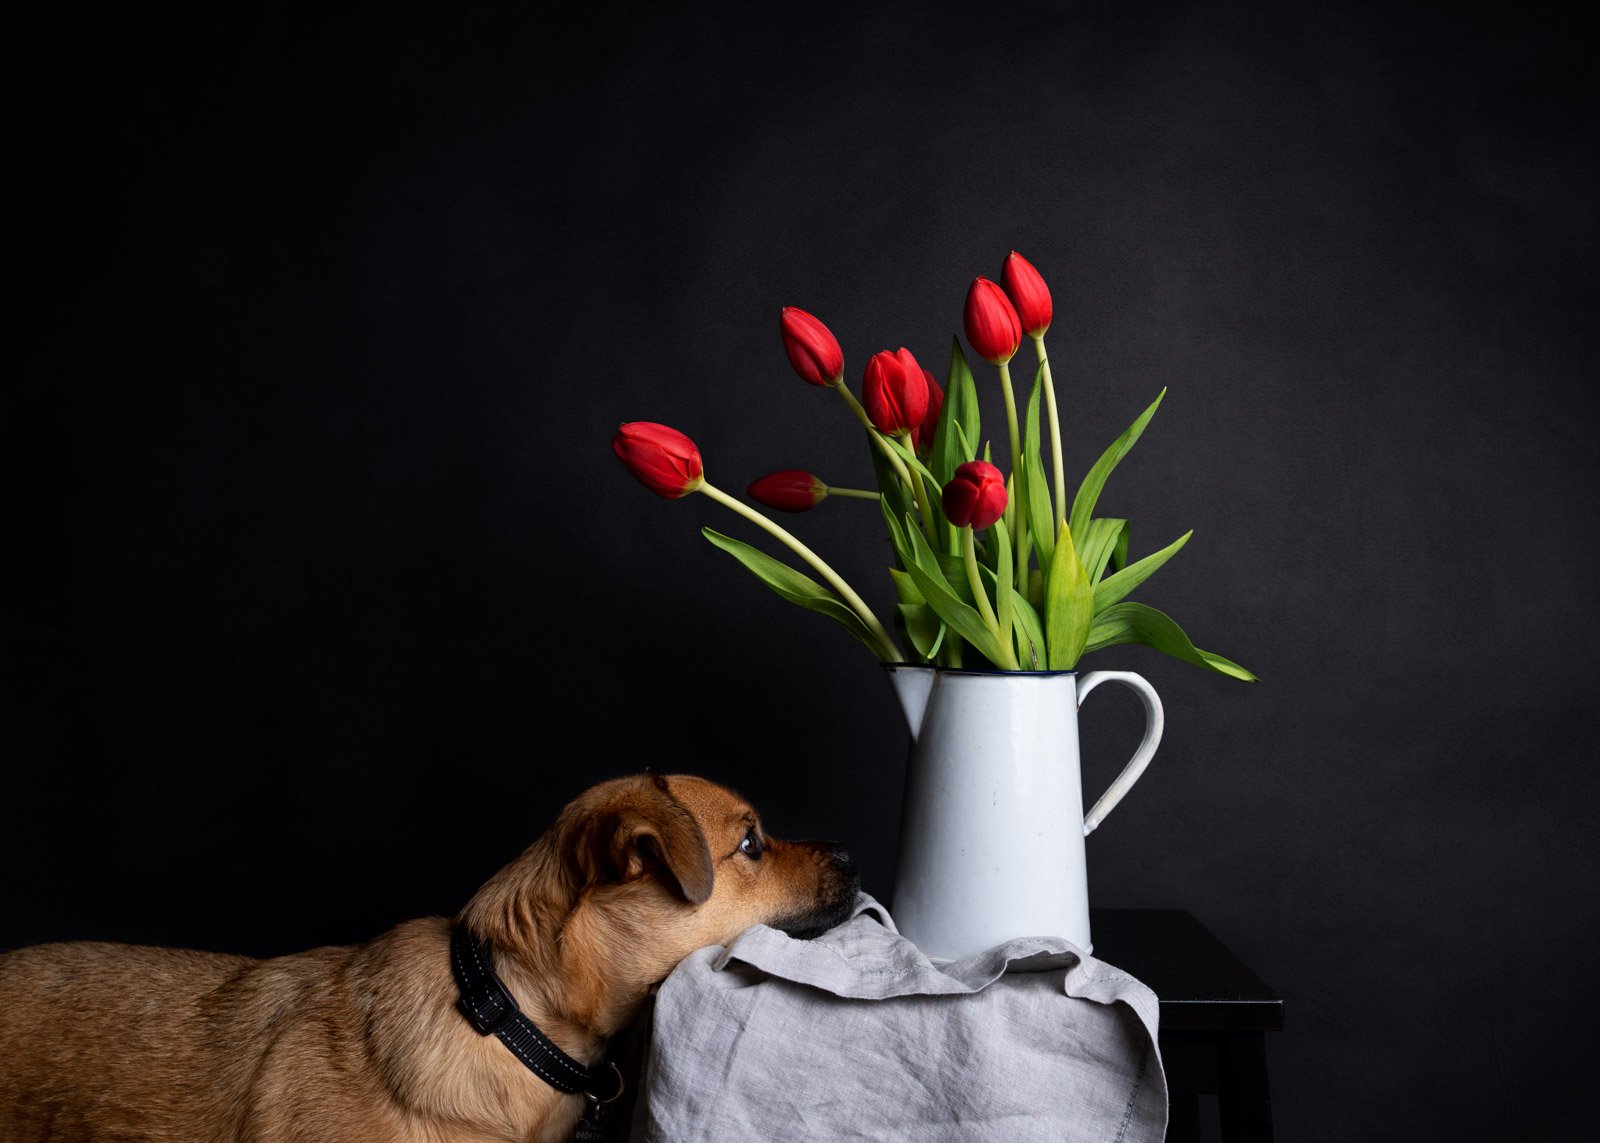
Red Tulips — final shot
Staging the scene
I used a charcoal seamless paper backdrop, but you could use cloth or even project paper. I placed a vase with my tulips on a black stool, and placed a gray linen napkin to break it up a little.
Camera right I have my Godox AD400 with a 36″ Octobox, on a 45-degree angle pointed down. On camera left is a 5-in-1 reflector — silver side out, to bounce a little light back on the left. You can just see my tripod; I put my camera on that.
Staging the scene
Camera & light settings
Now, this doesn’t mean the exact same setting will work for you, but they may give you a place to start. Remember strobes and speed lights work on fractions so if 1/32 power is too bright, go to 1/64. If it’s too dark, head to 1/16.
I shot with my Sony a7R III and my Tamron 28-75mm f/2.8 lens in Manual mode, with an aperture of f/4.5, ISO 100 and 1/160s shutter speed. My white balance is set to Auto, with spot metering on. And my focal length is as wide as my lens will go, at 28mm.
For my lights, I’m shooting in Manual mode at 1/32 power.
Camera Mode — Manual
Aperture — f/4.5, ISO100, 1/160 seconds
White Balance — Auto/ Spot metering
Focal length 28mm
I frequently have a friend in the studio; Dexter LOVES to stop and smell the flowers.


