How to blur your background in Lightroom
Sometimes, no matter how hard you try you still wish your background had a little more blur. Whether it's to remove distractions or you just like the aesthetics of it. Lightroom's new masking tools make it super easy to achieve. So I thought I'd put together a little tutorial on How to blur your background in Lightroom.
Masking tools
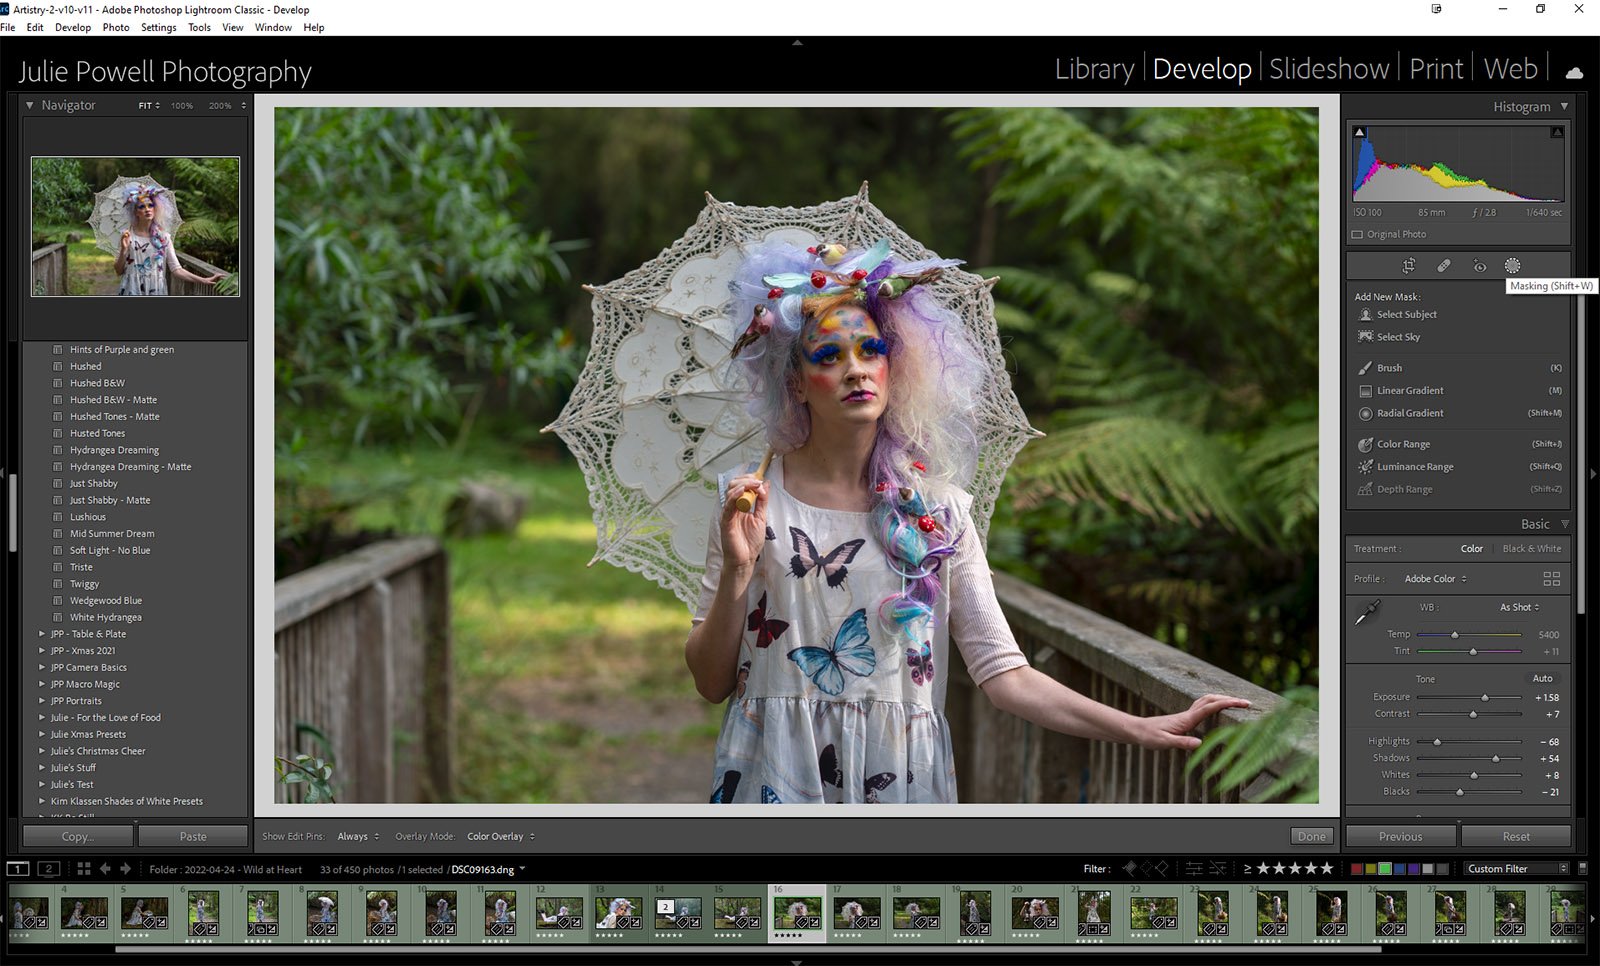
head over to Adobe Lightroom and pick your image to work with. In the Develop Module and click the Masking Tool. There are a few offerings here, what we are looking for is the Select Subject option.
Masking tool in Lightroom
Blurring the background
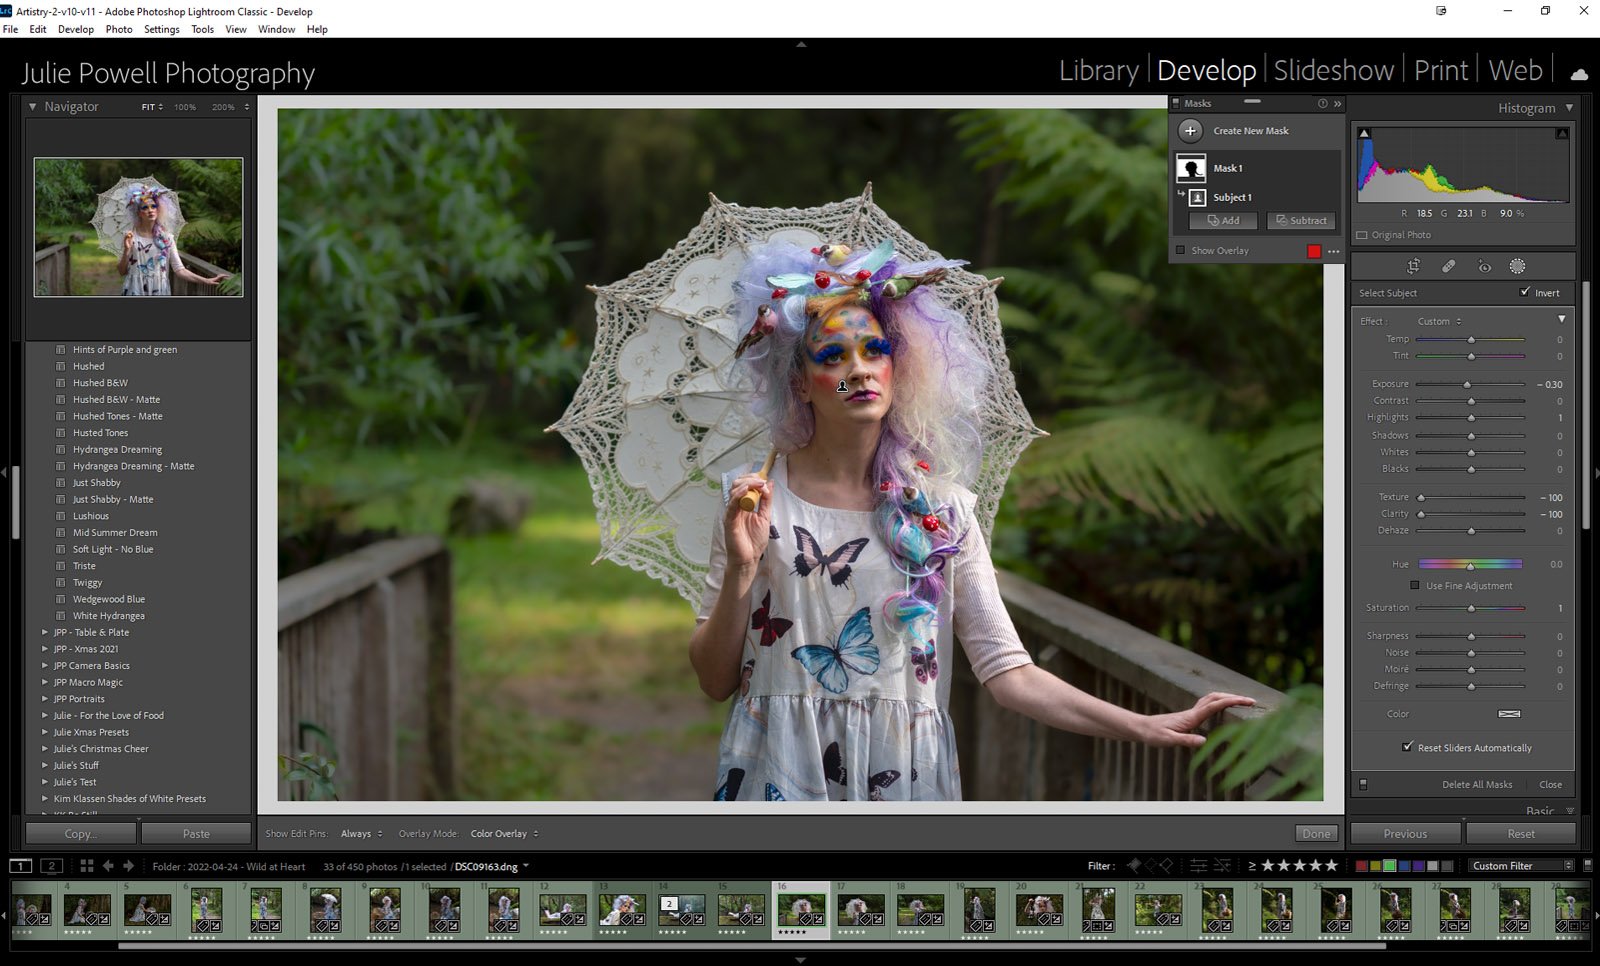
Once the mask has been set, you will need to invert the selection (seen in red). The original selection will be our subject, inverting the mask (there is a little tick box) will swap the mask to our background.
Invert the mask selection to get the background
Now that we have the mask set we can blur the background. Use the Texture and Clarity sliders by pushing them to the left to soften your background. You can also make it lighter, darker or play with the saturation sliders. Or any of the other sliders really. The mask will instantly switch off once you start playing with sliders.
Using the sliders to soften the background
Final touchups
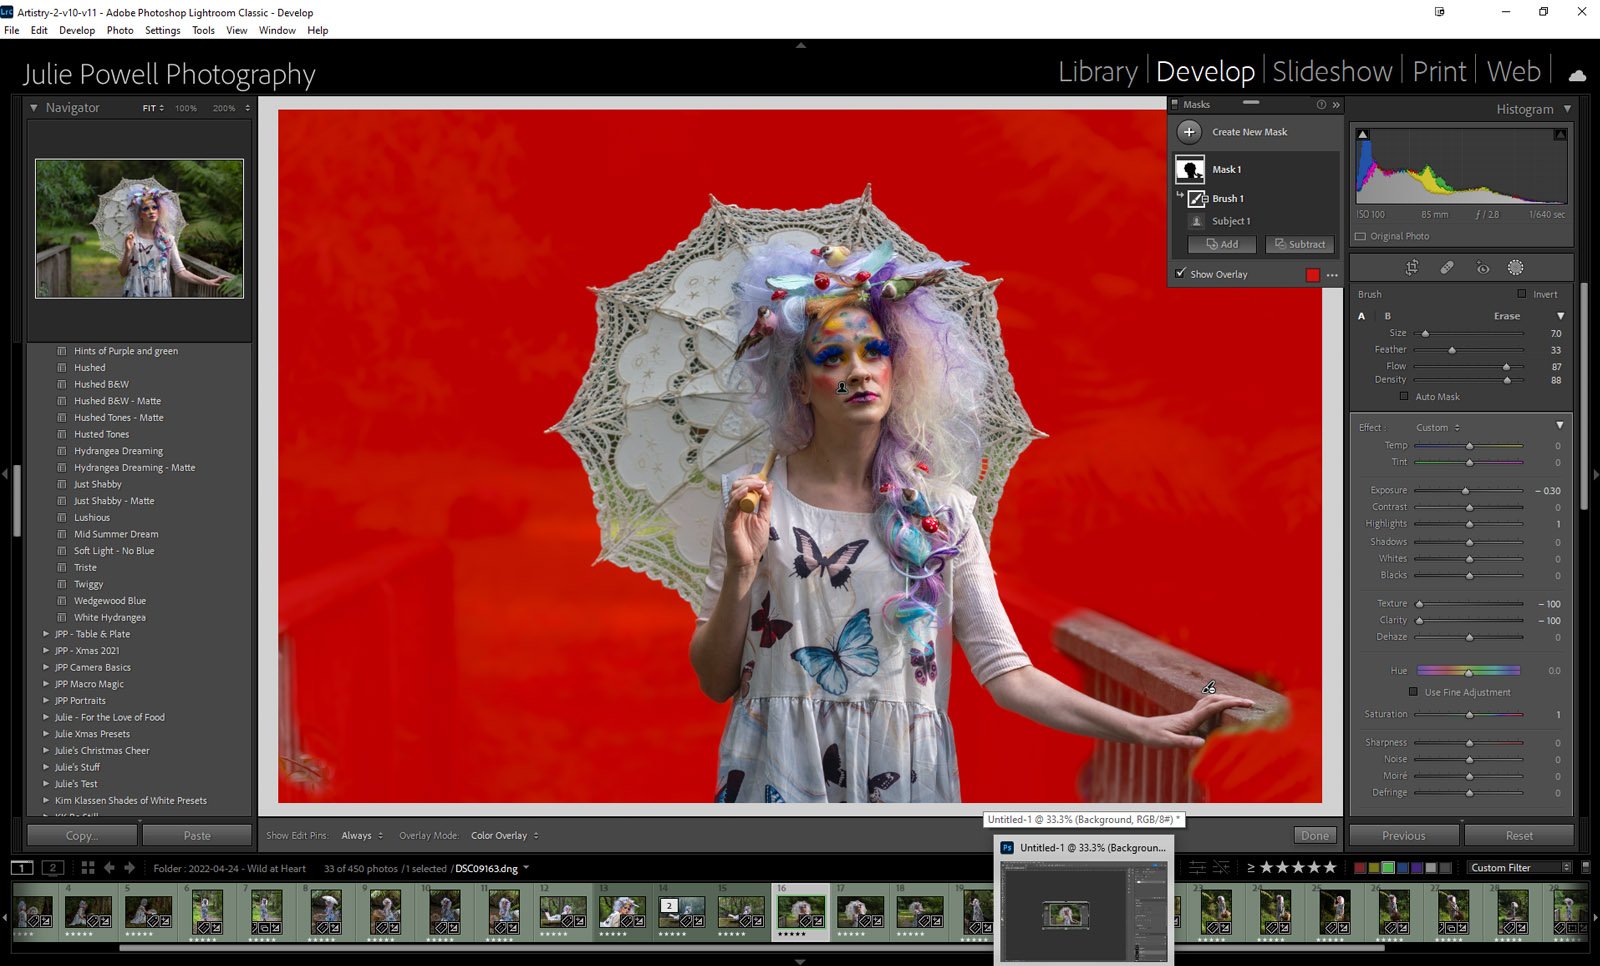
One thing I noticed was that the rail near my model's hand is too blurry, but that can be fixed as well. Select the Mask and then click Subtract with the brush you can remove the mask area on the handrail around her hand as required to make the image look more realistic.
Final image comparison, without a mask on the left. Granted it's subtle, but it is something that took quite a lot of work to achieve in Lightroom prior to the new masking tools.
