Using Dodge and Burn in your digital photography - Part Two
In part One we looked at what is dodge and burn and perhaps why you should use it in your photography post-processing. Part Two takes it a step further and looks at various options for HOW to do it in different editing software. First up, we will look at Lightroom Classic.
What programs have dodge and burn?
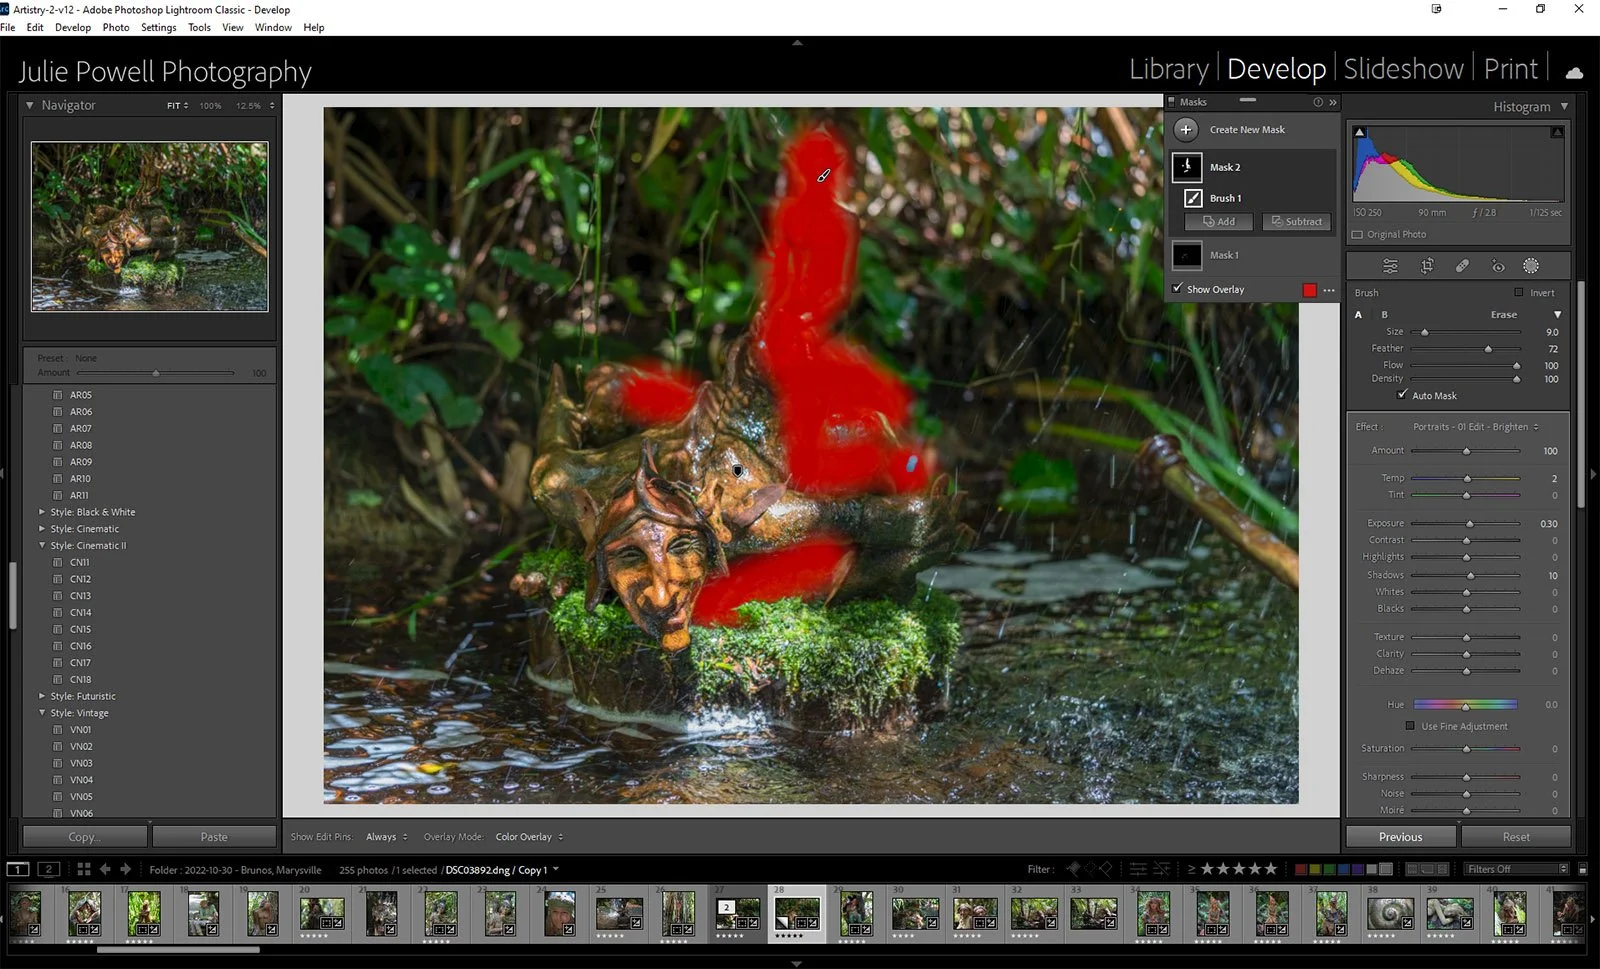
Using masks in Lightroom Classic to Dodge & Burn
That's the great part, most editing software currently available has one or more ways in which you can create this dodge-and-burn technique to fix or add interest to your photos. Photoshop, Lightroom, Capture One and Luminar Neo are just some of the programs you can work with.
So which programs should I use?
There’s no one right way to dodge and burn. Your methods will depend on the type of software you use and what works best for your skills and needs. We will have a look at some slightly different techniques.
Lightroom Classic
A popular choice is Lightroom Classic, let's look at two ways to dodge and burn. Globally (the entire image) you can use the Highlight and Shadow sliders in the Basic Panel. Or you can opt for using the Masking tools and dodge and burn specific areas. The alter allows you to get very specific about where to use each technique.
Let's break it down further
Let's take a little look inside Lightroom Classic and how each of these methods can enhance your photos
Take a look at the before and after comparison below
Next, we take a look at Dodge and Burn techniques in Luminar Neo


