Using Dodge and Burn in your digital photography - Part One
It can be frustrating when you take great photos, but the exposure wasn't quite how you wanted it in the final image. But all is not lost using old darkroom techniques like Dodge and Burn can really make a huge impact on your digital photography. Let's first look at what dodge and burn are and then how to achieve them in different programs.
So what exactly is dodge and burn?
The Dodge and Burn technique is used to lighten or darken specific areas of a photo. Dodging is used to lighten a spot in the photo, whereas burning is used to darken a selected area. With print photography, dodging and burning is a process of manipulating the exposure on a print during the post-processing phase, usually selected areas, as opposed to developing the entire photo on the whole.
You can create dodge and burn effects manually in a dark room. If you are using digital photography, you can use a program like Photoshop, Lightroom or Luminar to digitally create this effect. And we'll look at this a little later.
Why you should consider using it
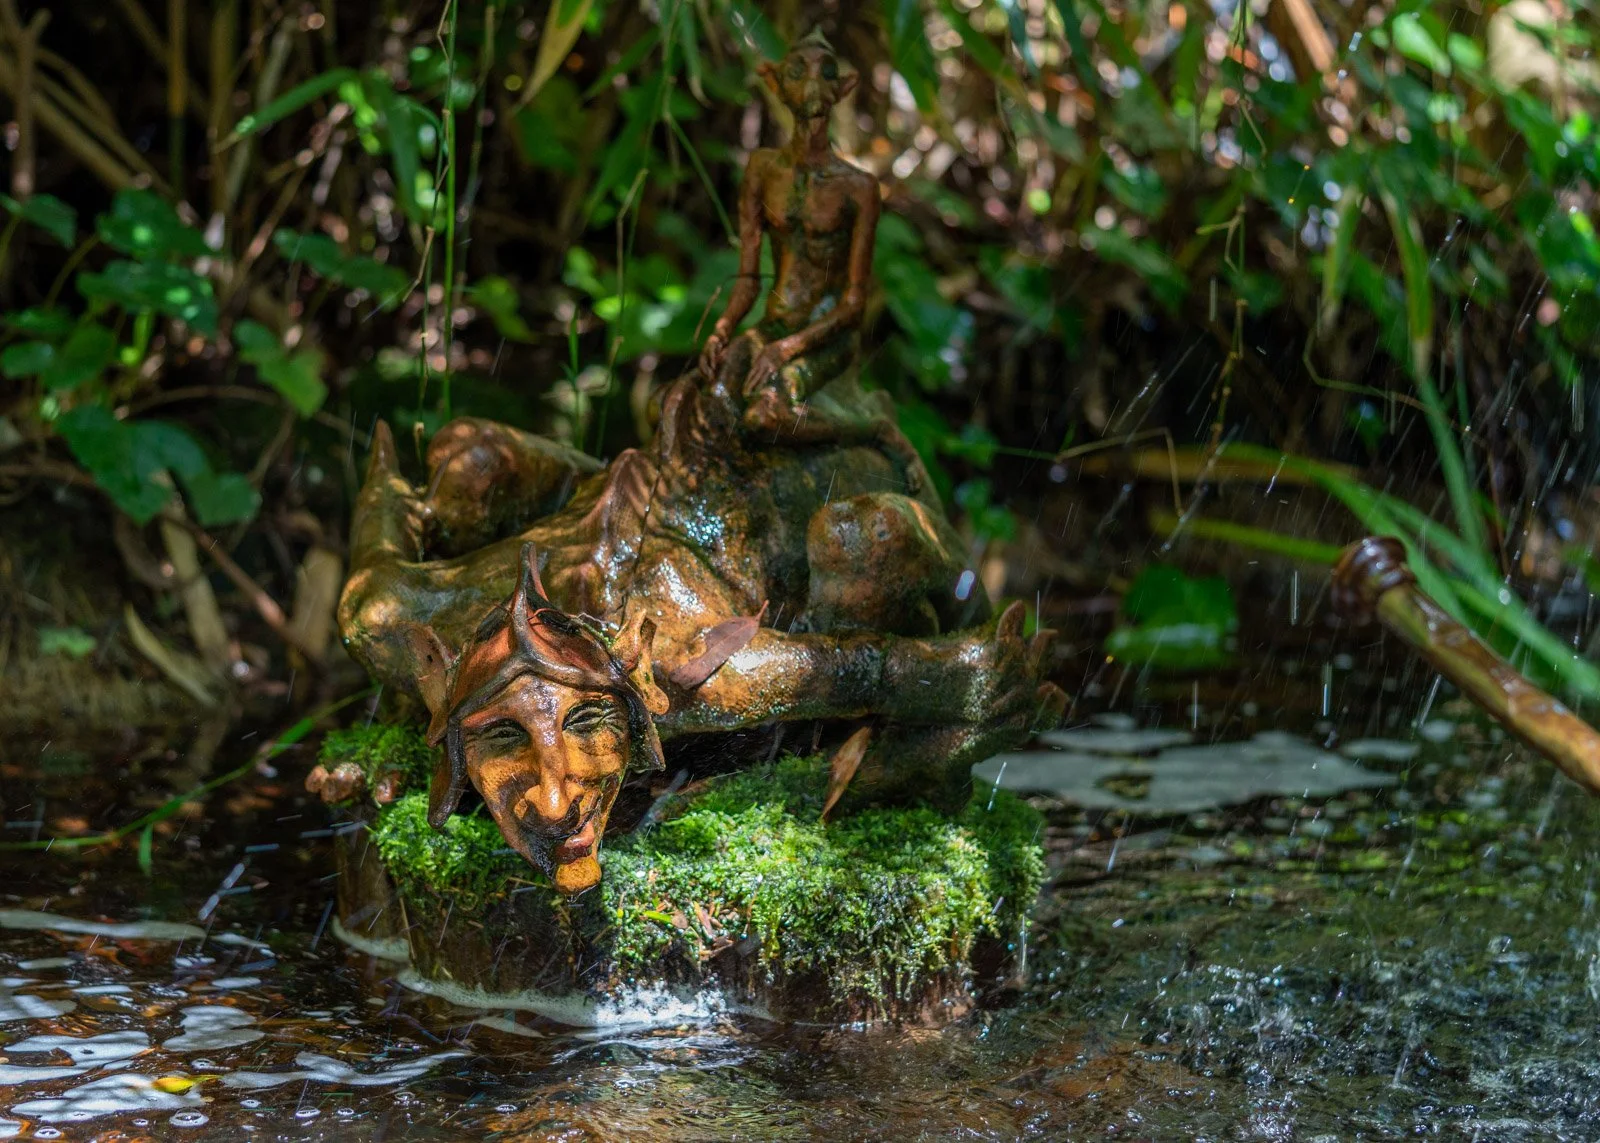
etimes, your entire image will be over- or underexposed. You can easily treat the entire photo and fix that, globally. However, in other cases, only certain areas are overexposed, while other areas are underexposed. Check out the above before and after photo, where certain parts are overly bright and others are overly dark, but in general, the entire image isn't too badly exposed. This is where you need a more specific approach, like dodging and burning, to fix things in post.
But it's not all about fixing exposure issues in post. There are a few other reasons for using the dodge-and-burn technique;
If you have a great photo with some exposure problems, you can use dodge and burn to correct these
Perhaps you want to direct your viewer’s attention to a particular part of the photo
You can also have fun creating some cool artistic effects in your photos
Why are there halos in photos?
Perhaps you have tried dodge and burn before but found strange halos in your photos? That is usually caused by the adjustment occurring outside the required area. Using dodge or burn outside the required area will either lighten or darken where it is not required. Zooming in on the area and carefully and precisely selecting the area to work with can go a long way and stopping halos from happening.
What programs have dodge and burn?
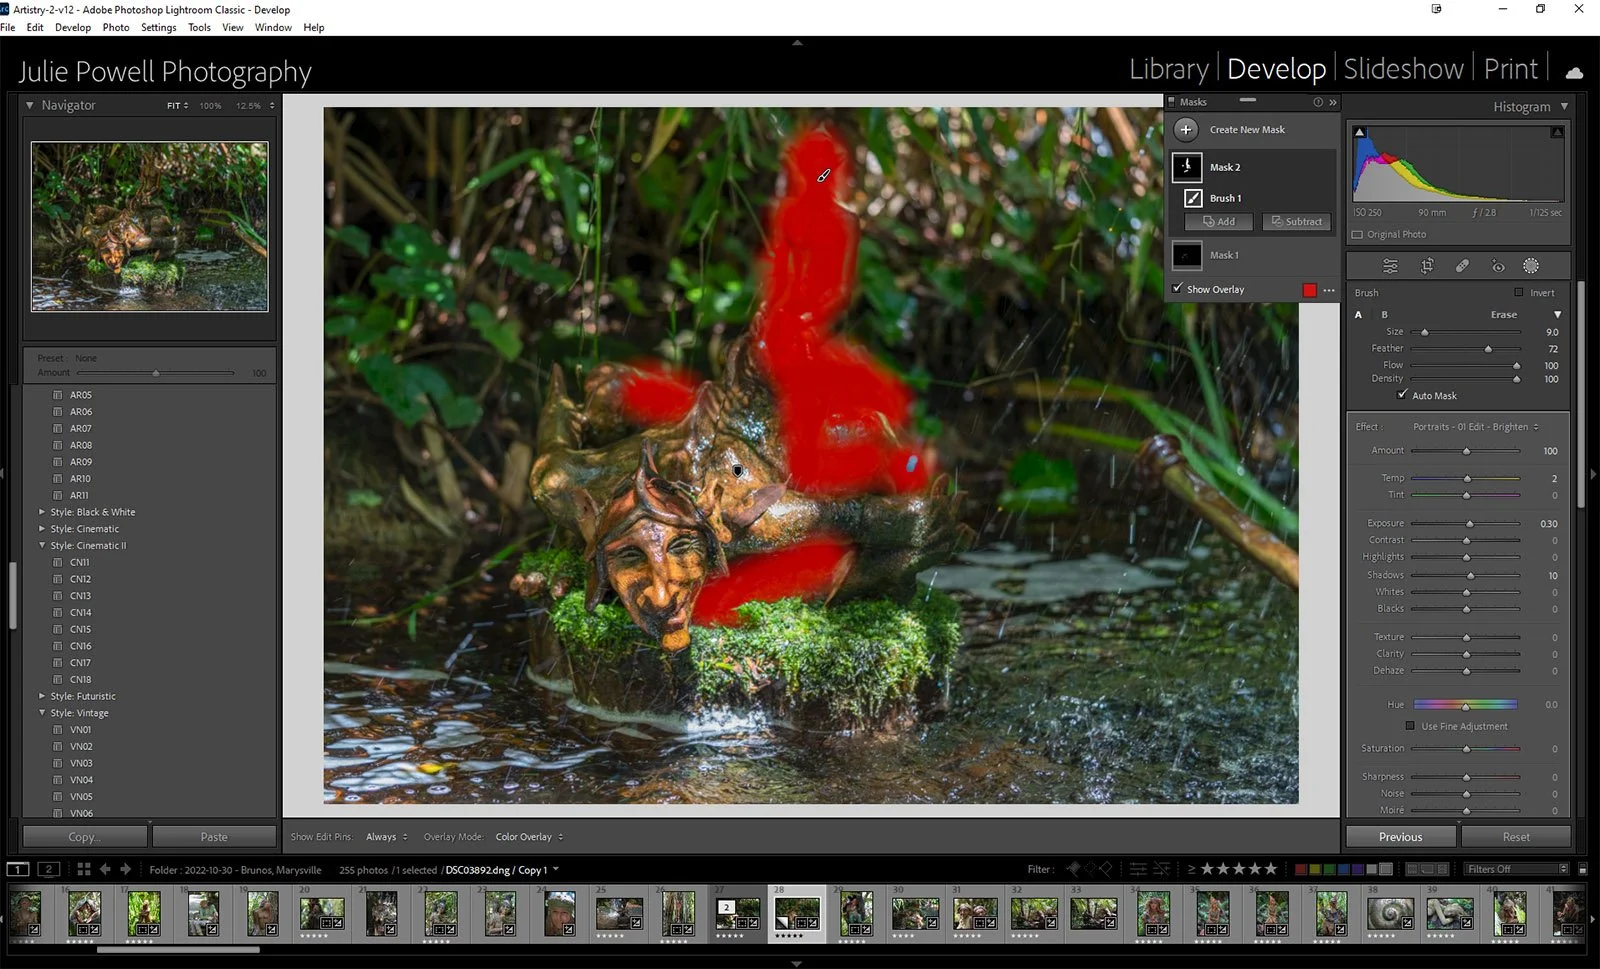
Using masks in Lightroom Classic to Dodge & Burn
That's the great part, most editing software currently available has one or more ways in which you can create this dodge-and-burn technique to fix or add interest to your photos. Photoshop, Lightroom, Capture One and Luminar Neo are just some of the programs you can work with.
There’s no one right way to dodge and burn. Your methods will depend on the type of software you use and what works best for your skills and needs. We will have a look at different techniques in Part two.


