Sort and edit holiday photos in a snap – part two
Don’t get caught up in the overwhelm of editing your holiday photos. No need to leave them on the SD Card or Hardrive, as you just can’t find the time to sort and edit them all. Now with a little help, it’s quick and easy and even dare I say…enjoyable.
Radiant Photo
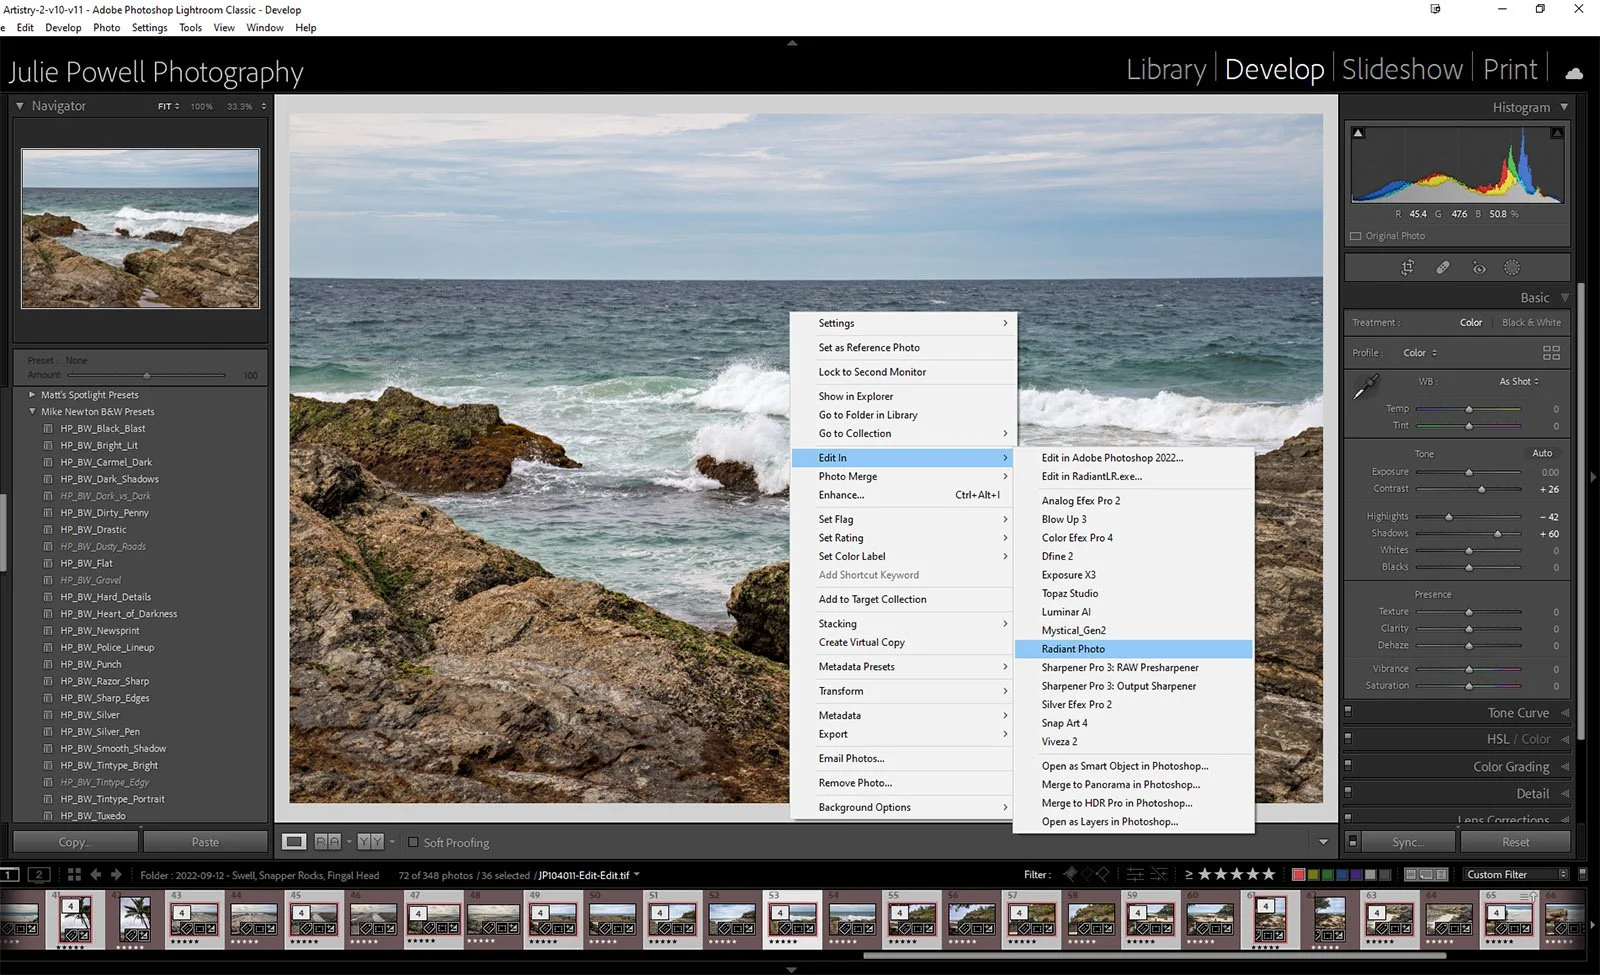
I’ve already covered the cull in part one using Aftershoot, now the fun really begins. If like me, you imported your images into Lightroom, you can select ALL your chosen holiday images and edit them direct into Radiant Photo. Simply select your images and right-click > Edit in > Radiant Photo. You will be prompted to make a copy of edit original, I like to make a copy to compare. But you can simply edit the original if you prefer.
Edit in Radiant directly from Lightroom
Radiant Photo is fantastic for giving you beautiful, professional quality images, beautiful color and detail without the angst of hours of editing. Smart and intuitive AI gives you fabulous photos, as they should be, but you still have complete control, if you wish.
Quick edit
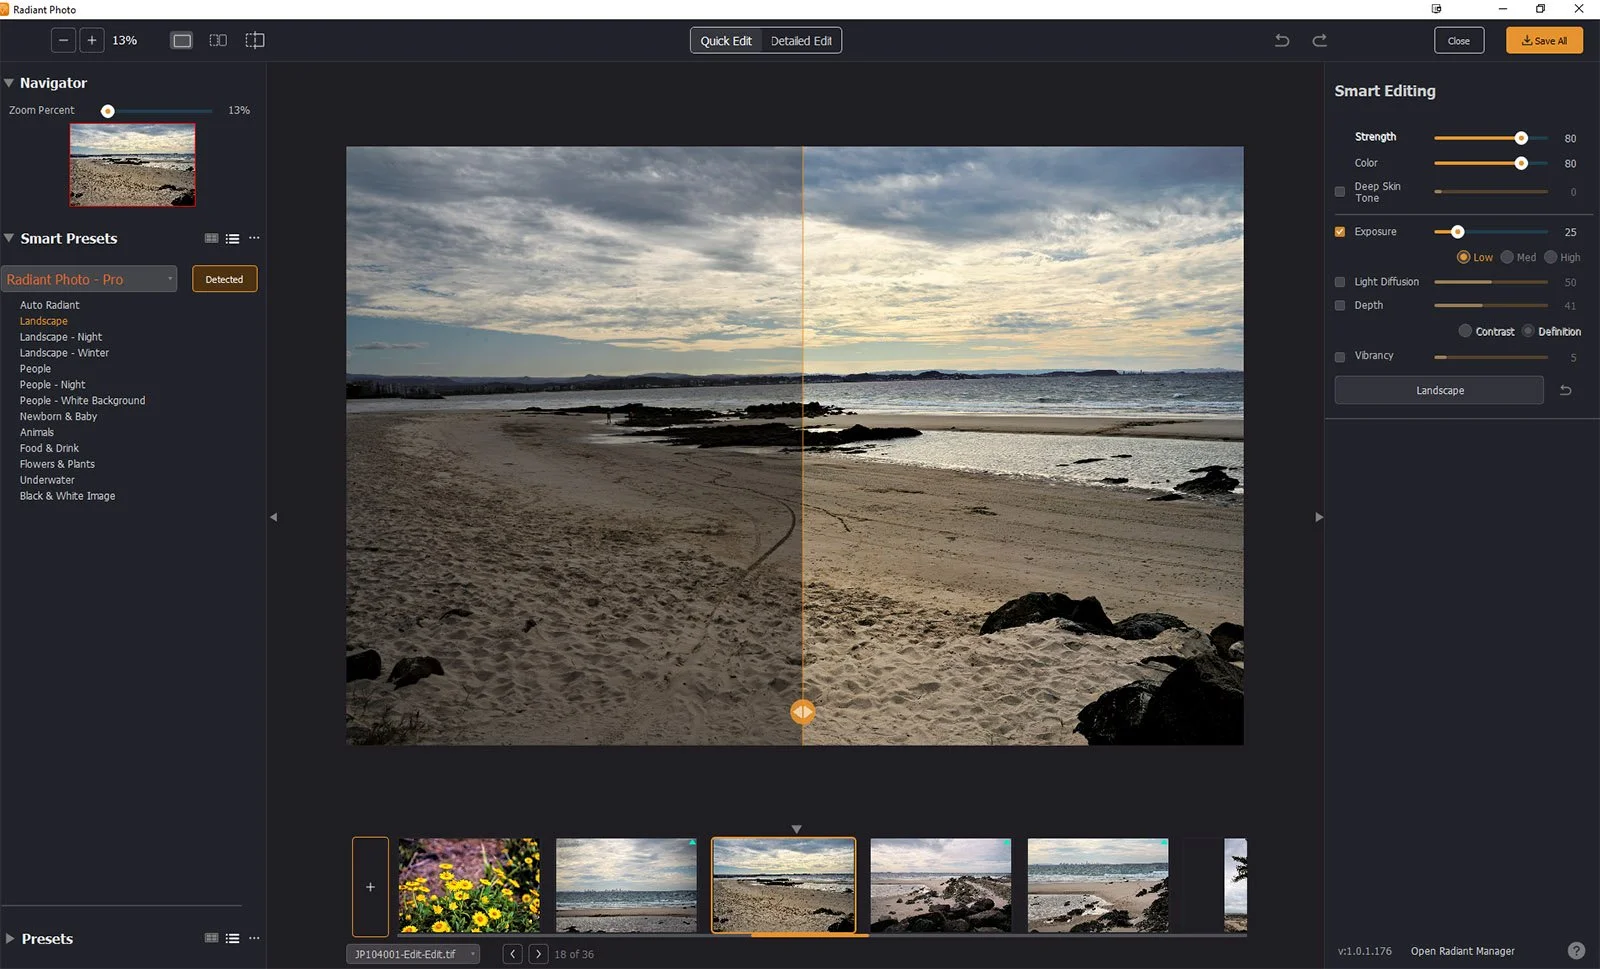
It doesn’t take long for the images to open in Radiant Photo, it’s pretty quick. But it will depend on your system. When you first open your images you will see them in the Quick Edit panel.
Quick edit in Radiant Photo
From the above photo, you can already see a marked improvement. The Quick edit will detect the type of image, like a Landscape and then edit according to various AI algorithms. You can lower the strength (or intensity) of this edit, and alter the colour and even the exposure. Simple, quick and already such an amazing difference, bringing out all the details in the shadows and highlight recovery in the sky. And you could leave it all there. Select Save All (top right-hand side) and they are all back in Lightroom with these corrections. If you imported directly into Radiant Photo, you can save all and choose how to save, where to save etc.
Detailed edit
If however, you wish to perform a few more edits you can choose the Detailed Edits panel. Everything from Tone, Colour, Details, Filters and Finishing tools can be applied.
Detailed Edit in Radiant Photo
Once you are happy with the edit, you can choose to save it as a Preset, or Sync forward to all the images in that folder. Then again Save All to return the edited images into Lightroom.
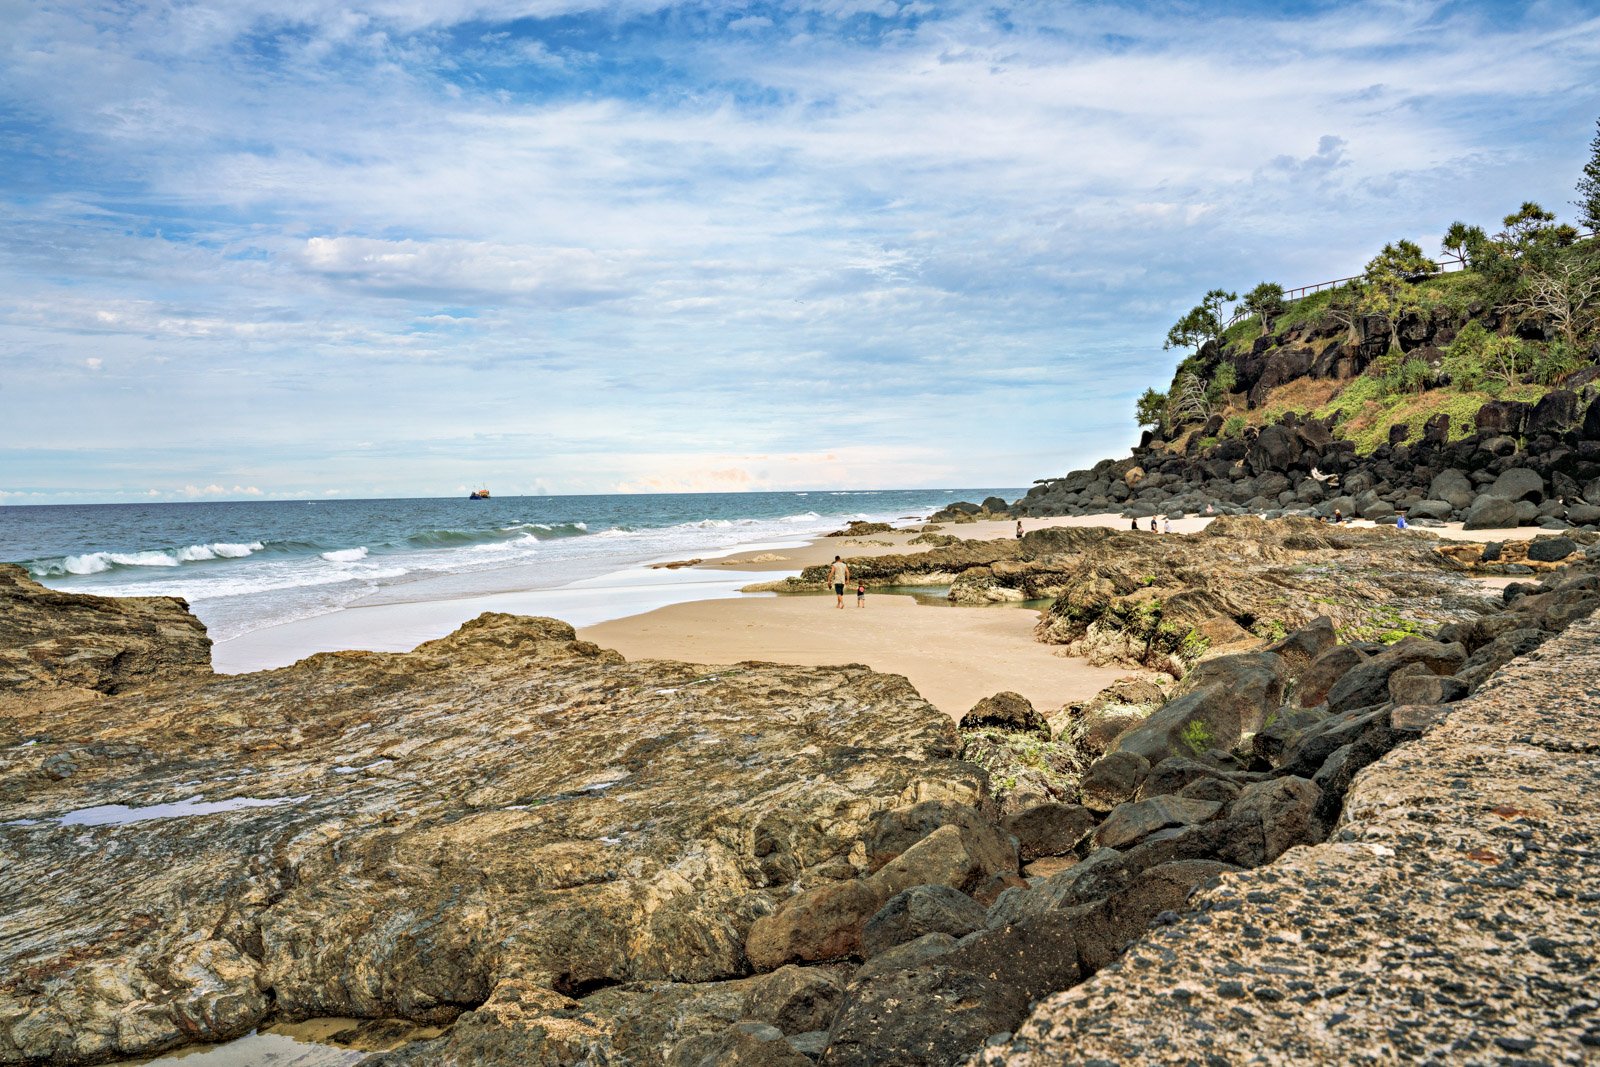
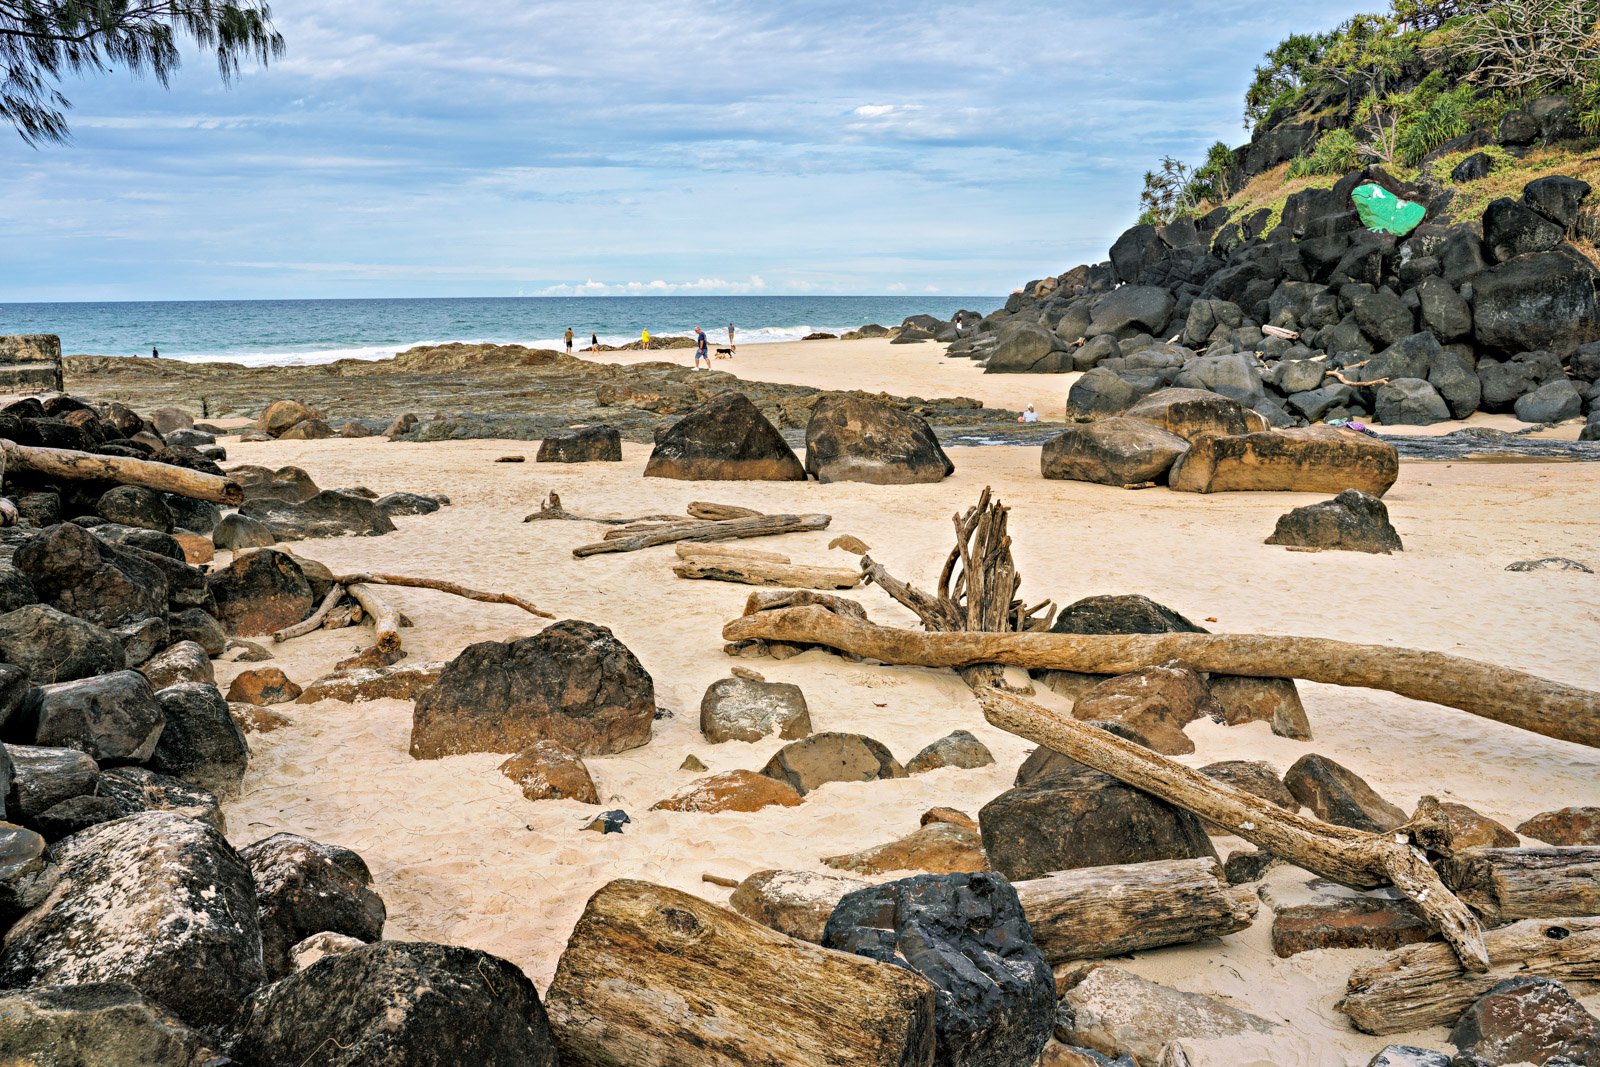
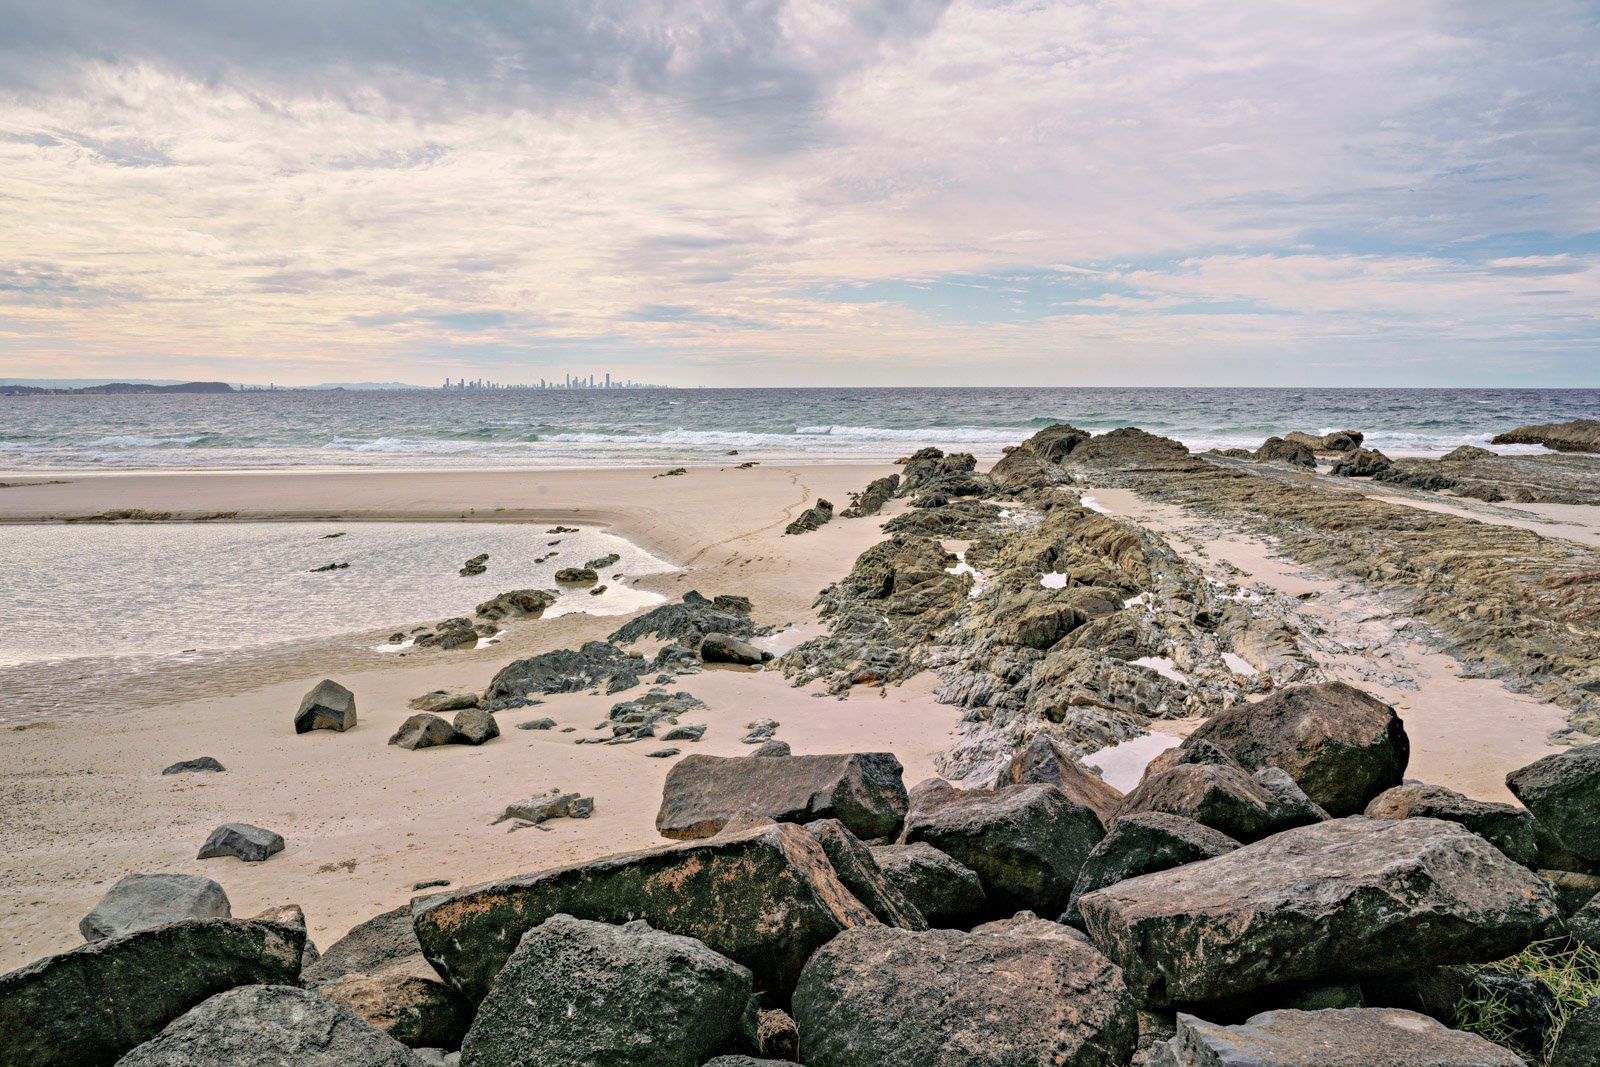
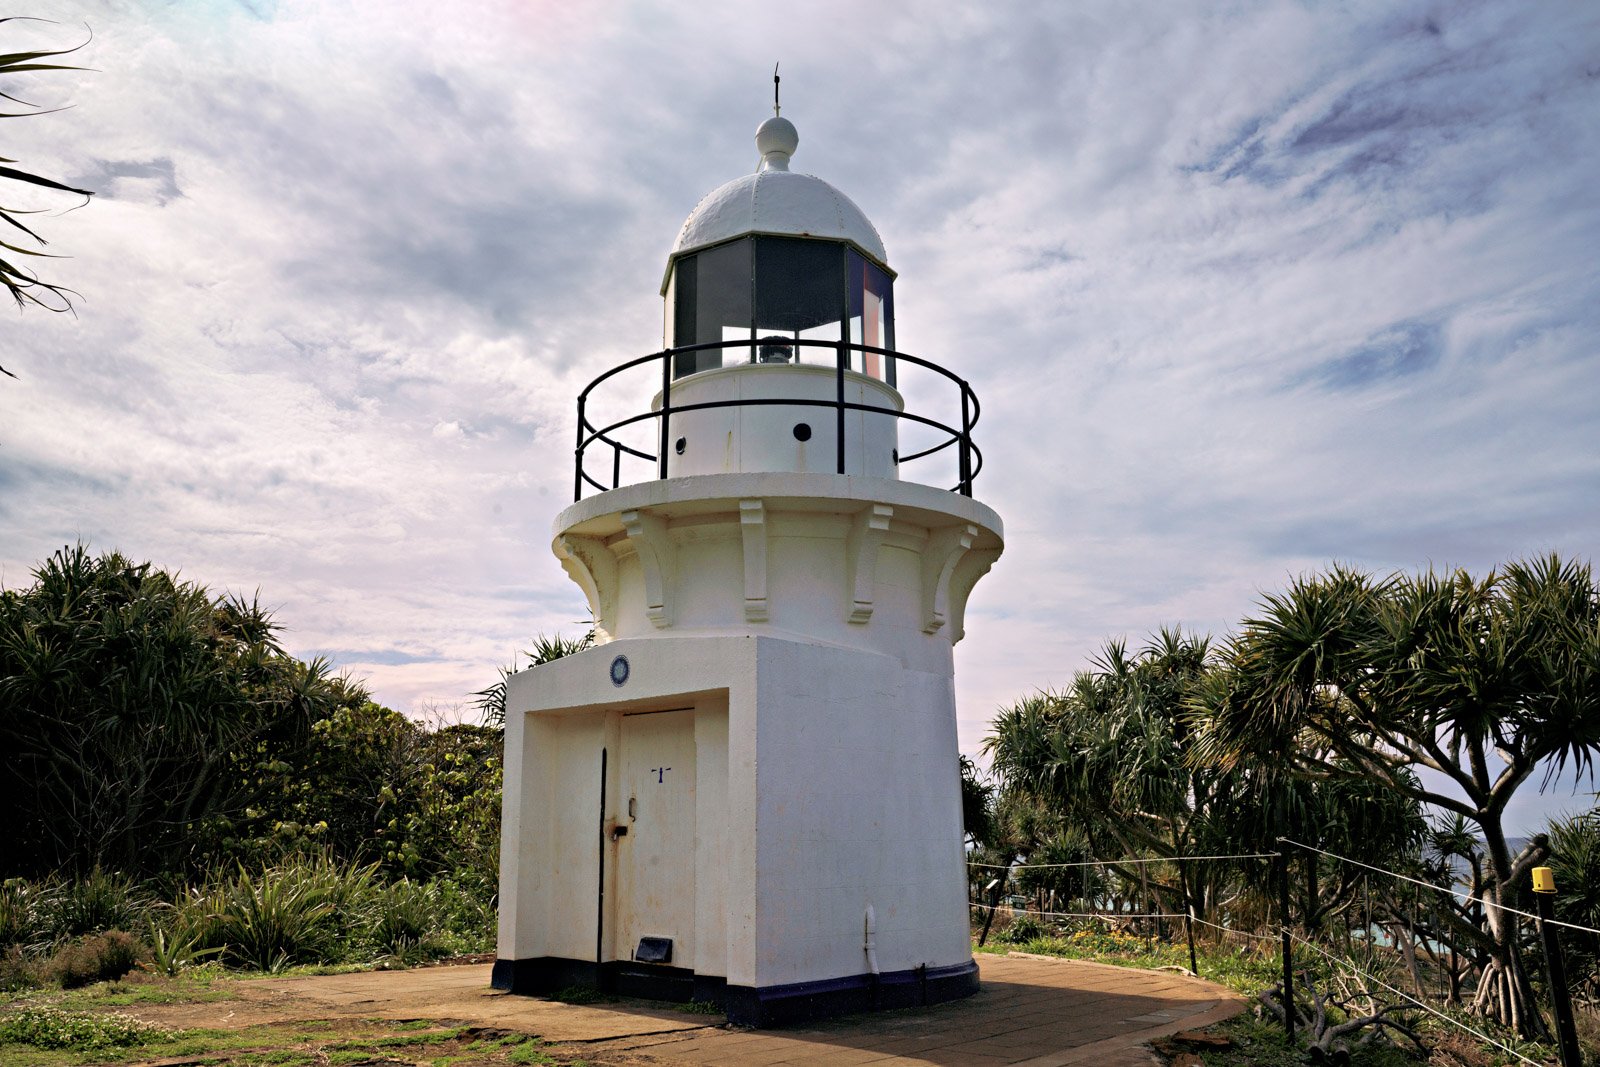
It really does depend on just how much editing you wish to do. I personally took images from a recent long weekend trip away and ran them through the Quick Edit and back into Lightroom. It took mere moments and my images were done. Granted they are more happy snaps than any real National Geographic award-winning images, but I still wanted them to look fantastic and the Quick Edit in Radiant did just that.
here are just a few of the images run through the Quick Edit in Radiant Photo
