How do Capture One’s HDR merges and panoramas compare to Lightroom?
I have been using Lightroom Classic in one form or another since I got into digital photography back in 2014. While I have played with other software, but eventually, I always ended up back in Lightroom. I was comfortable and found it did pretty much everything I needed and what I couldn’t do in Lightroom I could do in Photoshop. There are a few things I’m not thrilled about in Lightroom, though, so I was keen to see how the brand-new Capture One 22 performed.
There were a few things I was really interested in checking out, the HDR merging and Panorama stitching just to start with. I was also looking forward to tethering with my Sony again, but I will get to that later.
Getting started
Once setup, I visited the Capture One website for a few tutorials on how things worked. I had heard it’s a bit of a steep learning curve coming from Lightroom, and they were right. Perhaps I am just stuck in my ways and used to where everything is. It took a bit of guesswork and watching a few tutorials to figure things out, from finding out where everything was located, to importing and using the tools.
I moved the workspace around until I was happy with the setup, which is a pretty cool tool by the way. I still keep grabbing the wrong tab to edit, although the icons seem to make sense. Perhaps I need to create my own completely custom workspace to simplify things a bit?
When it came to importing images, I chose a session. Initially, it was a bit confusing, as I could bring up the RAW files, but only select a folder, not individual images. I’m not 100% sure what I changed, but now I can select exactly what I want. I clicked Import and selected the images I wanted, and then chose where to store the Capture folder, followed by entering in metadata details.
Creating with Merge to HDR
To create an HDR merged image, select the images required for the HDR and then right-click and select Merge to HDR. Let it do its thing — it took a couple of minutes. But it’s all dependent on the size of the original files and how many there are.
It’s actually pretty easy. Once merged it will have an HDR.dng image at the end of the film strip, which you can then edit just like any other image.
Creating a Merged HDR image in Capture One 22
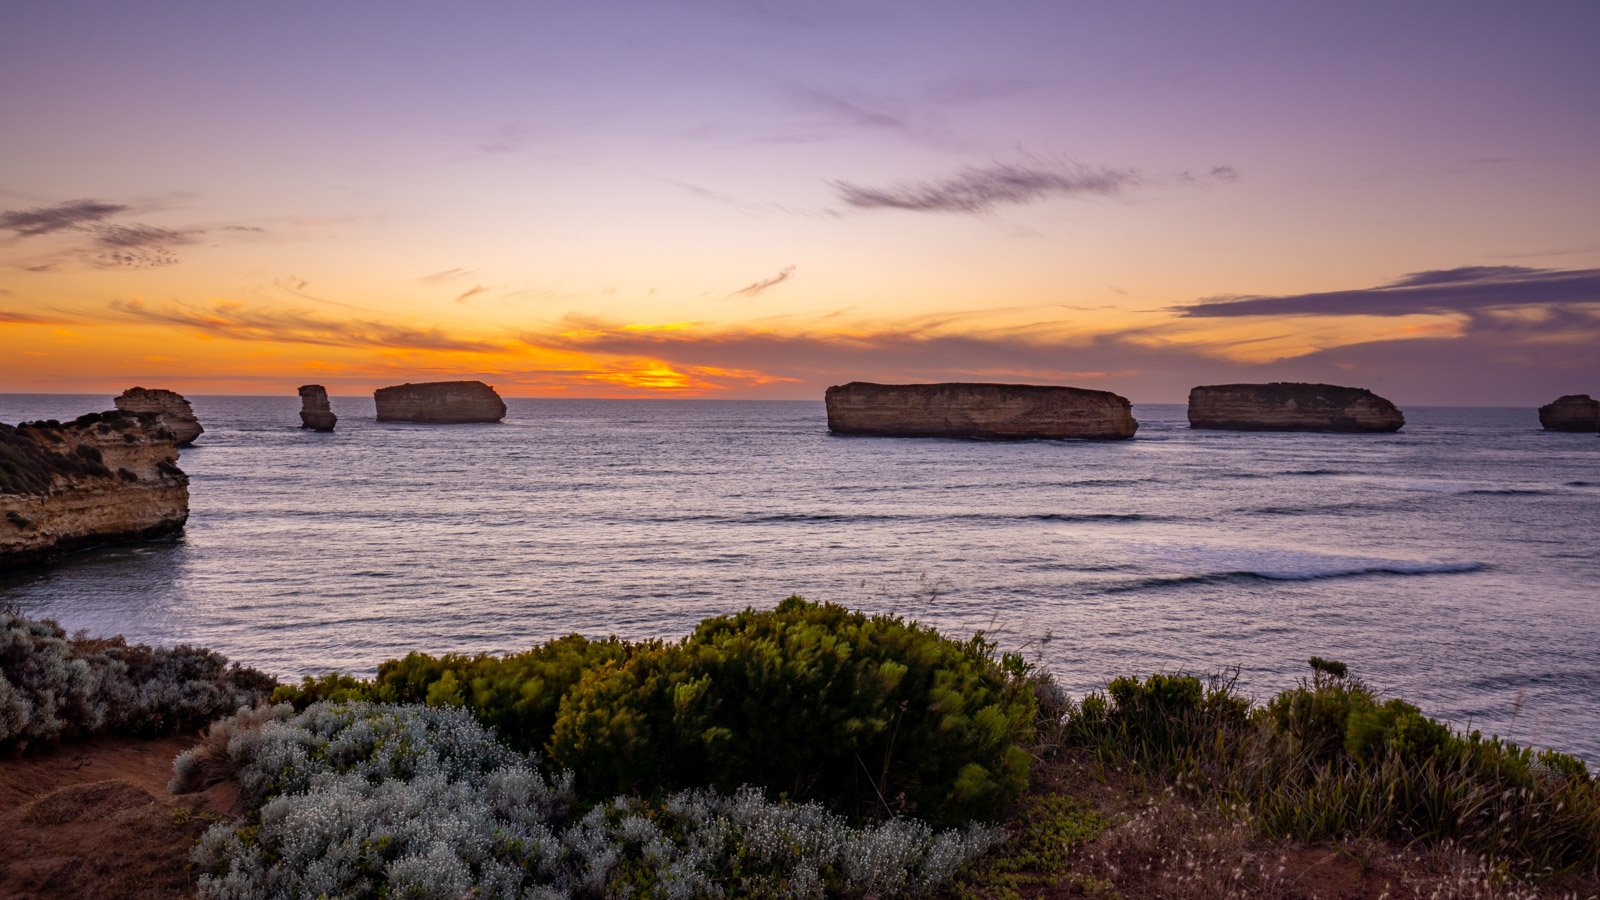
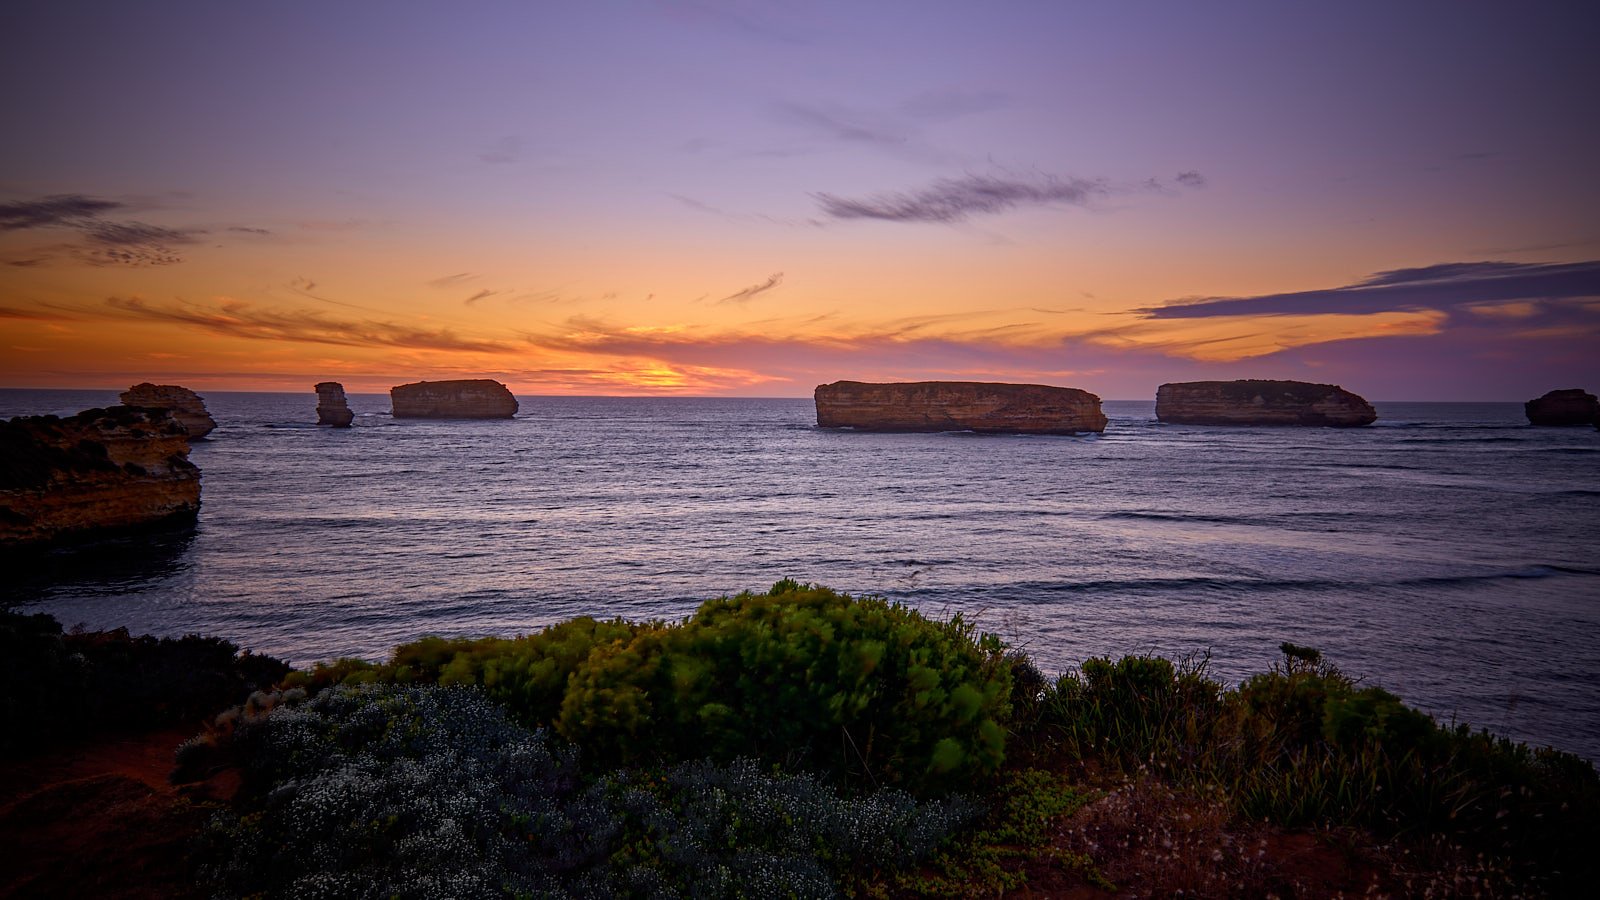
The final HDR results
I found that the final HDR image was overexposed by about two stops. No real big problem, easy enough to correct in post. I also found it seemed to have more contrast and saturation than in Lightroom, but it was subtle and not extreme. I did prefer the Healing Brush over the Lightroom heal tool.
It automatically picked up the camera and lens, so that’s great. The layers were interesting to use — similar in some ways to Lightroom’s new masking tool. I liked having the clone and healing options, but I didn’t like how the clone could seemingly only do one area per layer. I couldn’t add to it, but maybe that’s just me. Still, adding new layers is a workaround. You can rename layers too.
The only negative I found to the HDR results was that the ghosting and fringing around grass areas wasn’t taken care of. In some of the high contrast areas, it didn’t have quite as much definition as the same HDR through Lightroom.
I liked that you can export multiple sizes and types of files on export, ie; TIFF and JPEG for Instagram. However even though I asked it to export to a certain folder, it put my images in an Output folder in my pictures folder on my PC (that took me a while to find!).
Below you’ll find the Lightroom HDR edit on the left and the Capture One edit on the right. I feel Capture One has more contrast and depth of color — this might be due to how I edited each image though.
Using the Stitch to Panorama feature
This was just as easy to use and I think a bit quicker than in Lightroom. Import images or folder of images as above. Then select the images and right click (in the filmstrip) and select Stitch to Panorama.
There are a few different types of panoramas to choose from (more options than Lightroom). I put a little video together explaining the differences, and the end results. Remember to have approximately 30% overlap with your images for a great panorama.
Full unconstrained Panorama created with Capture One
I found that Capture One 22 did a terrific job with creating both HDR merges and panoramas. The tools are easy to use, and they’re welcome additions to the Capture One ecosystem.


