How to quickly and easily create lighting effects in Lightroom Classic
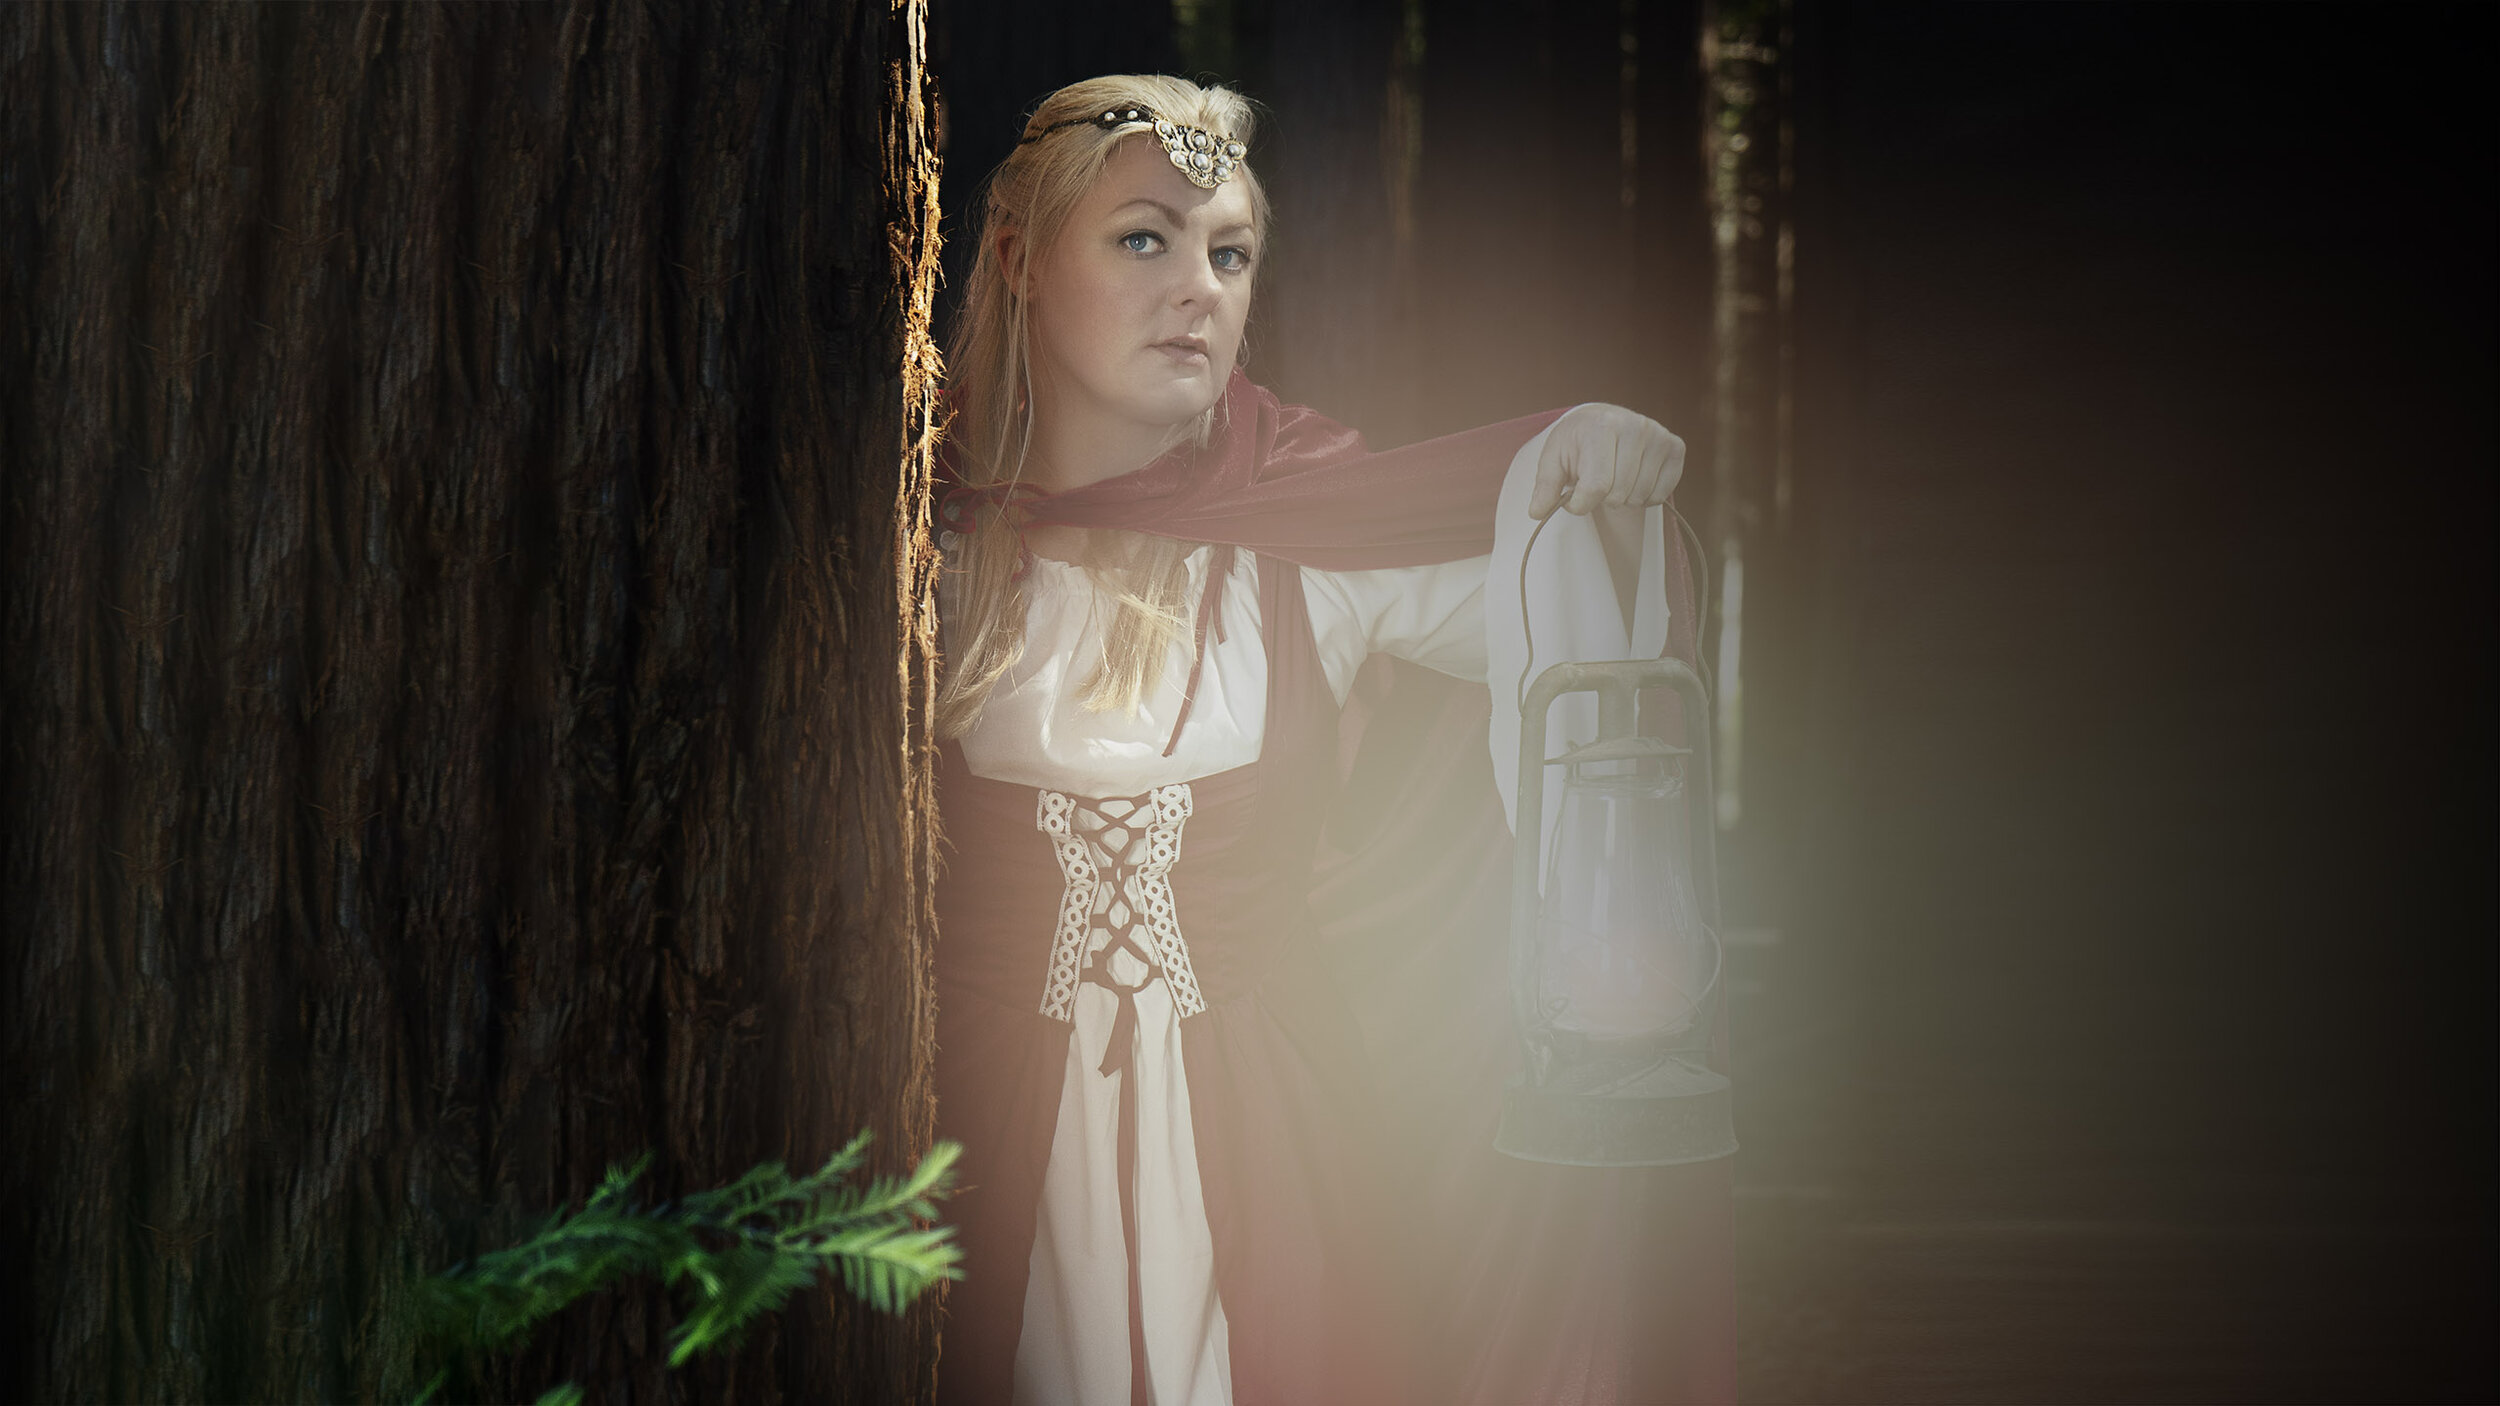
Creating quick and easy lighting effects in Lightroom Classic can add an element of intrigue or interest to your images and it only takes a few minutes with the radial filter and the effects panel.
Creating the lamplight
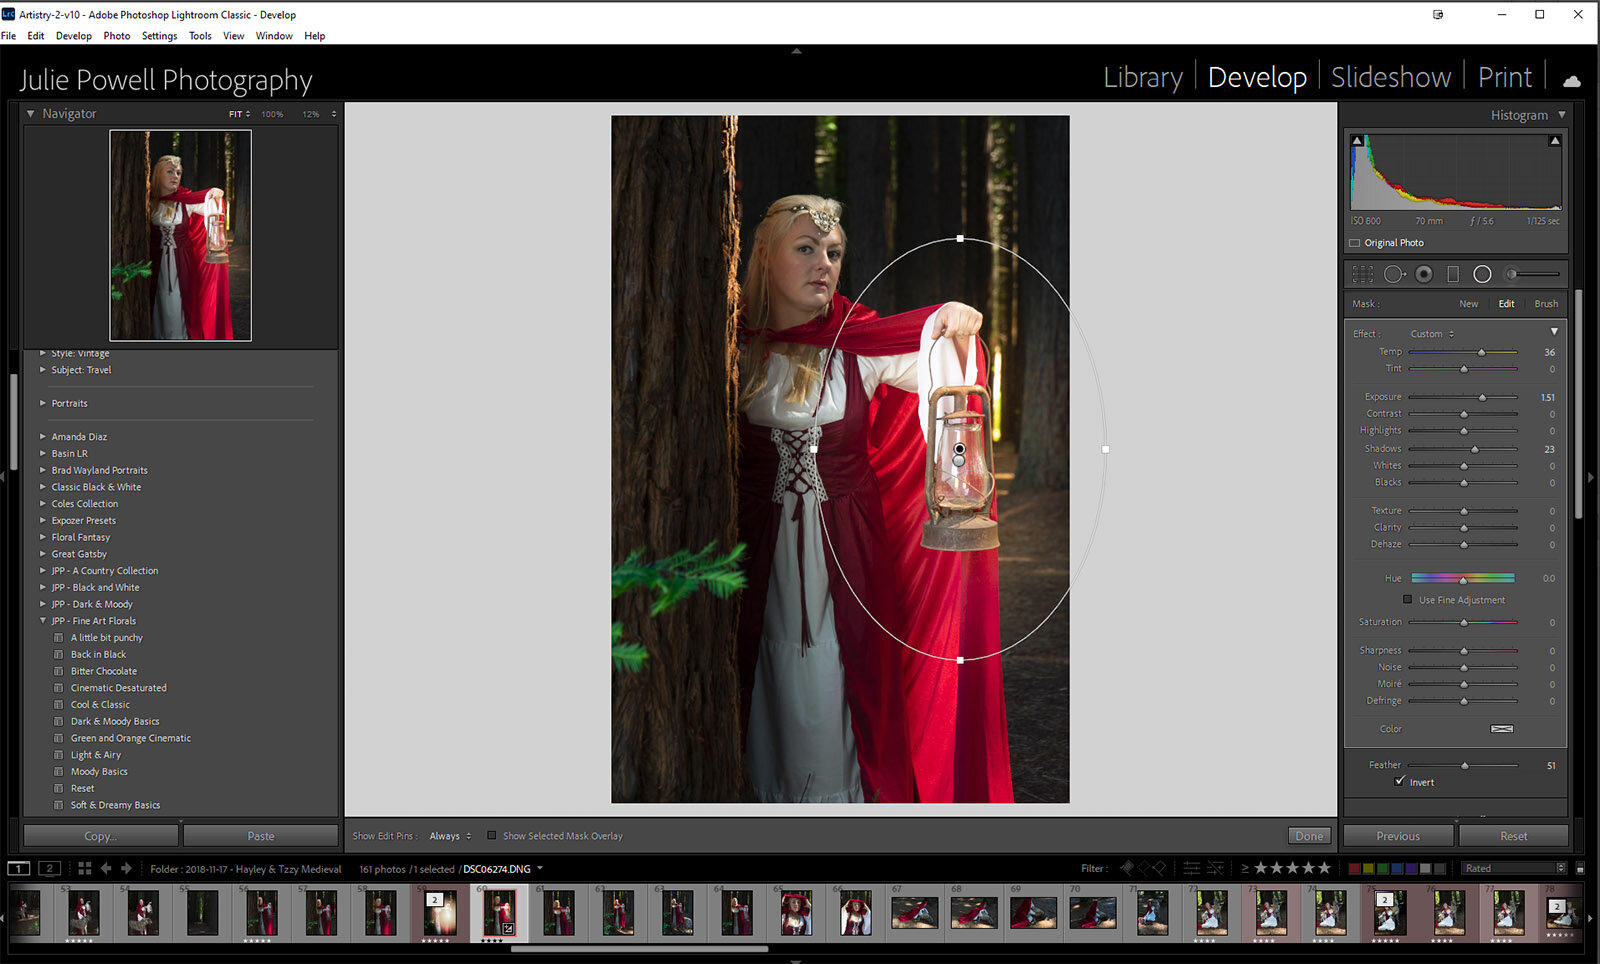
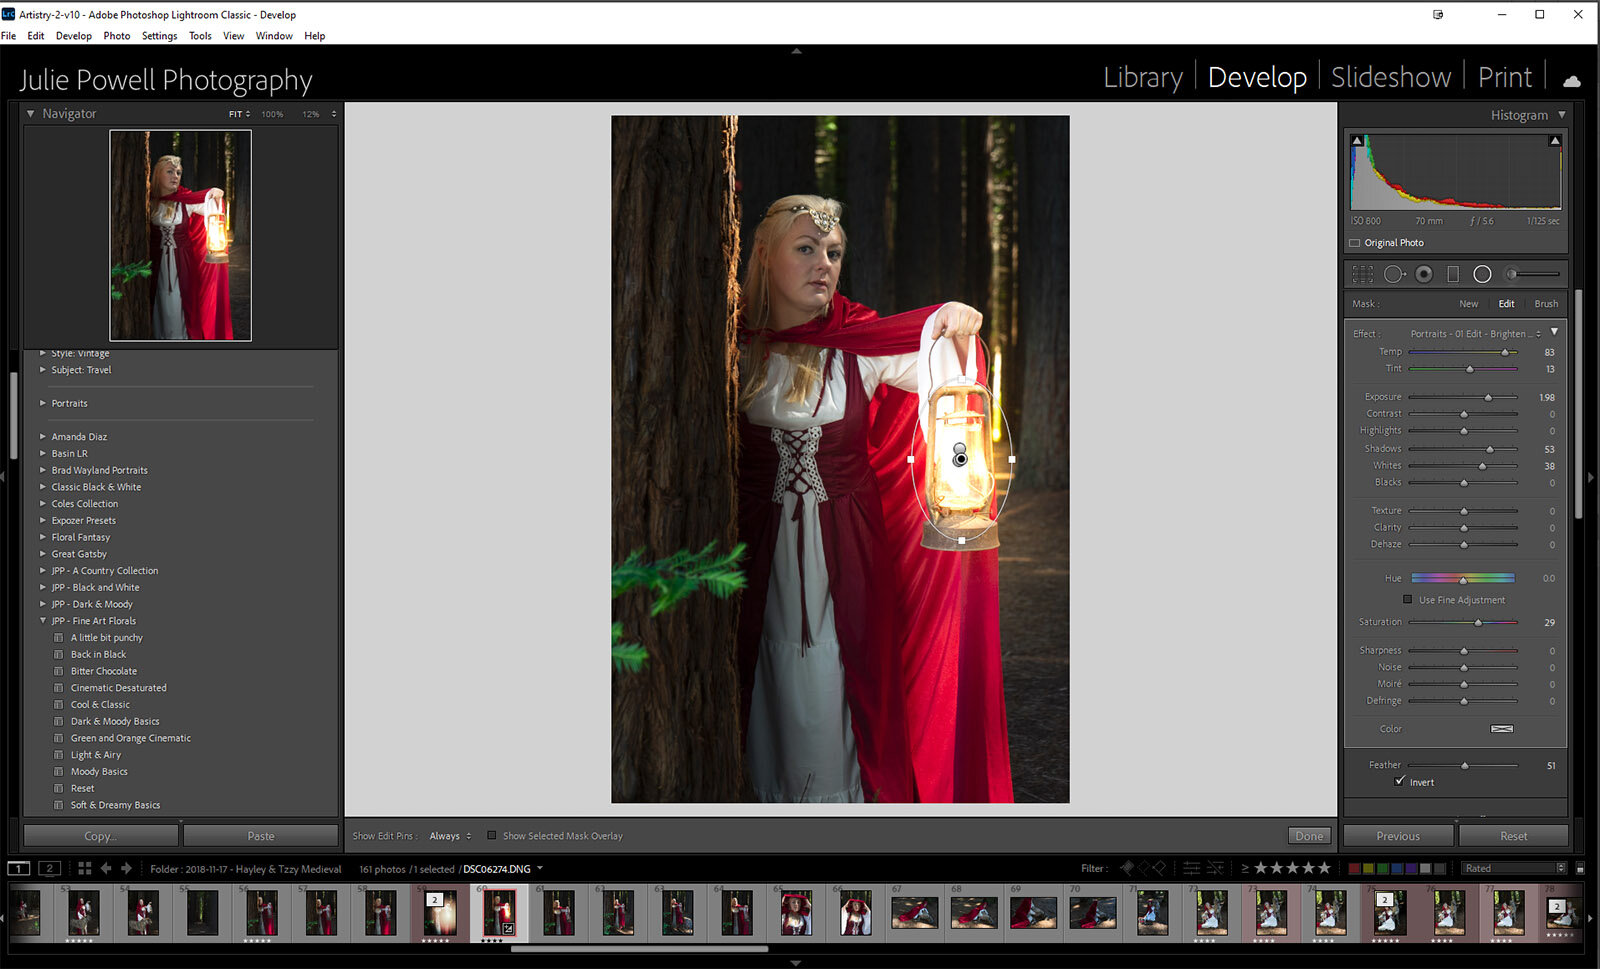
Let's start with the lamplight, create three separate radial filters, all of which are inverted and then gradually decrease the size and increase the intensity. On the last layer slide the Temp to yellow to make a yellow bright spot over where the lamp's flame would be.
Darken the rest of the image
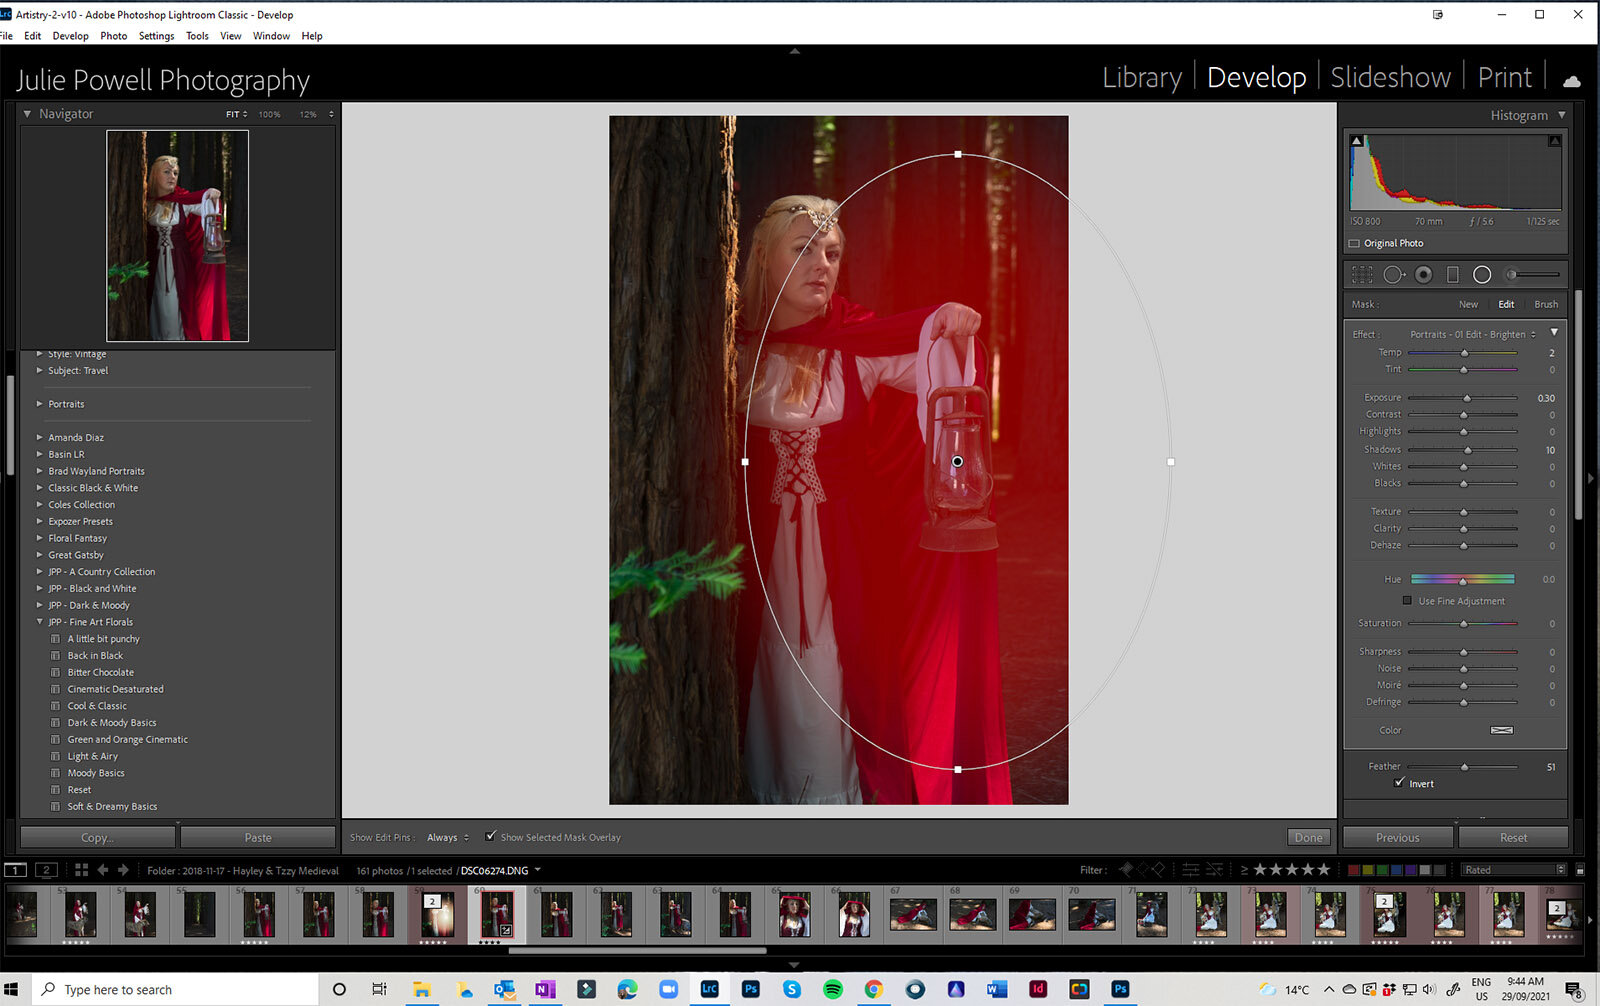
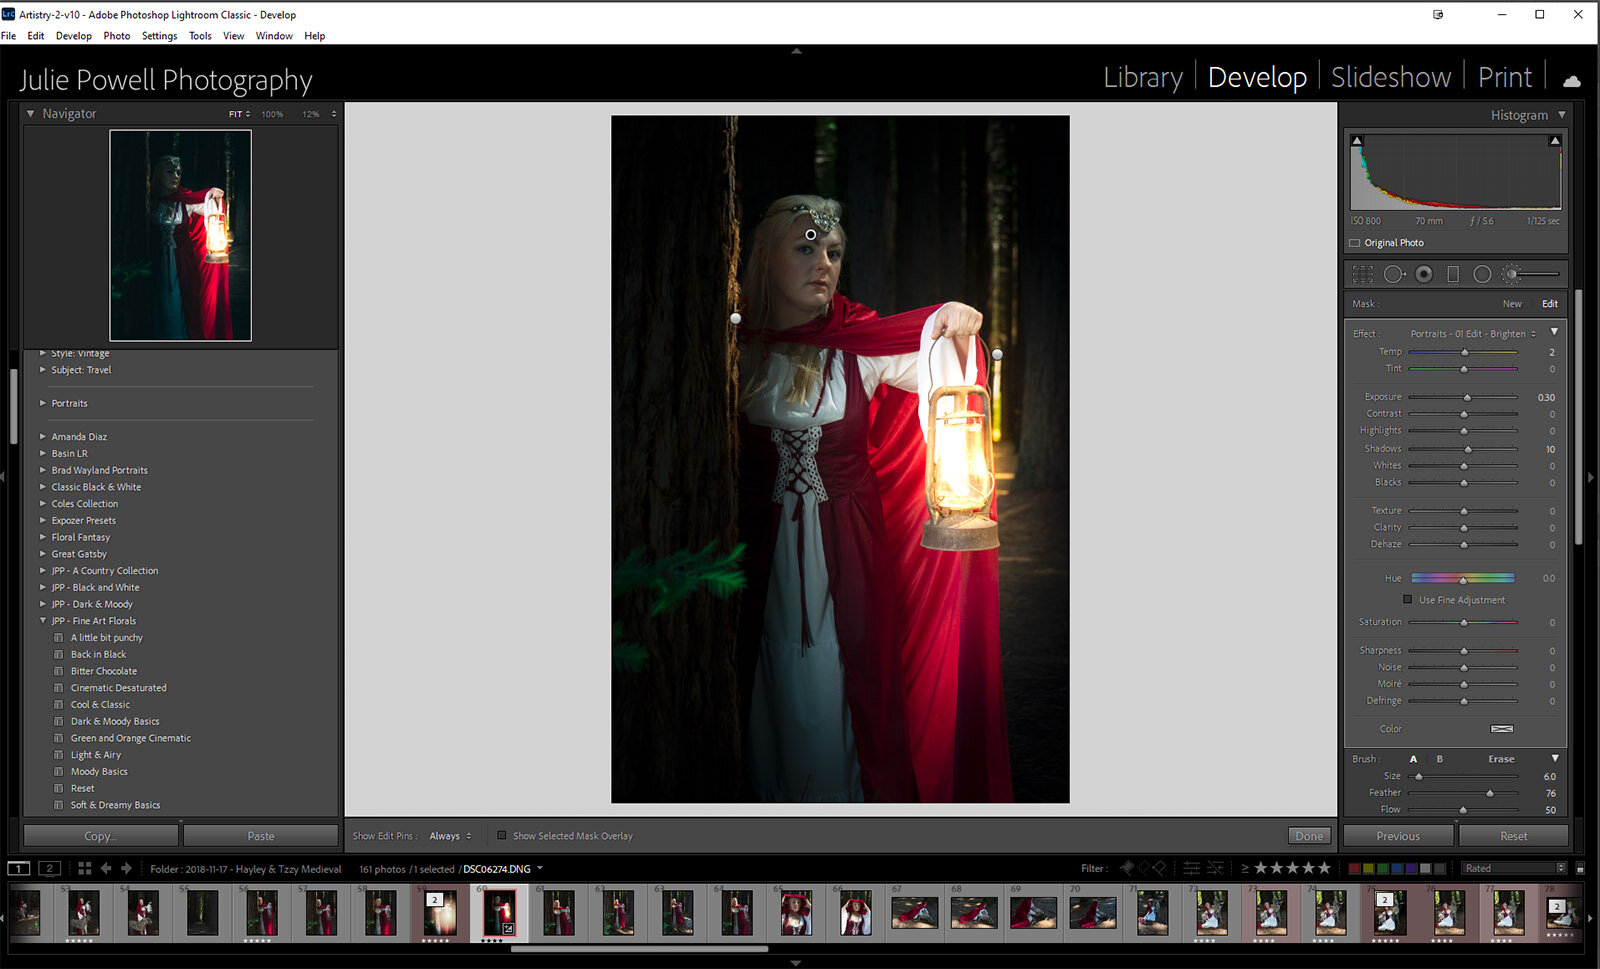
Now we need to darken the rest of the image to create more shadows. Create yet another Radial Filter, this time make it much larger and uncheck the Invert box and drag the exposure and shadows down, also move the Temp more to the blues, the Tint more to the greens. This could also be done in a few gradual layers, slowly getting darker as well.
The Finishing touches
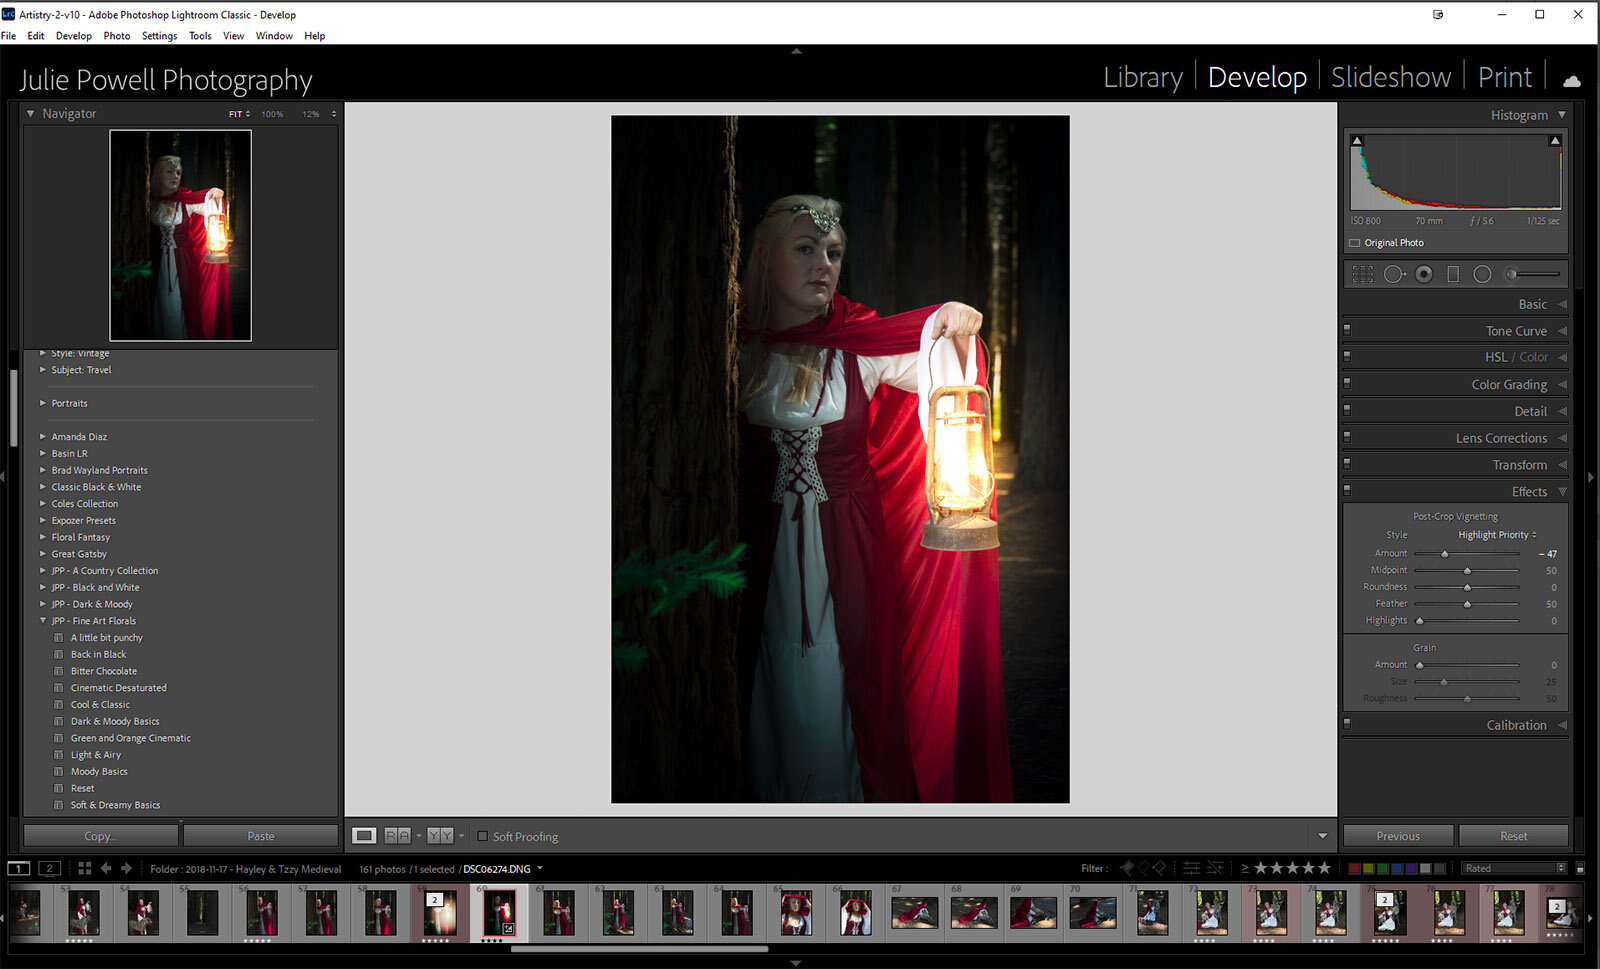
Drop down to the Effects panel and slide the Post-Crop Vignetting to the left. Play with the various sliders to achieve the look you are after to bring even more depth and shadows to the edges. I also used the Adjustment brush and painted some yellow highlights on the tree and my model's face where the lamplight was touching.
Check out the Before and After, sure you can do something much more realistic in Photoshop. But if you don't feel confident in Photoshop, or just want something really quick and easy, now you know how to quickly and easily create lighting effects in Lightroom Classic.
This is just the start, you can build up gradually for both shadow and highlights with many different radial filters.
