How to photograph silky smooth waterfalls
When I first picked up a digital SLR back in 2014, all I wanted to learn was how to photograph waterfalls. You know the ones, where the water is all smooth and milky. Soft, beautiful slightly dark and gorgeous details.
It was one of the first things I learned, after how to shoot in Manual mode. I have come a long way since then, but when I get the chance I still adore capturing them. So here’s how I do it.
The goal
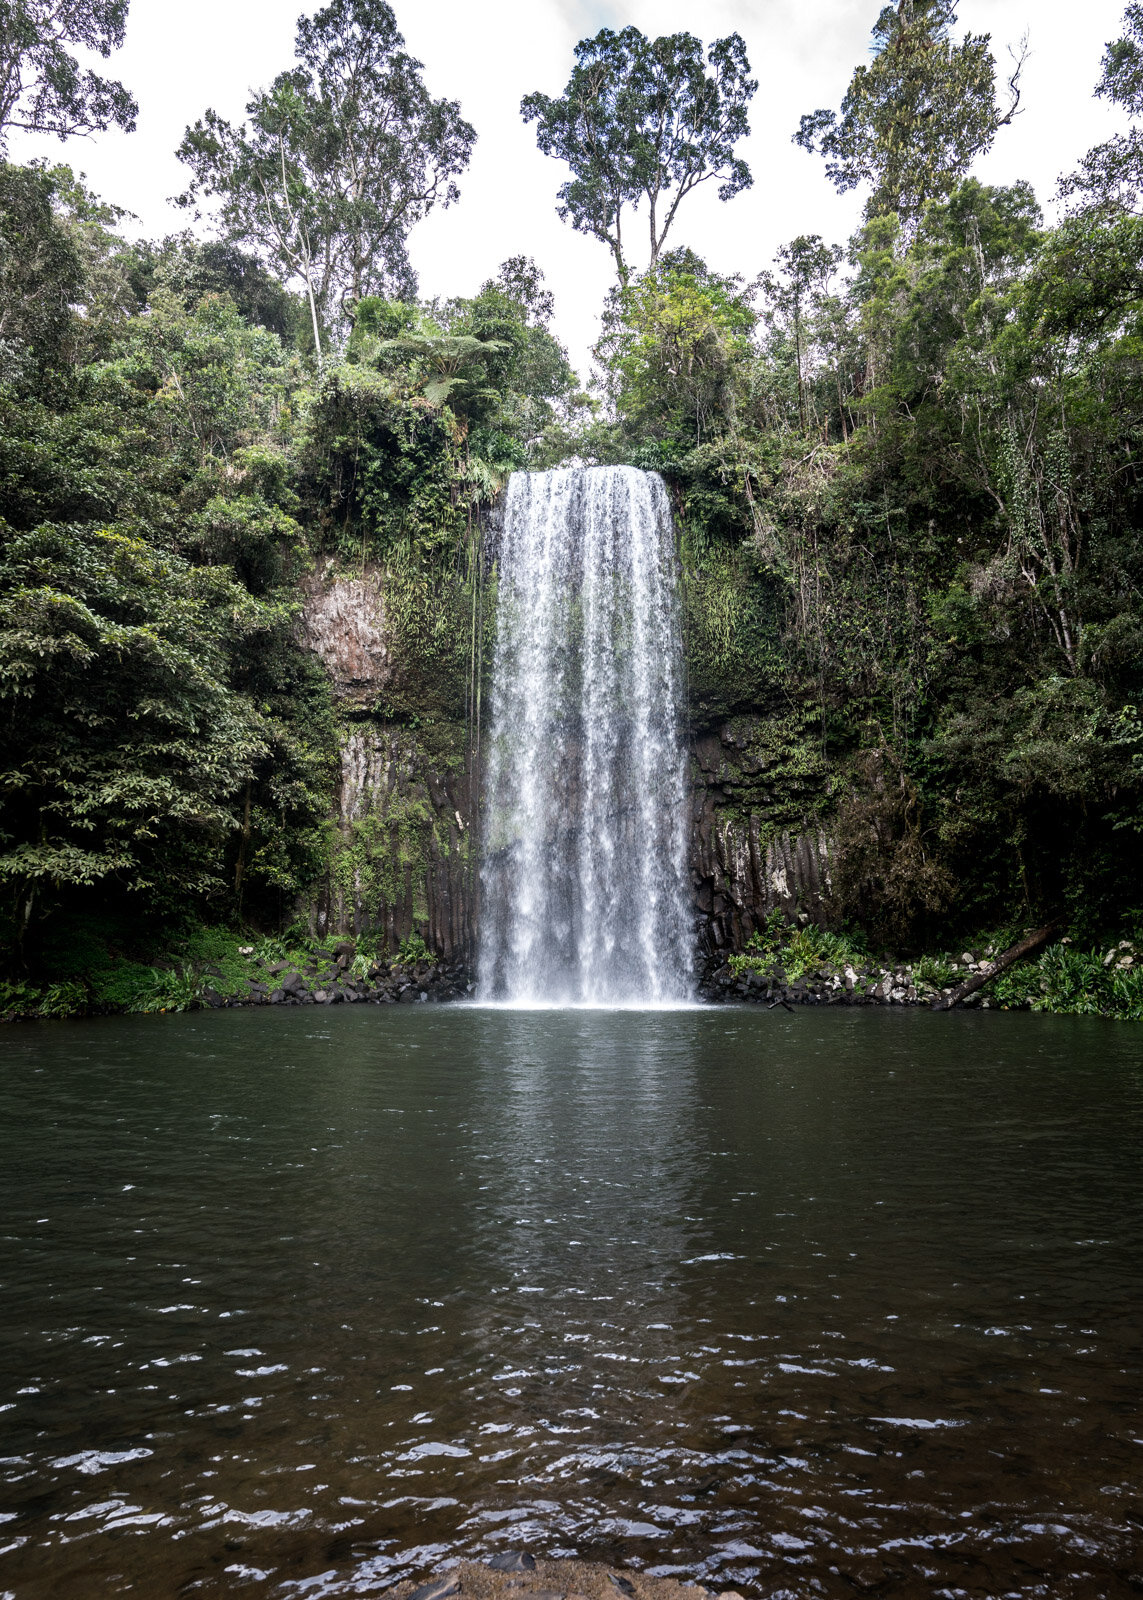
The goal, of course, is to make the water look smooth and milky. I use a longer shutter time to achieve this. A fast shutter catches the action and can be cool too (like above). But if you are looking for that ‘milky’ smooth effect you need a shutter speed of at least several seconds, up to 30-40 seconds.
It really depends on the waterfall, how much water is present and how fast it is flowing.
Use a tripod
Because we are aiming for a slow shutter speed, you really need a sturdy tripod to avoid camera shake. Make sure your camera is securely mounted to prevent any mishaps. If you are on an unstable surface (like rocks and such), stay near your camera and tripod. I have seen first-hand how a sudden burst of wind can knock a tripod and camera over and that’s usually the end of shooting for that day.
Use the lowest ISO
Because you are on a tripod, use the lowest ISO available, usually around ISO 100. There is often no need to shoot any higher, although occasionally ISO 100 is too dark and you may need to jump up a touch like ISO 320. We want minimal noise and the longest exposure possible … this will help with those settings.
What aperture to use?
This is a loaded question. While some photographers suggest a wide-open aperture like f/2.8, I find that lets in too much light. Some photographers prefer something like f/22. I myself prefer a mid-range aperture like f/8—11. That keeps things dark enough and allows me to capture all the details.
Use a Neutral Density filter
Depending on where you are shooting and how dark it is, you may not need to use filters. I have shot waterfalls deep in a forest in very early morning light where filters were not required at all. But often they are needed to darken your image enough to shoot a long exposure. You can read a bit more tech info on filters here.
I use a Zomei 10-stop Neutral Density filter. I prefer the drop-in filter kit style, and have several 100x100mm filters that I use for waterfalls, sunsets, etc. I have used the screw on variable filters in the past but did not like them as much as my current setup. I find a 10-stop gives me on average 30-45 second exposure on a sunny day.
I use back button focus on my cameras and I make sure I set my focus BEFORE I drop in my ND filter. Your camera may need more light to obtain a good focus, so do it before you drop in the filter. I then often change to manual focus (if I used AF to start with) for best results.
Use a slow shutter speed
Using a DSLR? There are apps that can estimate shutter time, depending on your settings. The one thing I really like about mirrorless cameras is you can see how bright or dark your shot is in Live View and adjust accordingly. It makes life so much easier.
The other thing to consider is the camera shake from pressing the shutter button. Try using a cordless remote or simple use the 2-second timer.
Use a wide-angle lens
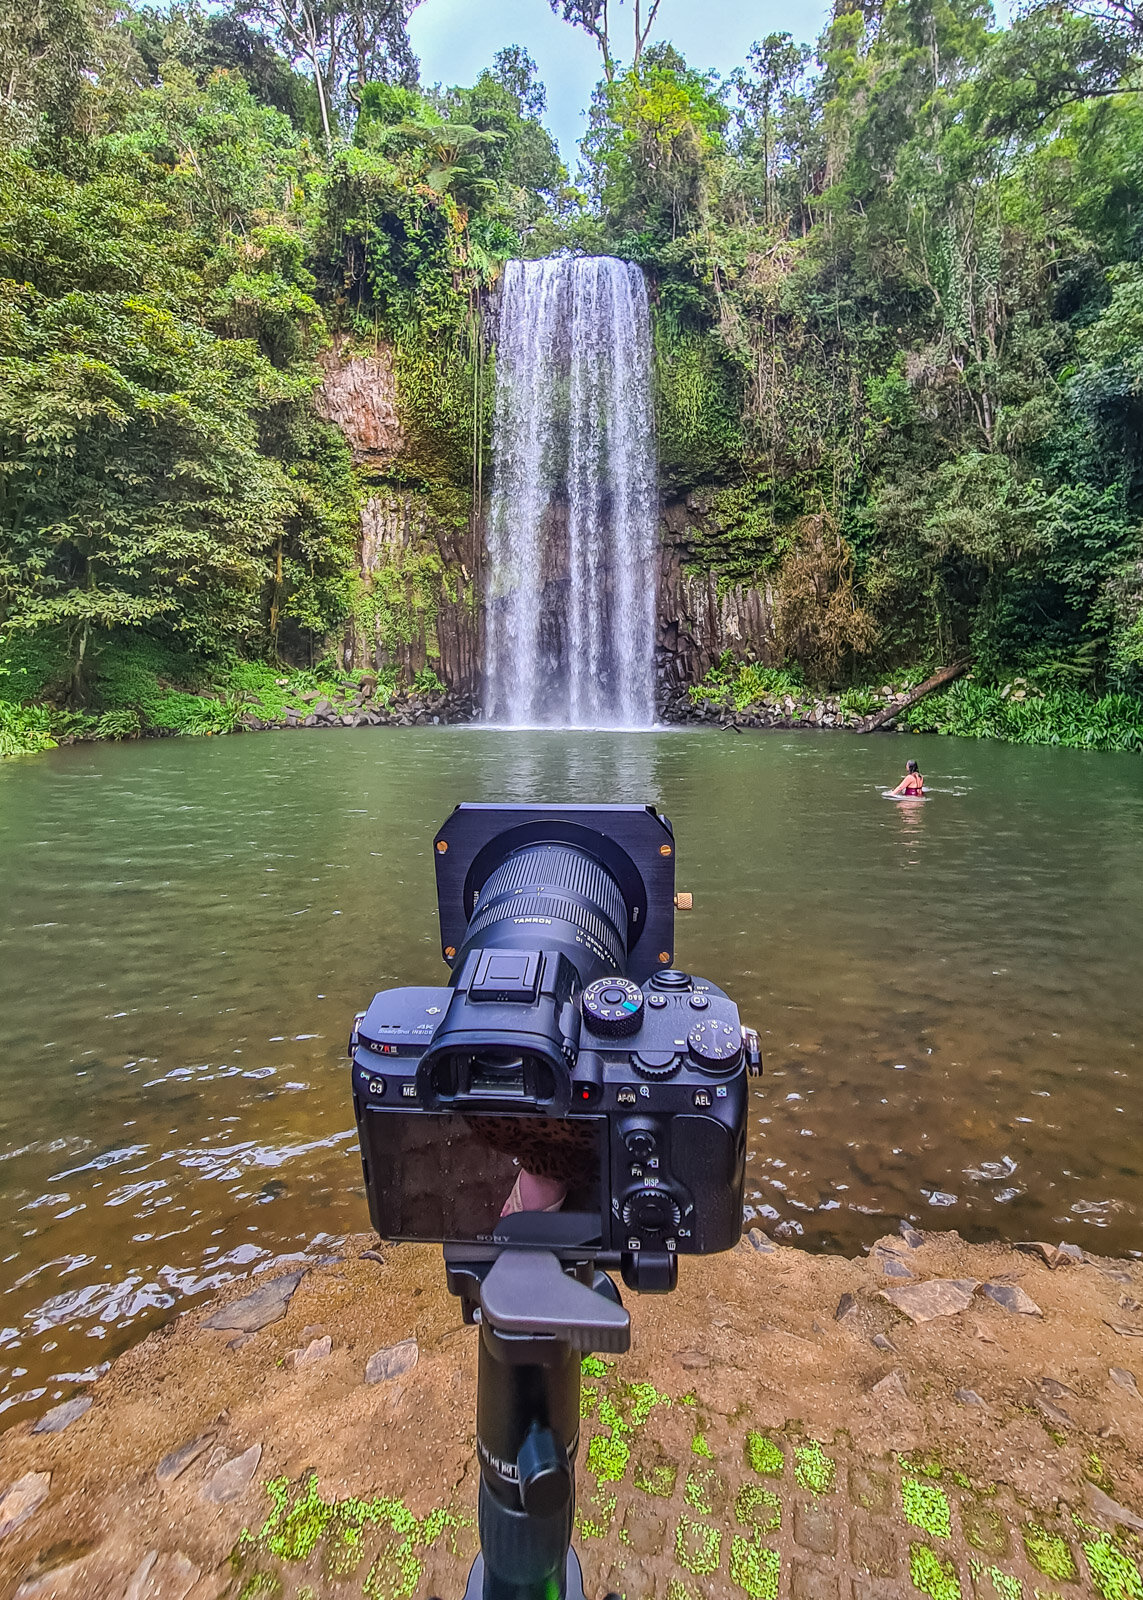
For the images in this article, I used my Sony a7R III camera and the Tamron 17-28mm wide-angle lens. My settings for the below shot at Millaa Millaa Falls in Far North Queensland, Australia were 28mm, f/8, 30 seconds and ISO 320. If you look at the setup image above, there is someone swimming. With the long exposure, they have actually disappeared out of shot.
If you do not have a wide-angle, then that’s fine too. Use the widest angle you have on your telephoto. It’s more about framing and composition really. There is no reason why you can’t use a prime lens for long exposure, either. I often find wide-angle works as there is often limited room at the base of waterfalls.
Millaa Millaa Falls
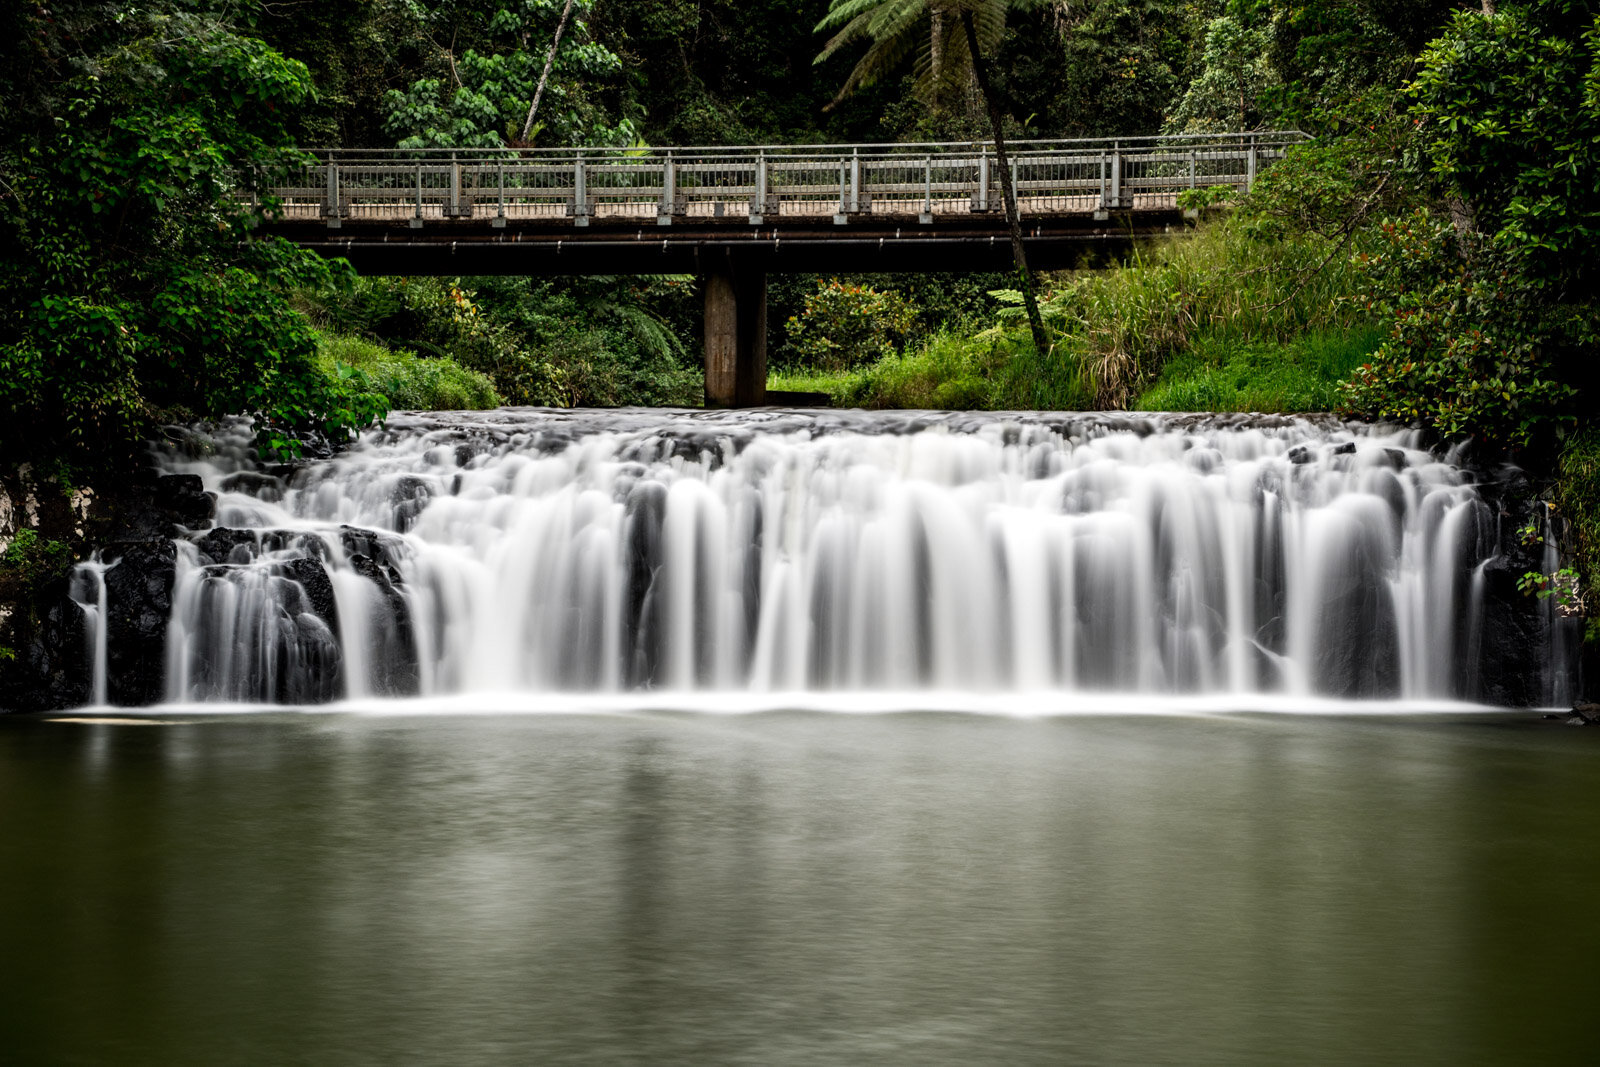
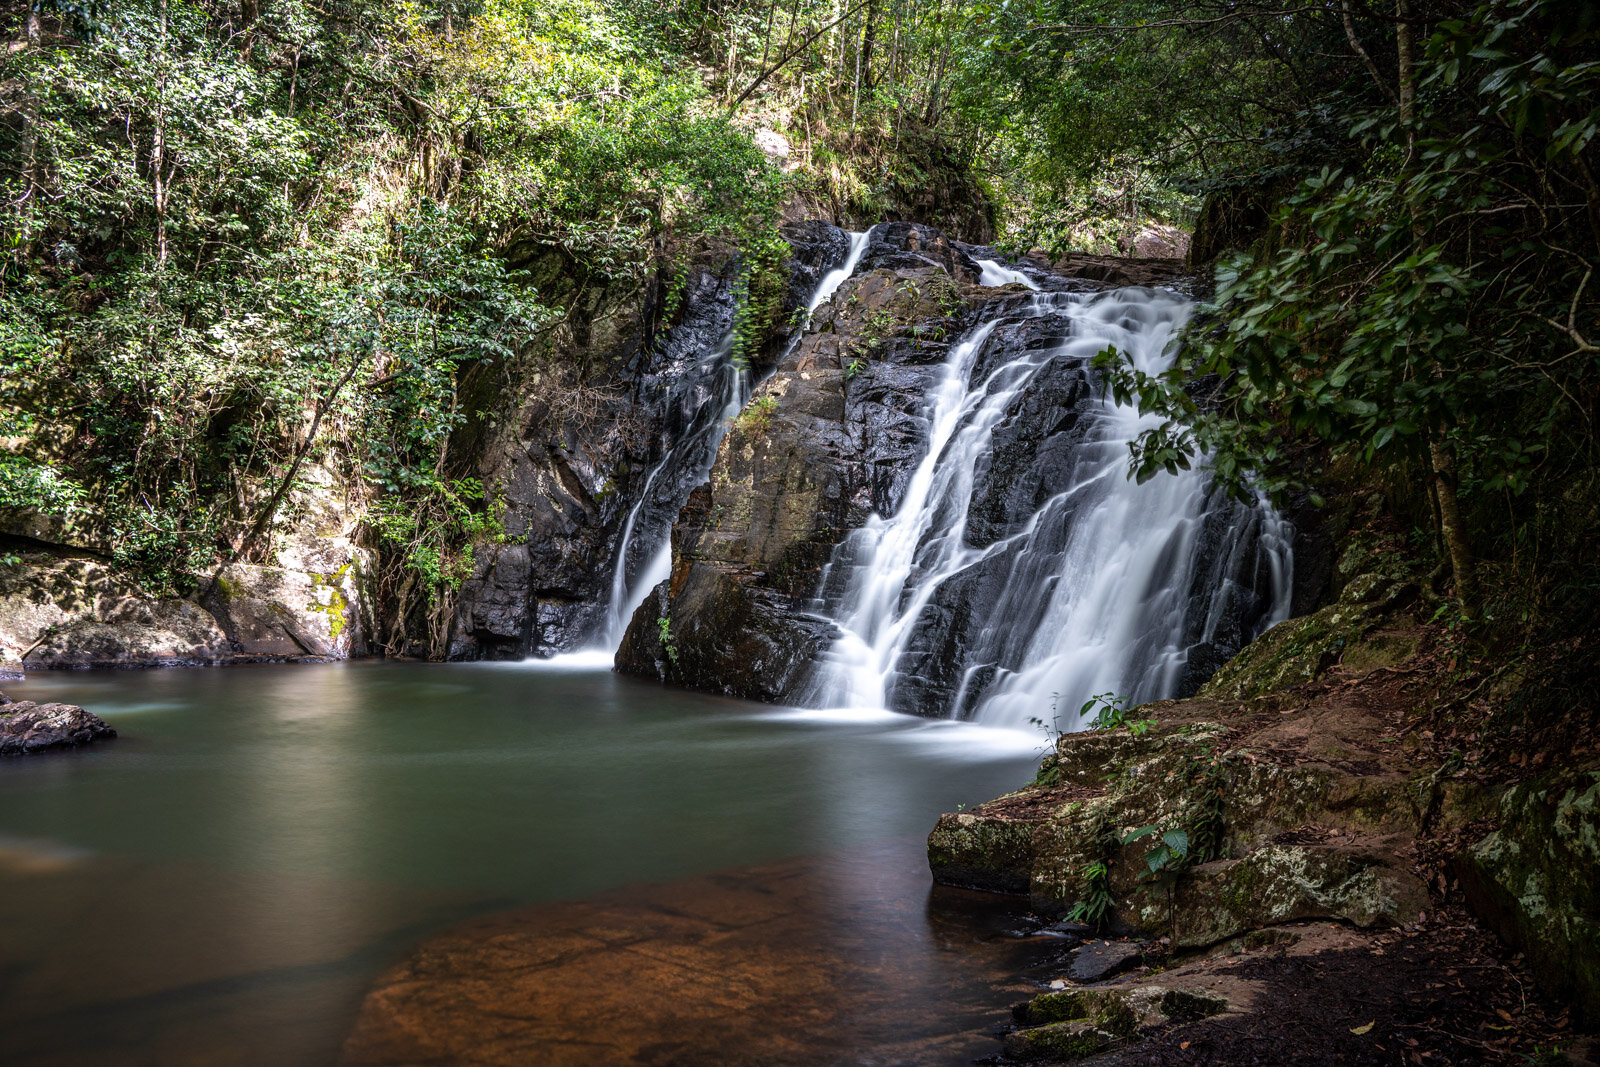
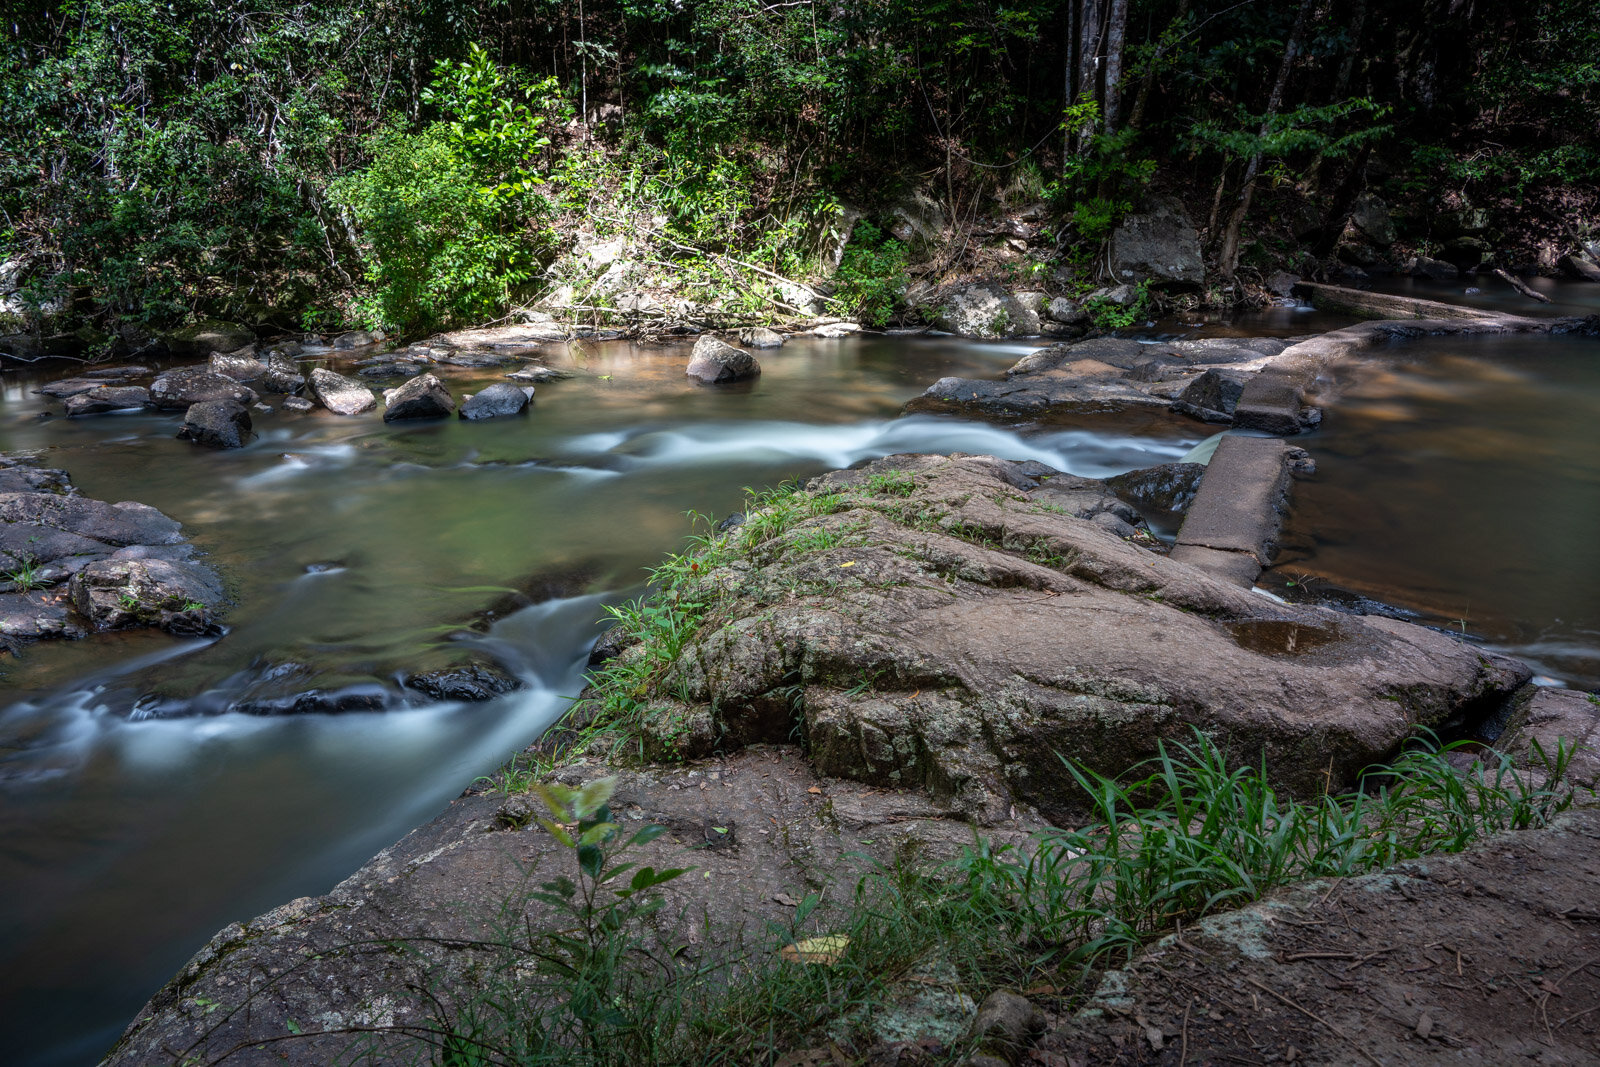
Here are just a few other long exposures I took in FNQ, and it works really well for creeks and cascades too.
So next time you are out and about, perhaps think about trying your hand at long exposure. It’s not as difficult as you might think.
It also allows you time to slow down and absorb the nature around you. Just remember you need water for this effect and preferably little wind. So a day or two after a rainstorm is often a great opportunity.
Just be wary of areas prone to flash flooding. If you are a little more adventurous and sturdy on your feet, you may prefer to venture out into the bottom of the waterfalls. I actually know of a few adventurous souls who stand IN the water to capture the best action. I am NOT that sturdy, nor that dedicated … I prefer the safety of the stable ground.
My adventurous Husband


