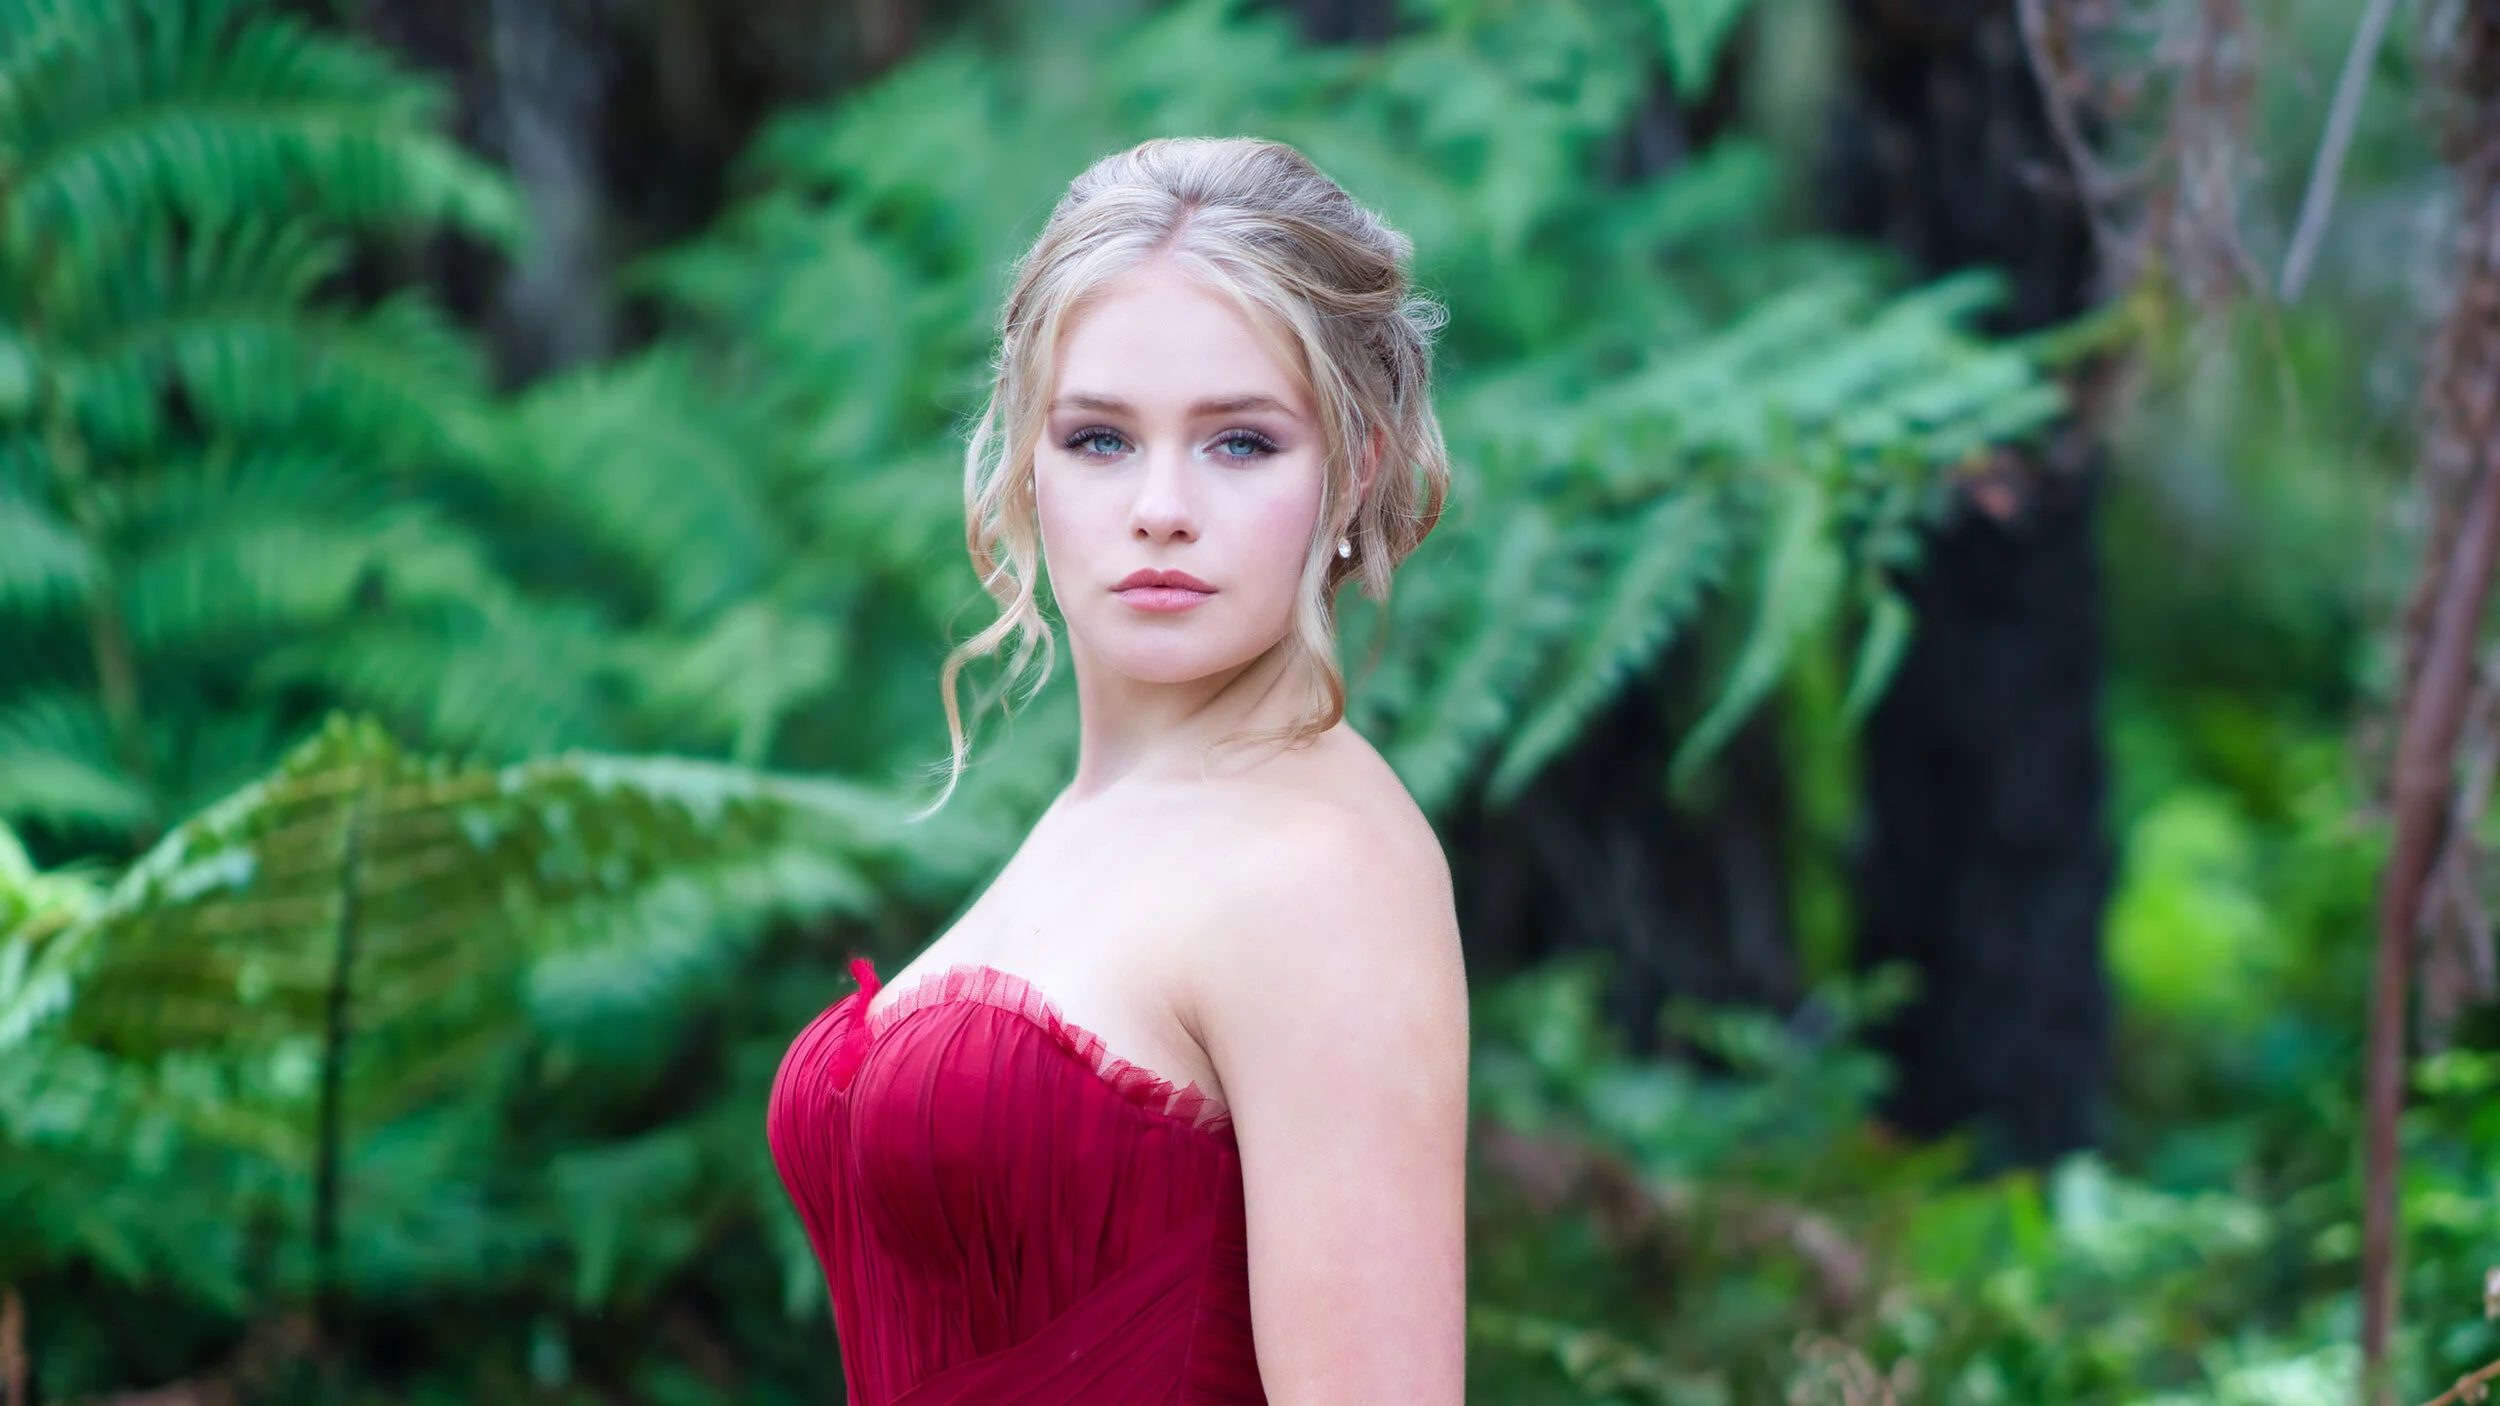
Make your portraits pop with Portrait BokehAI tool in Luminar AI
How to really make your portraits pop by using the new Portrait BokehAI tool in LuminarAI? It’s been a little while in coming, but the new Portrait BokehAI tool is here (in Australia) and it’s pretty cool.
I found it particularly useful in having your main subject stand out from the background. The below image was shot at f/1.4 on the Sony 85mm GM lens. While that may seem soft enough, I found that the background was still just a little distracting and perhaps even a little bright. I really wanted my model Kiara to stand out.
Portrait BokehAI will be available to the masses this coming week, so stay tuned!
Start with the basics
As per usual with LuminarAI, start with the basics. You can use one of the Templates if you wish (I used Midday, at about 80%), then head on over to the Edit panel.
Under Tools, try a little EnhanceAI and even try out the CompositionAI for a pleasing crop (or stick with your own). I erased just a few blemishes, and then bypassed pretty much all the other tools and jumped straight into the Portrait tools.
Using Face & SkinAI
No portrait is complete without a little touch-up in the Portrait section. A little bit of light on the face make Kiara’s blue eyes pop, especially with some Iris Flare and Iris Visibility. I even did a little skin retouching, although Kiara’s skin was almost flawless.
Make your portrait pop with the Portrait BokehAI tool
Once you have all the basics covered head up to the Portrait BokehAI tool. It works really well on this image because it already has a fair amount of bokeh in the background already. I just wanted to enhance it. I also wanted to darken the background and make it just a touch cooler than my subject, to really make her pop.
Start by adjusting the Amount slider. I went with 63 to start with. LuminarAI is pretty clever and will already have created a pretty accurate mask for you. Hover your mouse over the area and you will see it highlighted in red, as in below. But if you don’t see everything you need selecting, simply paint it in.
Portrait BokehAI
You can also use the Focus and Defocus options under Brush Control to further tweak your mask. This is great for making minor adjustments to your subject, like hair wisps etc. The Brush Control section gives you standard control such as brush radius, softness and opacity, giving even greater control over your brush.
I found zooming in helped pick up some of the wispy hairs and other missed areas.
Background
Just below the Brush Control section is a Background section that you can click to expand. This gives you even more control of Brightness, Highlights, Warmth, Depth Correction and Edge Correction. This is where you can make further adjustments to your selection.
Background adjustments
The downside
I did find a few small glitches while using this program. I found that restarting my computer after installing the update helped.
I also found that the Before and After compare section didn’t function while I had the Portrait BokenAI active. Just click on any other tool like Face or SkinAI and it will work again. I also found it was just a touch slow on automatically updating the changes on my screen. This is possibly due to running other programs in the background while writing this article. But as with many programs that are crunching large amounts of data, a little patience goes a long way.
Before and After slider
The final result
I think you can agree that I really did make my portraits pop by using the new Portrait BokehAI tool in LuminarAI. It was quick and easy to learn and use. I think it did a great job overall and while I could have done similar in another program, I doubt I could have done it as quickly.
So if you have a portrait similar to this and you really just want to make your portraits pop, try using the new Portrait BokehAI tool in LuminarAI. I am sure you could find all sorts of uses for this tool.


