Using filters to control light
There are times when the available light does NOT work in your favor. Perhaps you want a longer exposure of a waterfall to obtain that soft silky water effect, but there is too much light. Even when your exposures are set to their limits, that is when filters can come to the rescue.
There are different kinds of filters and when you are new to photography, it can get a little confusing. When it comes to choosing filters, cheap is not always your friend, and plastic filters can sometimes leave a color cast to your images.
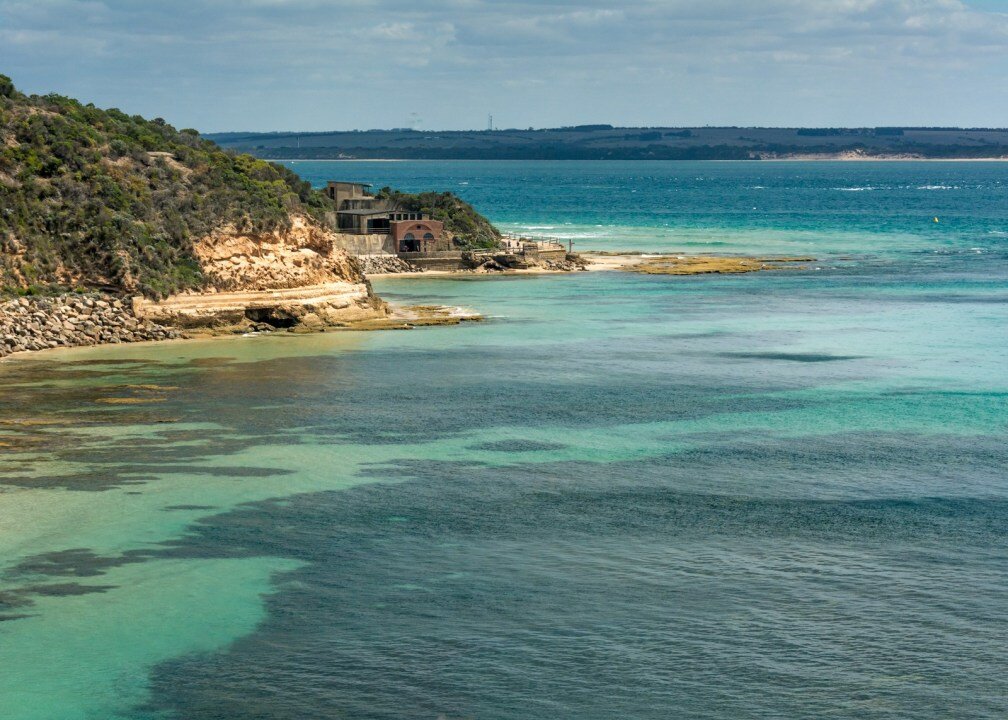
ND6 stop filter, f/10 1/5s
UV filter
This Hoya UV filter claims to absorb the ultraviolet rays, which often makes outdoor photographs hazy and indistinct. It also serves as a permanent lens protector. There are some arguments on both sides of the fence. Personally I no longer use them — I just don’t see the need or the cost. But then I am not normally a landscape photographer.
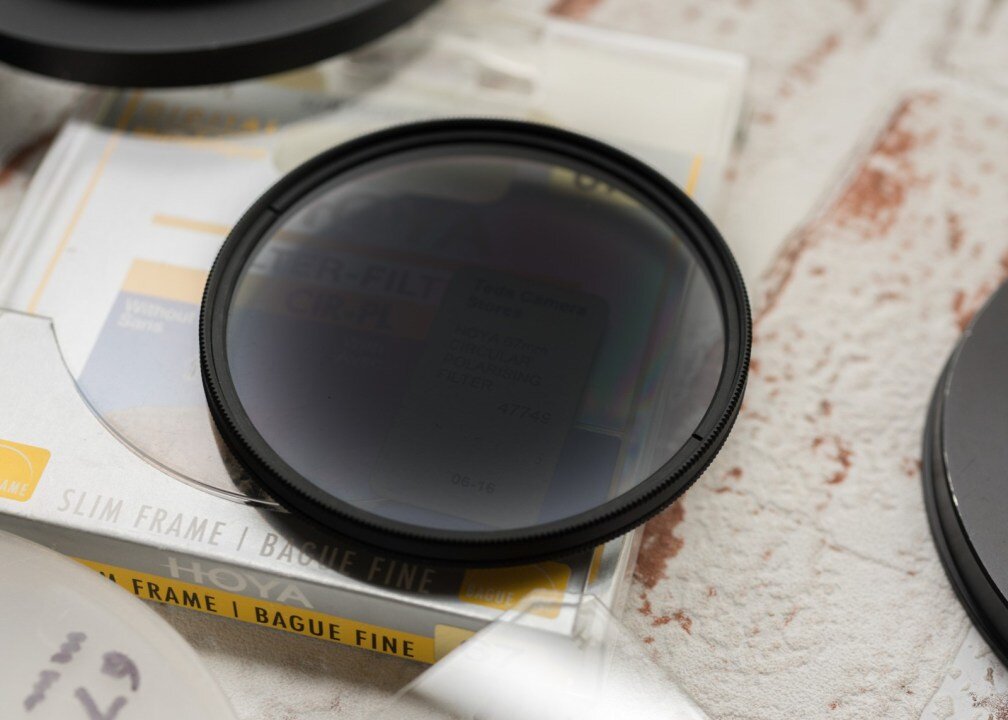
Circular Polarization filter (CPL)
Light rays which are reflected by any surface can become polarized, so by using a CPL you can select which light rays enter your camera lens. CPL filters allow you to remove unwanted reflections from non-metallic surfaces such as water, glass, etc. They also enable colors to become more saturated and appear clearer with better contrast. This effect is often used to increase the contrast and saturation in blue skies and white clouds.
CPL filters, in general, DON’T affect the overall color balance of a shot. That said, I know there are some people out there who do not like these filters — I loved them on my Nikon, but rarely use them on the Sony, as the I feel the colors are already a touch on the saturated side.
They don’t distort images or create false shadows, but they can oversaturate colors in the sky and water. Note that they are not necessarily advisable indoors — they are really an outdoor filter.
You screw them on and off like a UV filter, however as the filter itself moves and adjusts it can be a little tricky getting them on and off if it is really cold and your fingers are numb! So tread carefully when changing filters. A CPL is also fantastic for removing reflections on glass, water etc., so at the beach or pool, you can see through water. Think of them as sunglasses for your camera.
Neutral Density filters (ND)
A Neutral Density filter allows you to control the exposure in an image very easily. The filter stops the amount of light reaching the camera sensor, therefore allowing you to leave the camera on a higher aperture for a longer amount of time. Instead of changing the aperture to reduce the amount of light in the image, you simply add an ND filter, then adjust the exposure to the amount you want.
It is easy and very effective, plus you can still set the aperture to a low value for sharper images, or wide-open for a shallow depth of field.
There are guides online and smartphone apps to help your calculate how long you can leave the shutter open, and it is usually done through BULB Mode, depending on the length of time. ND filters are usually rated at 2, 3, 4, 6 and up to 10 stops of light.
If you are only using a 1-stop filter strength it may be only 1-2 seconds and BULB mode is not required. These come in screw-on or flat 100mm glass for holder kits.
Variable Neutral Density filter
This filter provides a convenient way to maintain exposure control by being able to vary the amount of light entering the camera between 1.5 to 9 stops. The built-in double ring design allows the outer ring to rotate to control the amount of neutral density effect anywhere within the 1.5 to 9 stop range. This can have its own drawbacks. Apart from needing one for each lens, as different lenses often have a different diameter and the Filter attaches directly to the lens.
I sometimes find they can also cause vignetting on the corners of your image. It is also easy to knock lens settings while adjusting the filter. If you use a step-up (or down) ring to use on different lenses it can add to the vignetting as well.
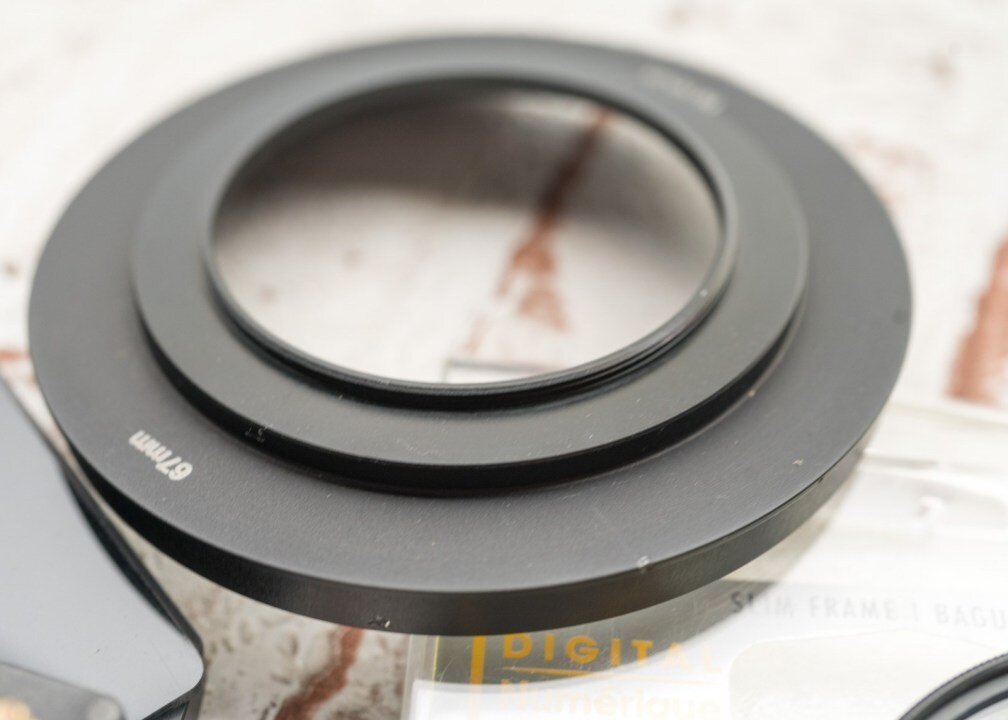
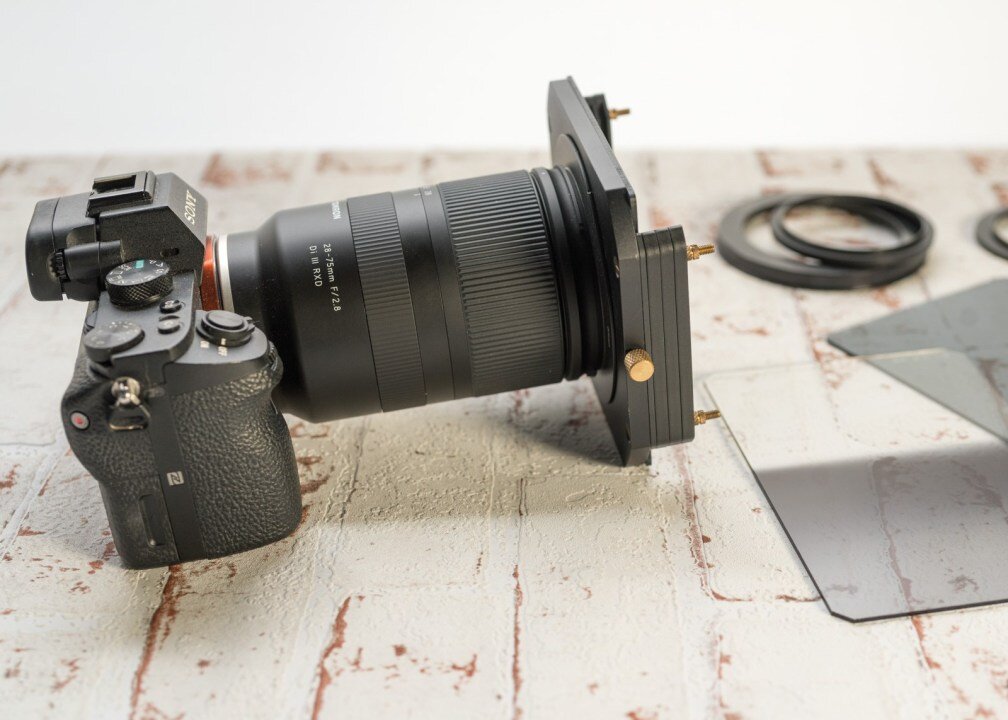
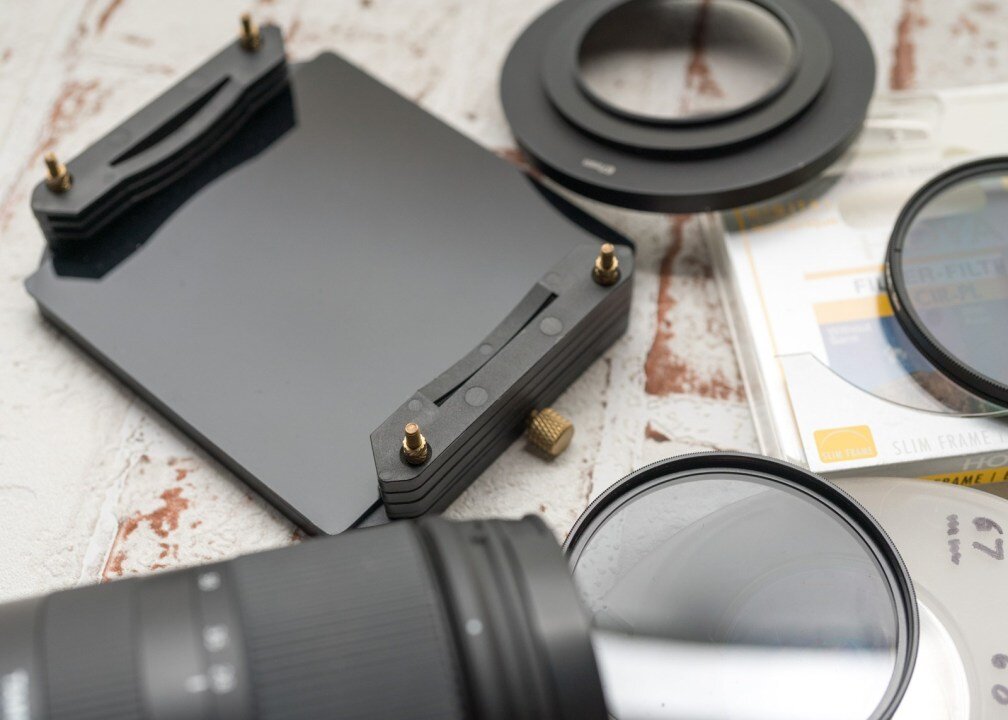
Step-up ring attached to my filter kit holder adapter.
Neutral Density holder kits
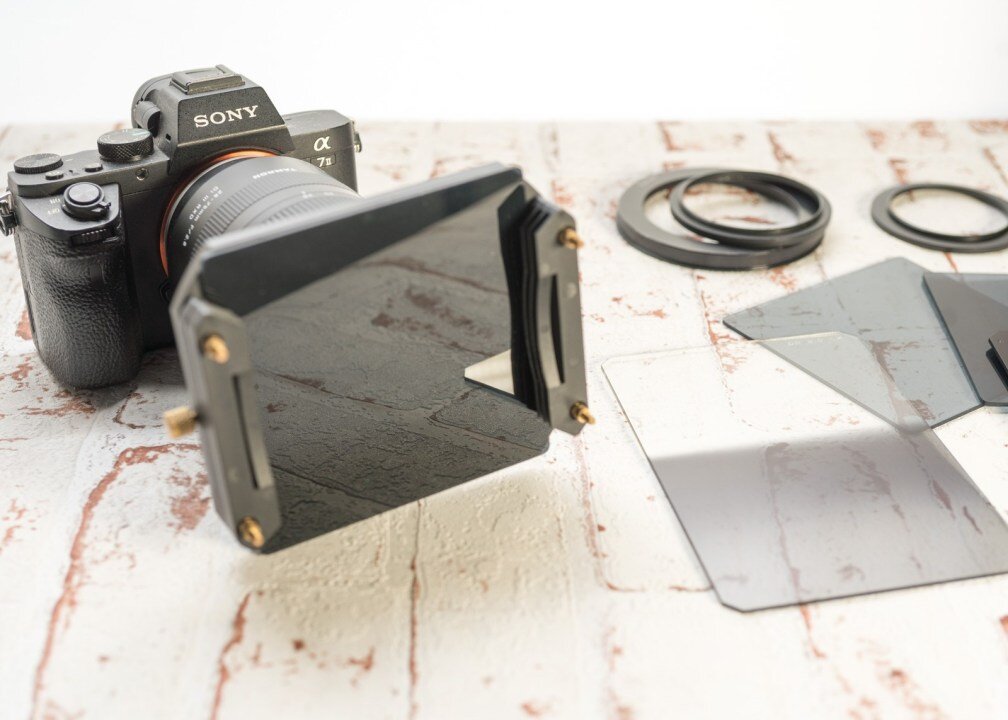
There are several players in the game for this type of filter, from really cheap to really expensive. But basically, it is a round or square holder that attaches to your camera lens via an adapter. You can buy different sized adapters for different diameter lenses quite cheaply (or even use step-up rings), then you purchase an ND filter or filters to slide into the holder. This has multiple benefits.
One, you can set the rig up, composure your images and focus, and then slide in the filter, without knocking the lens settings.
Two, while initial outlay can be more expensive, they can work on different lenses and different cameras. The adapters are fairly cheap.
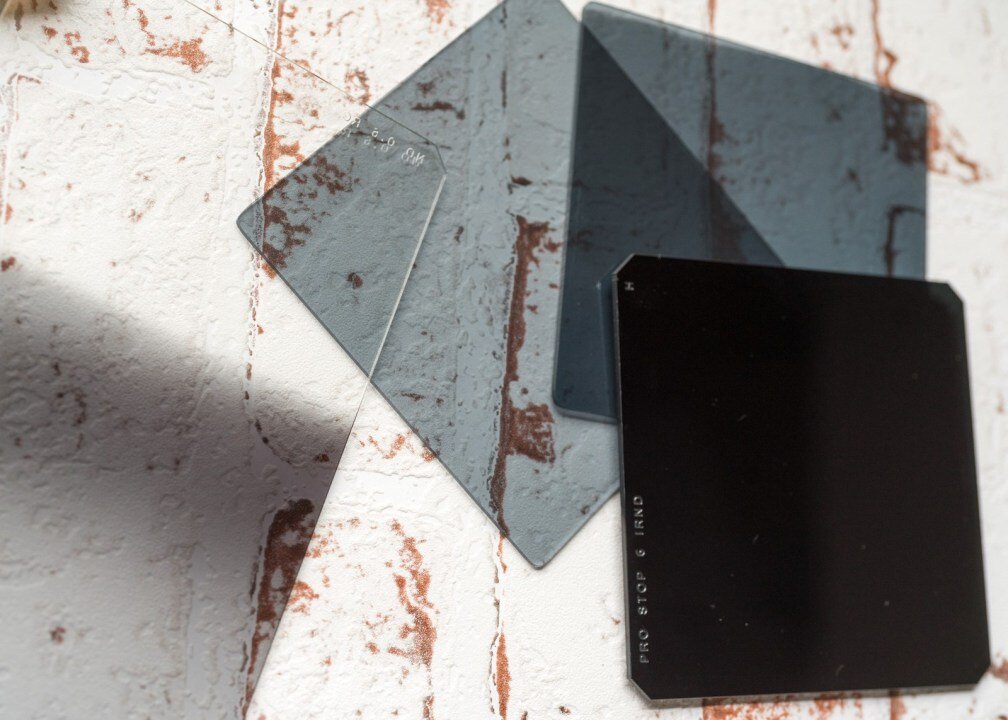
And three, you can stack filters. You may have a 3-stop filter to shoot a sunset at the beach to get lovely silky waves and a gorgeous sunset. But if the sky is too bright against the water, you can use a graduated filter (dark at the top and clear at the bottom) to make the sky a stop or two dark than the water.
You can also stack multiple ND filters together to get a REALLY long exposure. It does not have to be a long exposure either — graduated ND filters are great for landscapes too. They can allow for correct exposure of your landscape while also correctly exposing for an overly bright sky by using the graduated filter at the top of your image only.
Creative uses for ND filters
There are other creative uses for them — like light sculpting or painting — to allow the shutter to stay open longer. Then there are colored filters which seem to do everything from balance light, increase/decrease warmth, adjust green, yellow, reds, increase blues and enhance skin tone.
How do you know where to start (and finish)? I must admit, I have none of these. Then there are special effects filters. Honestly, I do not even know where to start there — a photographer could go broke!
So how do you know which ND filter to get?
There are so many different types of filters out there — ND filters, graduated ND filters (soft and hard) and more. They come in different stops and ND strengths and it can all get a bit confusing.
Generally, think of it in f-stops. Each stop is twice as dark as the one before it. Ask around, do research, talk to other photographers and get a feel for what you think might work best for you. I suggest starting with an ND kit that has a few different strengths and then work from there.


