How to deal with portrait blemishes in less than 30 seconds
Are you one of those portrait photographers who want to get in and get out real quick when it comes to editing? Not everyone wants to spend hours cleaning up blemishes in an image.
Sure, to get that perfect magazine spray-painted effect you can go all in, but in general, you capture it great in-camera and fix blemishes while editing. With a little help from Photoshop and Luminar 4, you can do just that.
Quick cleanup
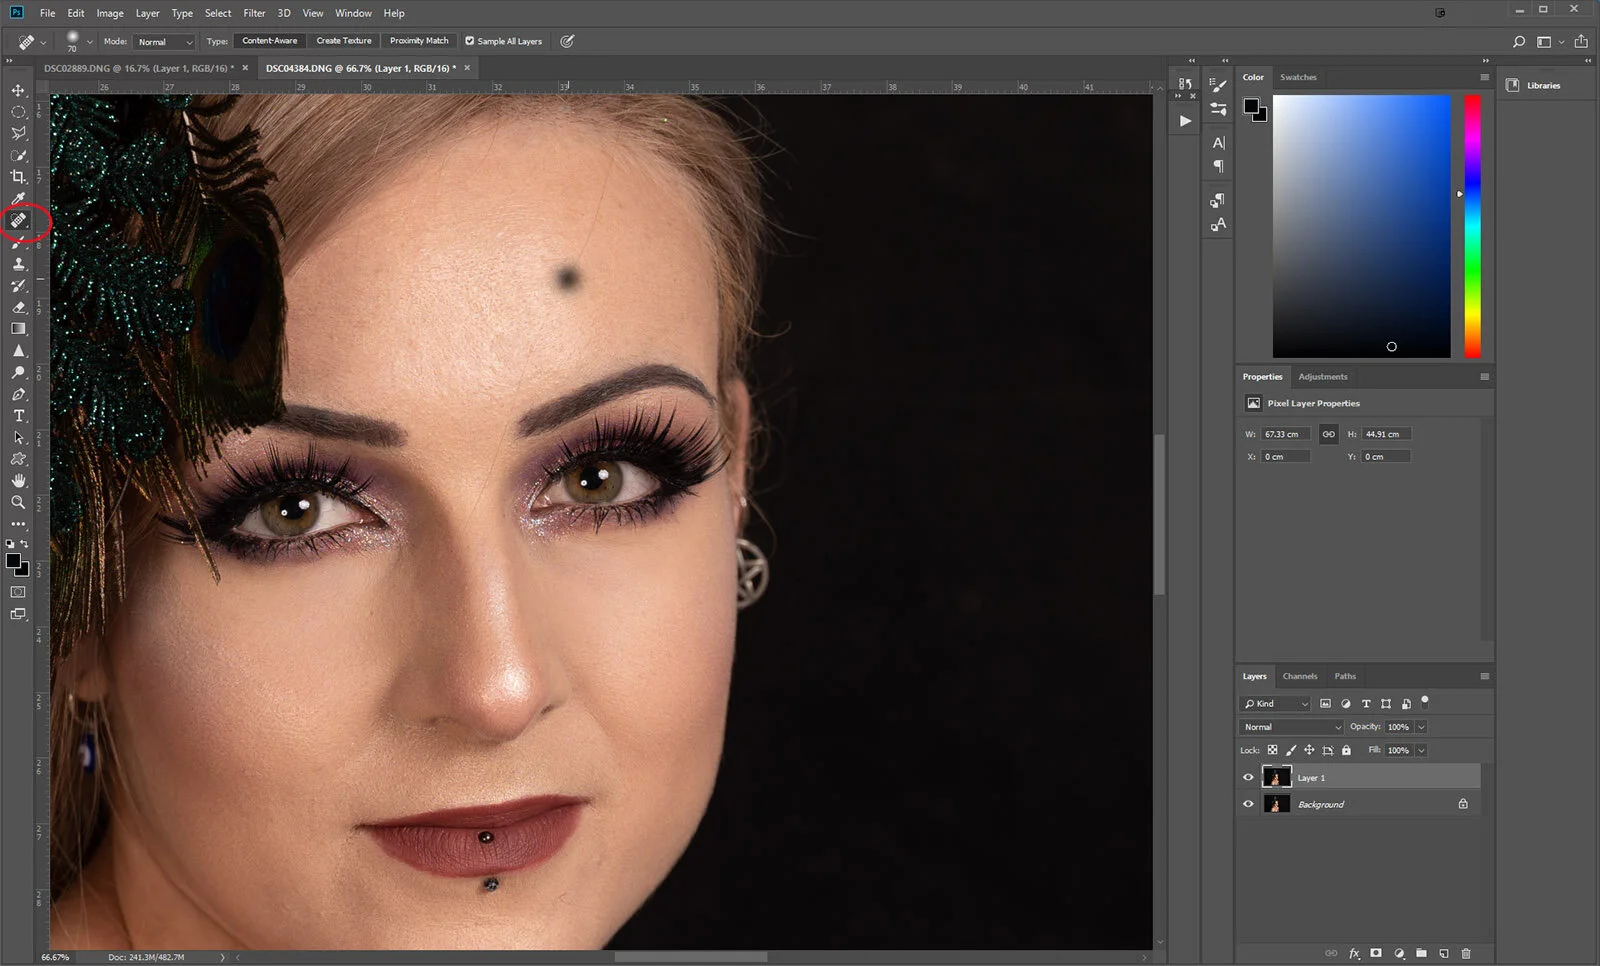
Open your image in Photoshop and make a duplicate image. Grab your Spot Healing Brush and quickly remove the biggest of the problem areas. Why Photoshop? I don’t really like the Healing tool in Luminar, and I honestly think Photoshop is much quicker and easier to use for this.
Using the brilliance of Luminar’s AI Skin Enhancer
Now from Photoshop open the image in Luminar (Filter > Skylum Software> Luminar 4), and open the Portraits panel. From there you can quickly, effortlessly and realistically smooth skin and remove shine, while also removing some skin blemishes. Sadly it doesn’t remove all, hence the super-quick cleanup in Photoshop beforehand.
Before and after
If you’re looking for a super easy and quick way to get rid of portrait blemishes and take your portraits to the next level, the Photoshop-Luminar combo is a great way to start.


